Citroen Berlingo maintenance
Citroen Berlingo maintenance
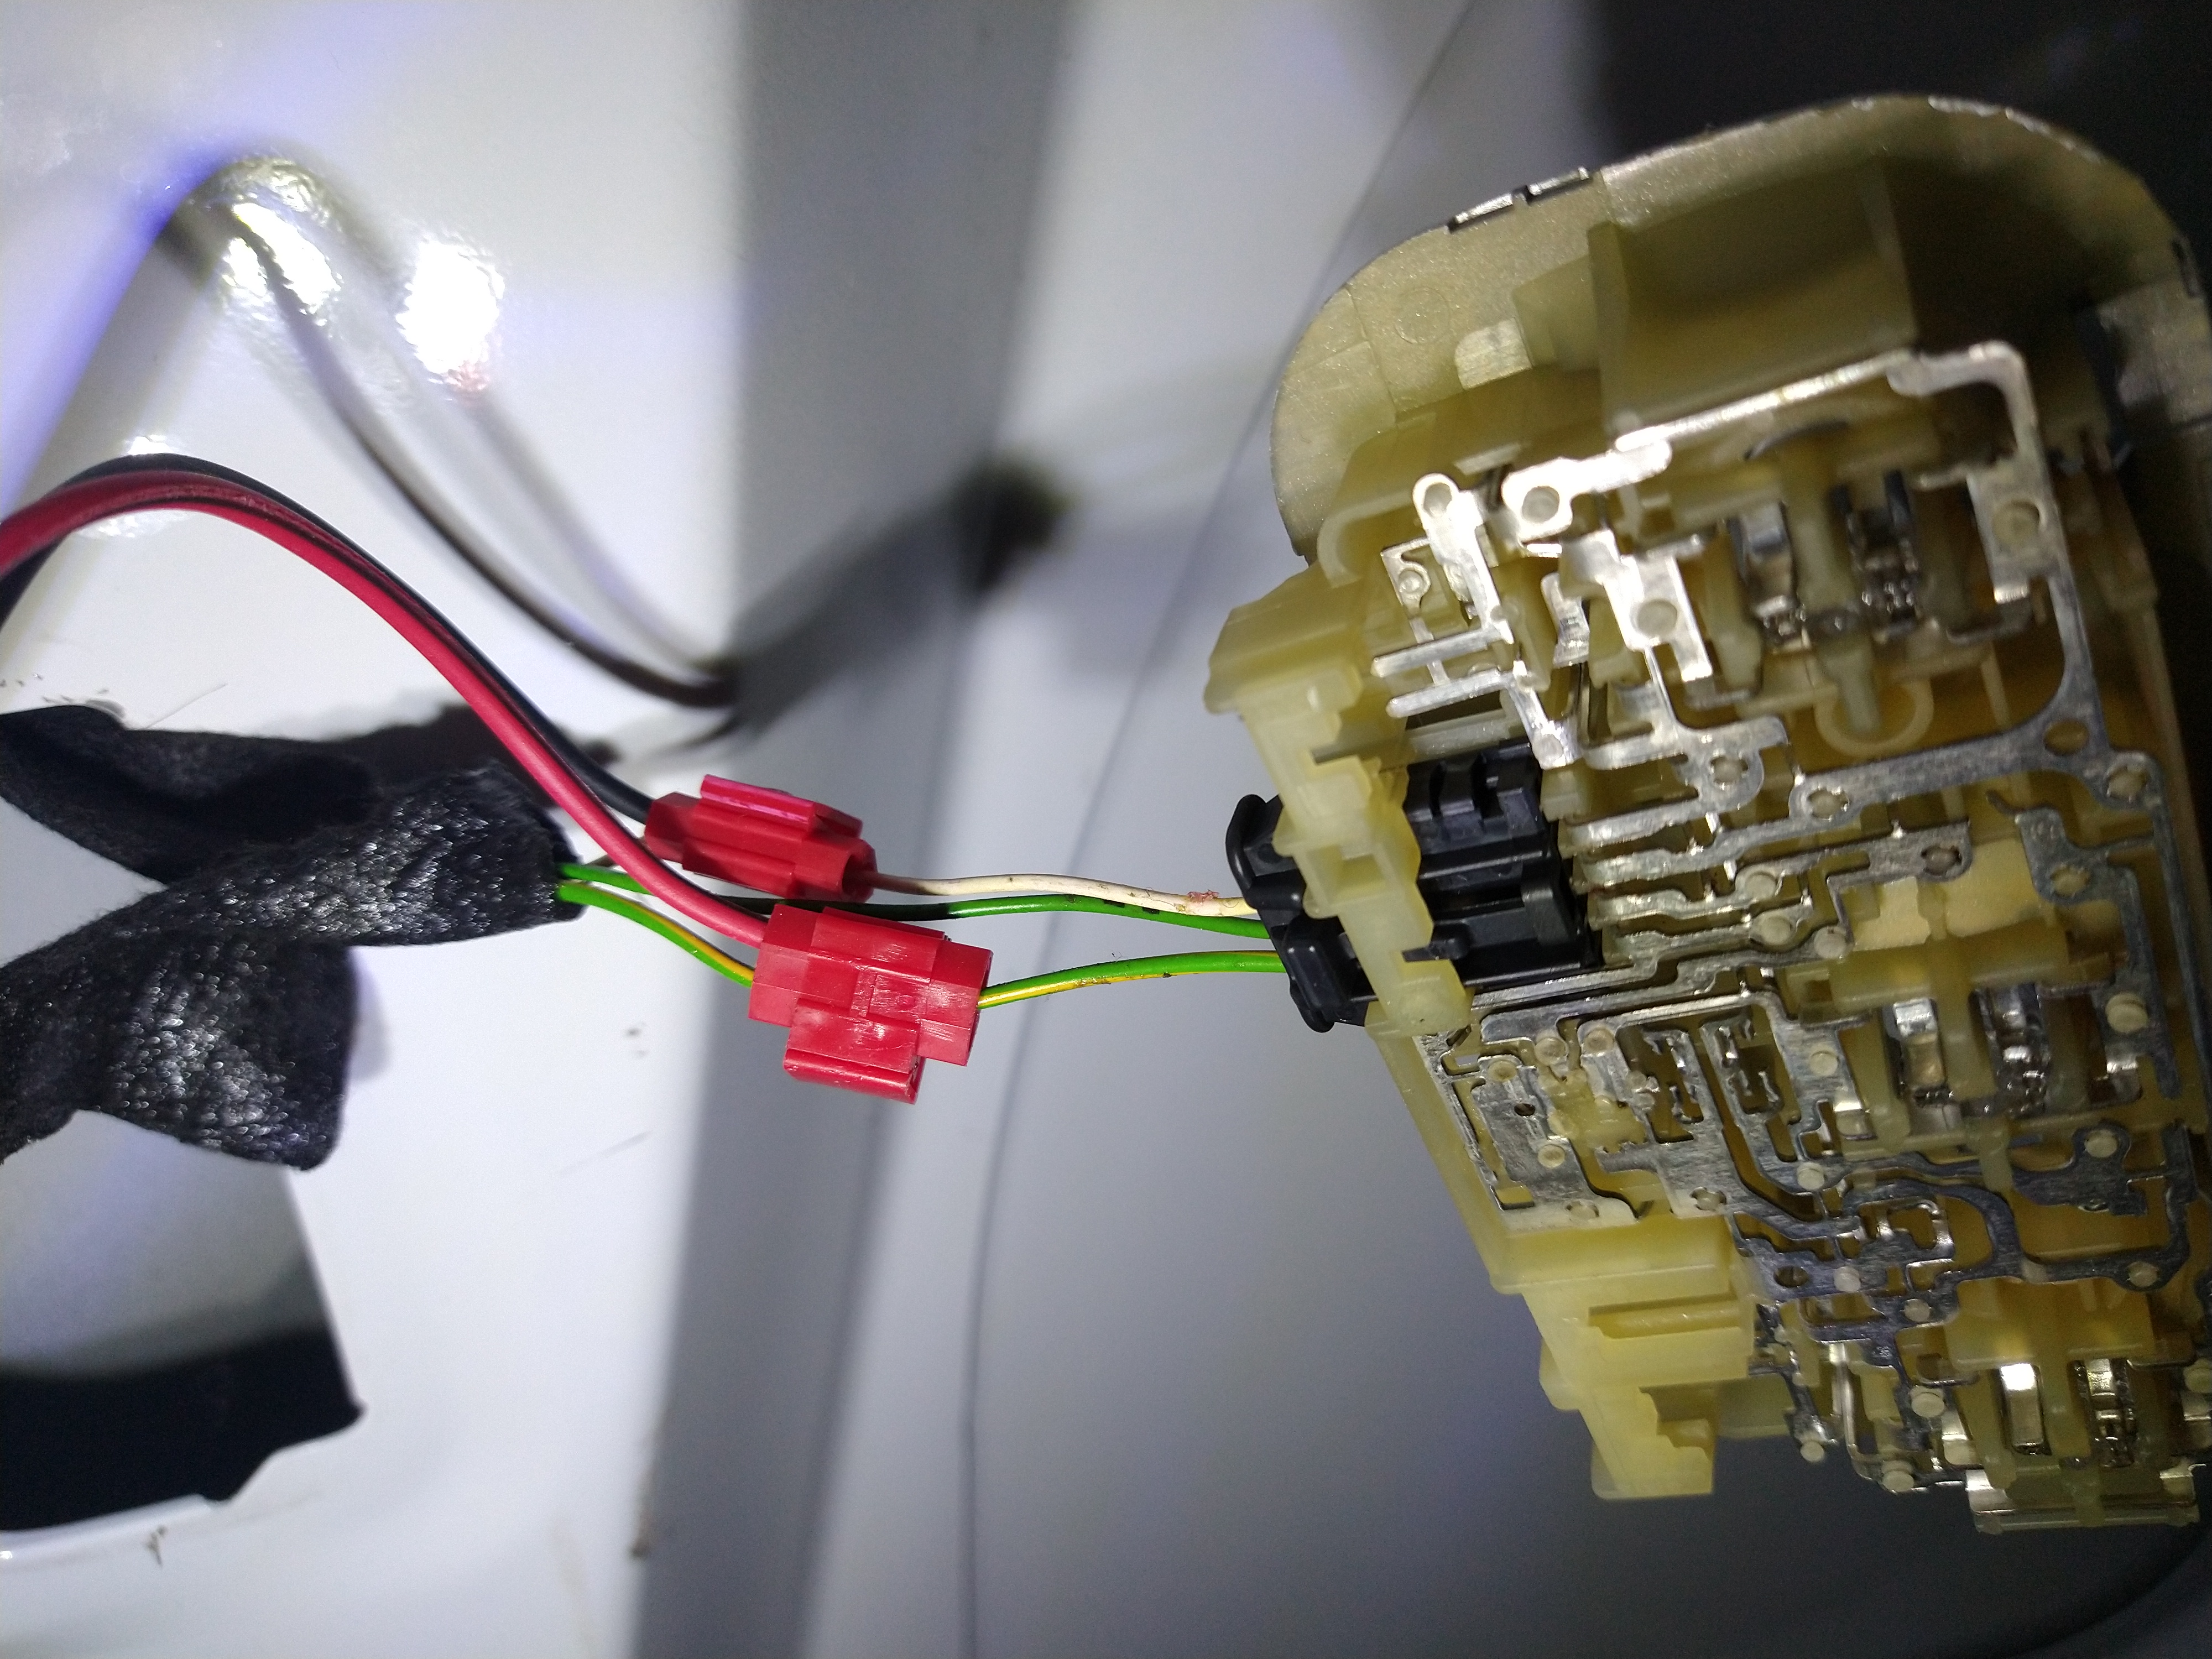
Rear load space light
I wanted to check how the extra LED lights were hooked in.
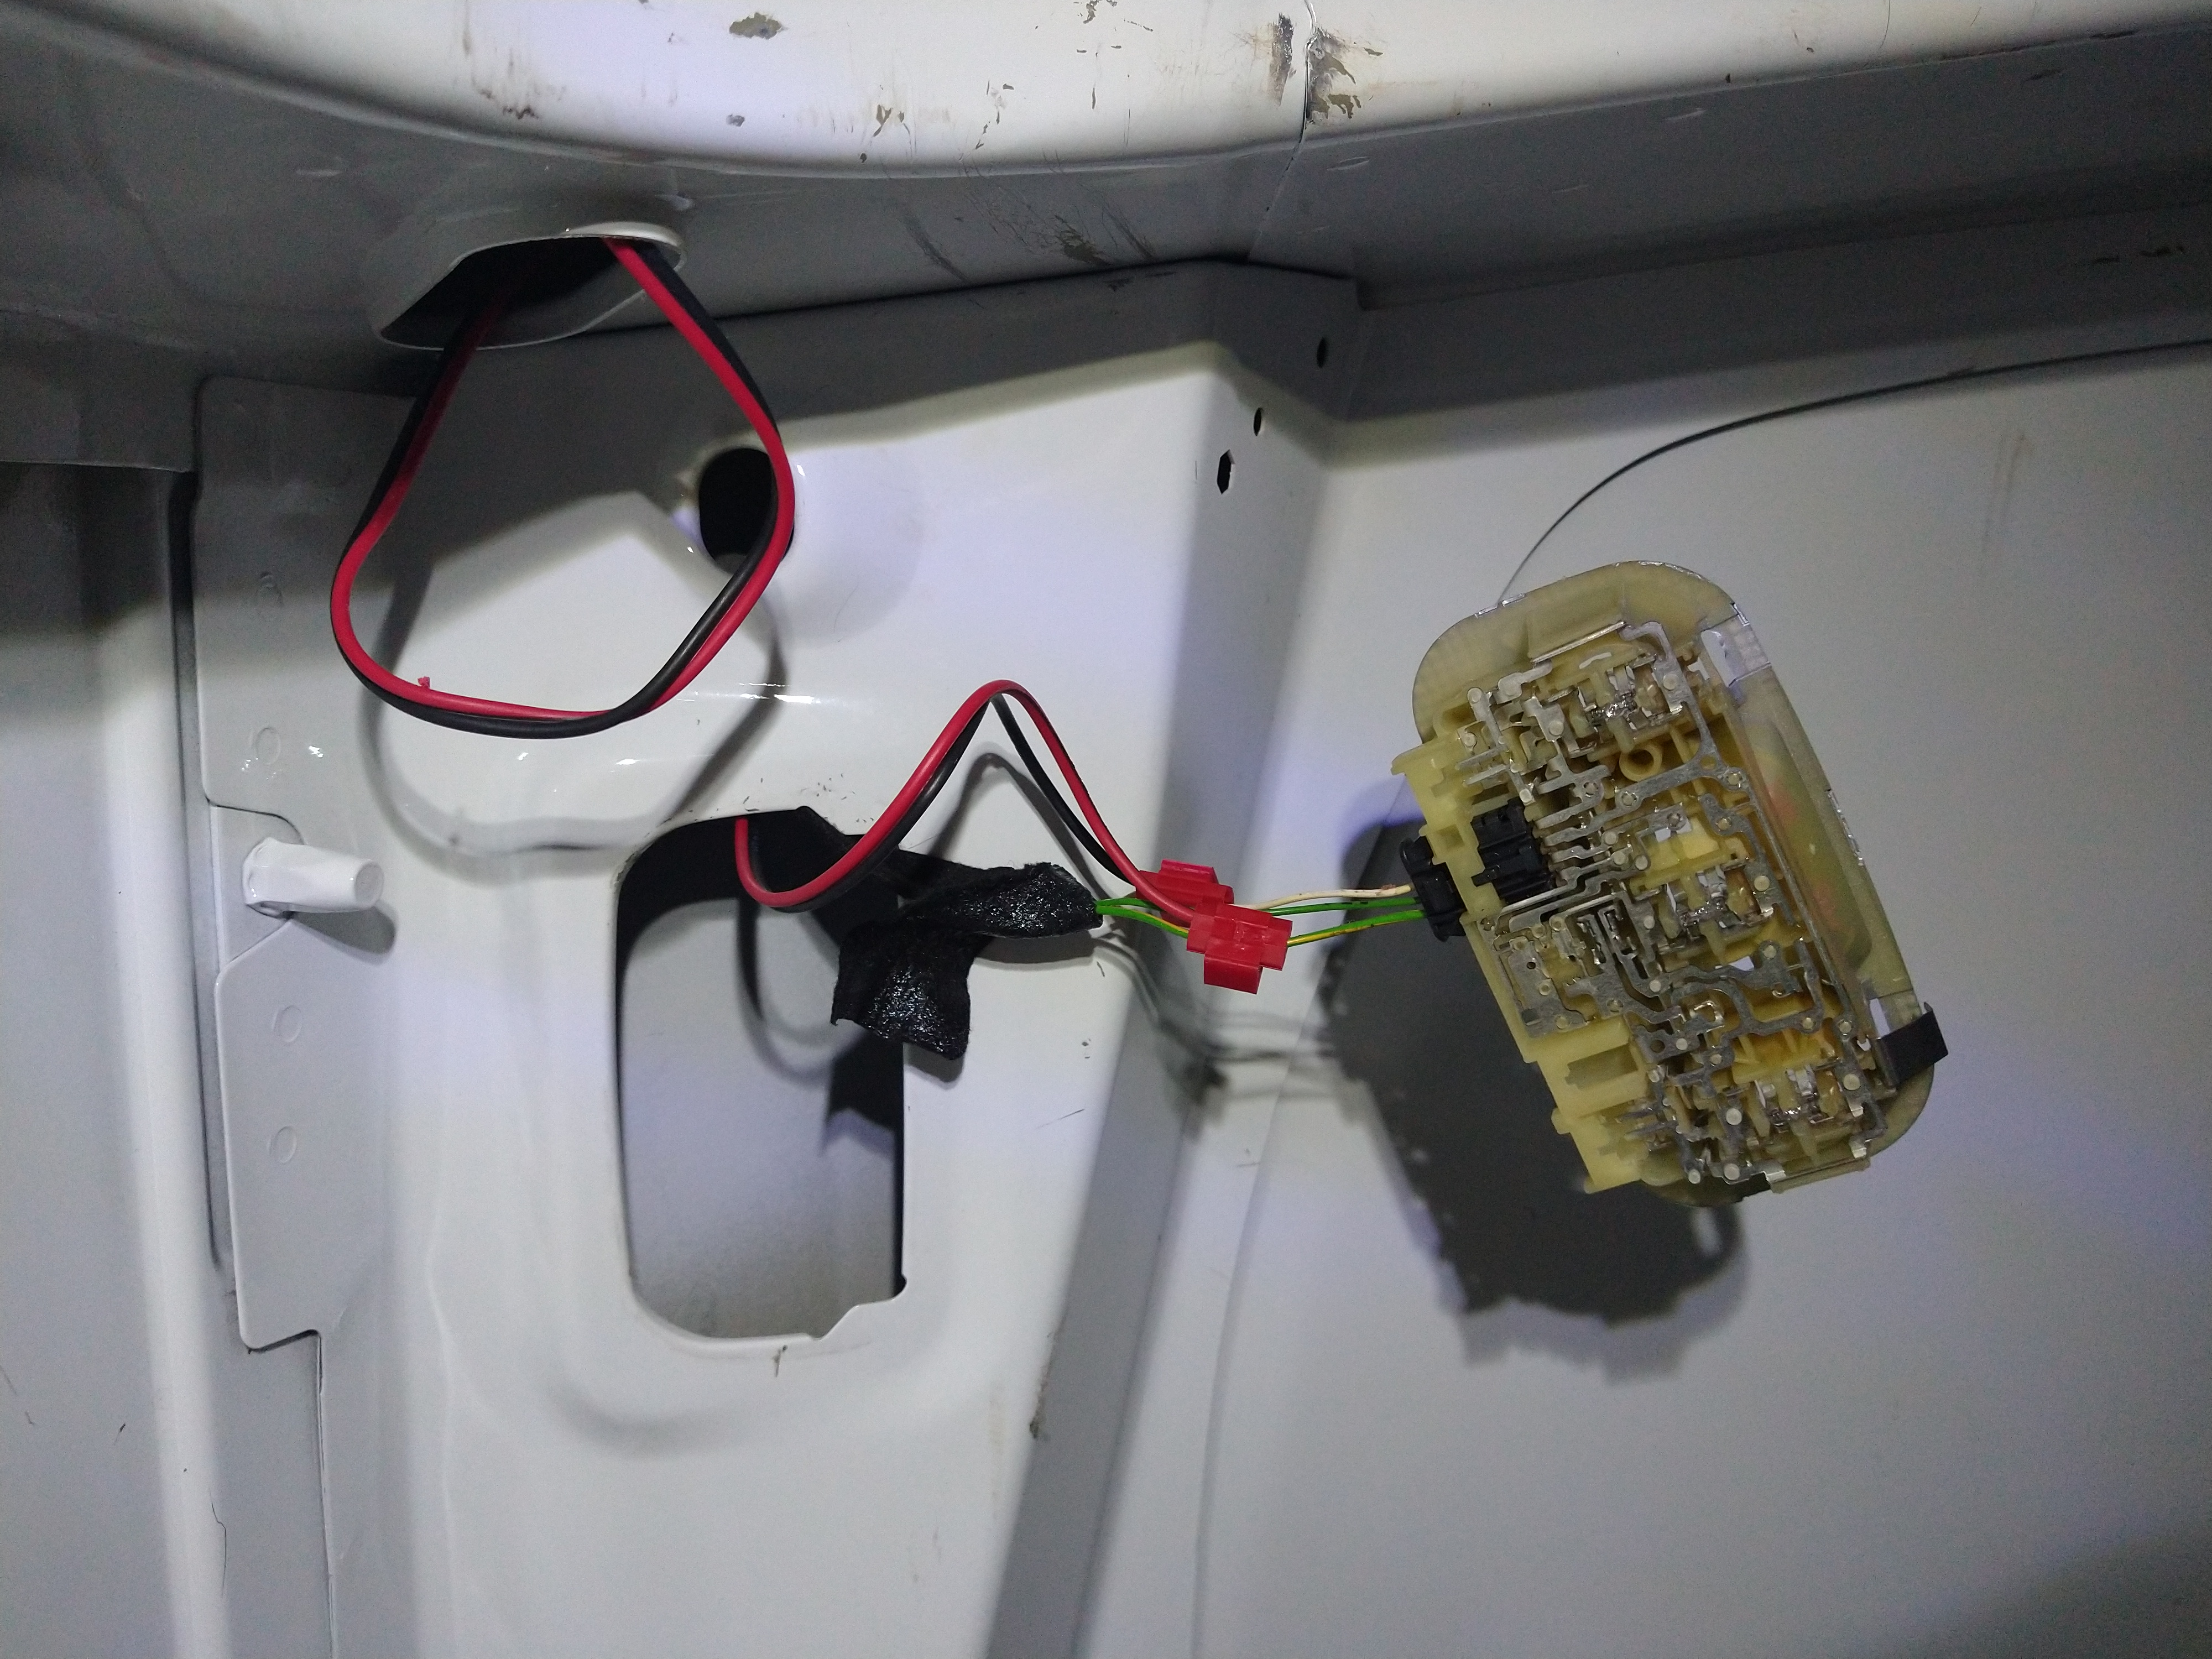
Looks like the previous owner tapped into the main lighting circuit which comes from the BSI unit (Body Control Unit).
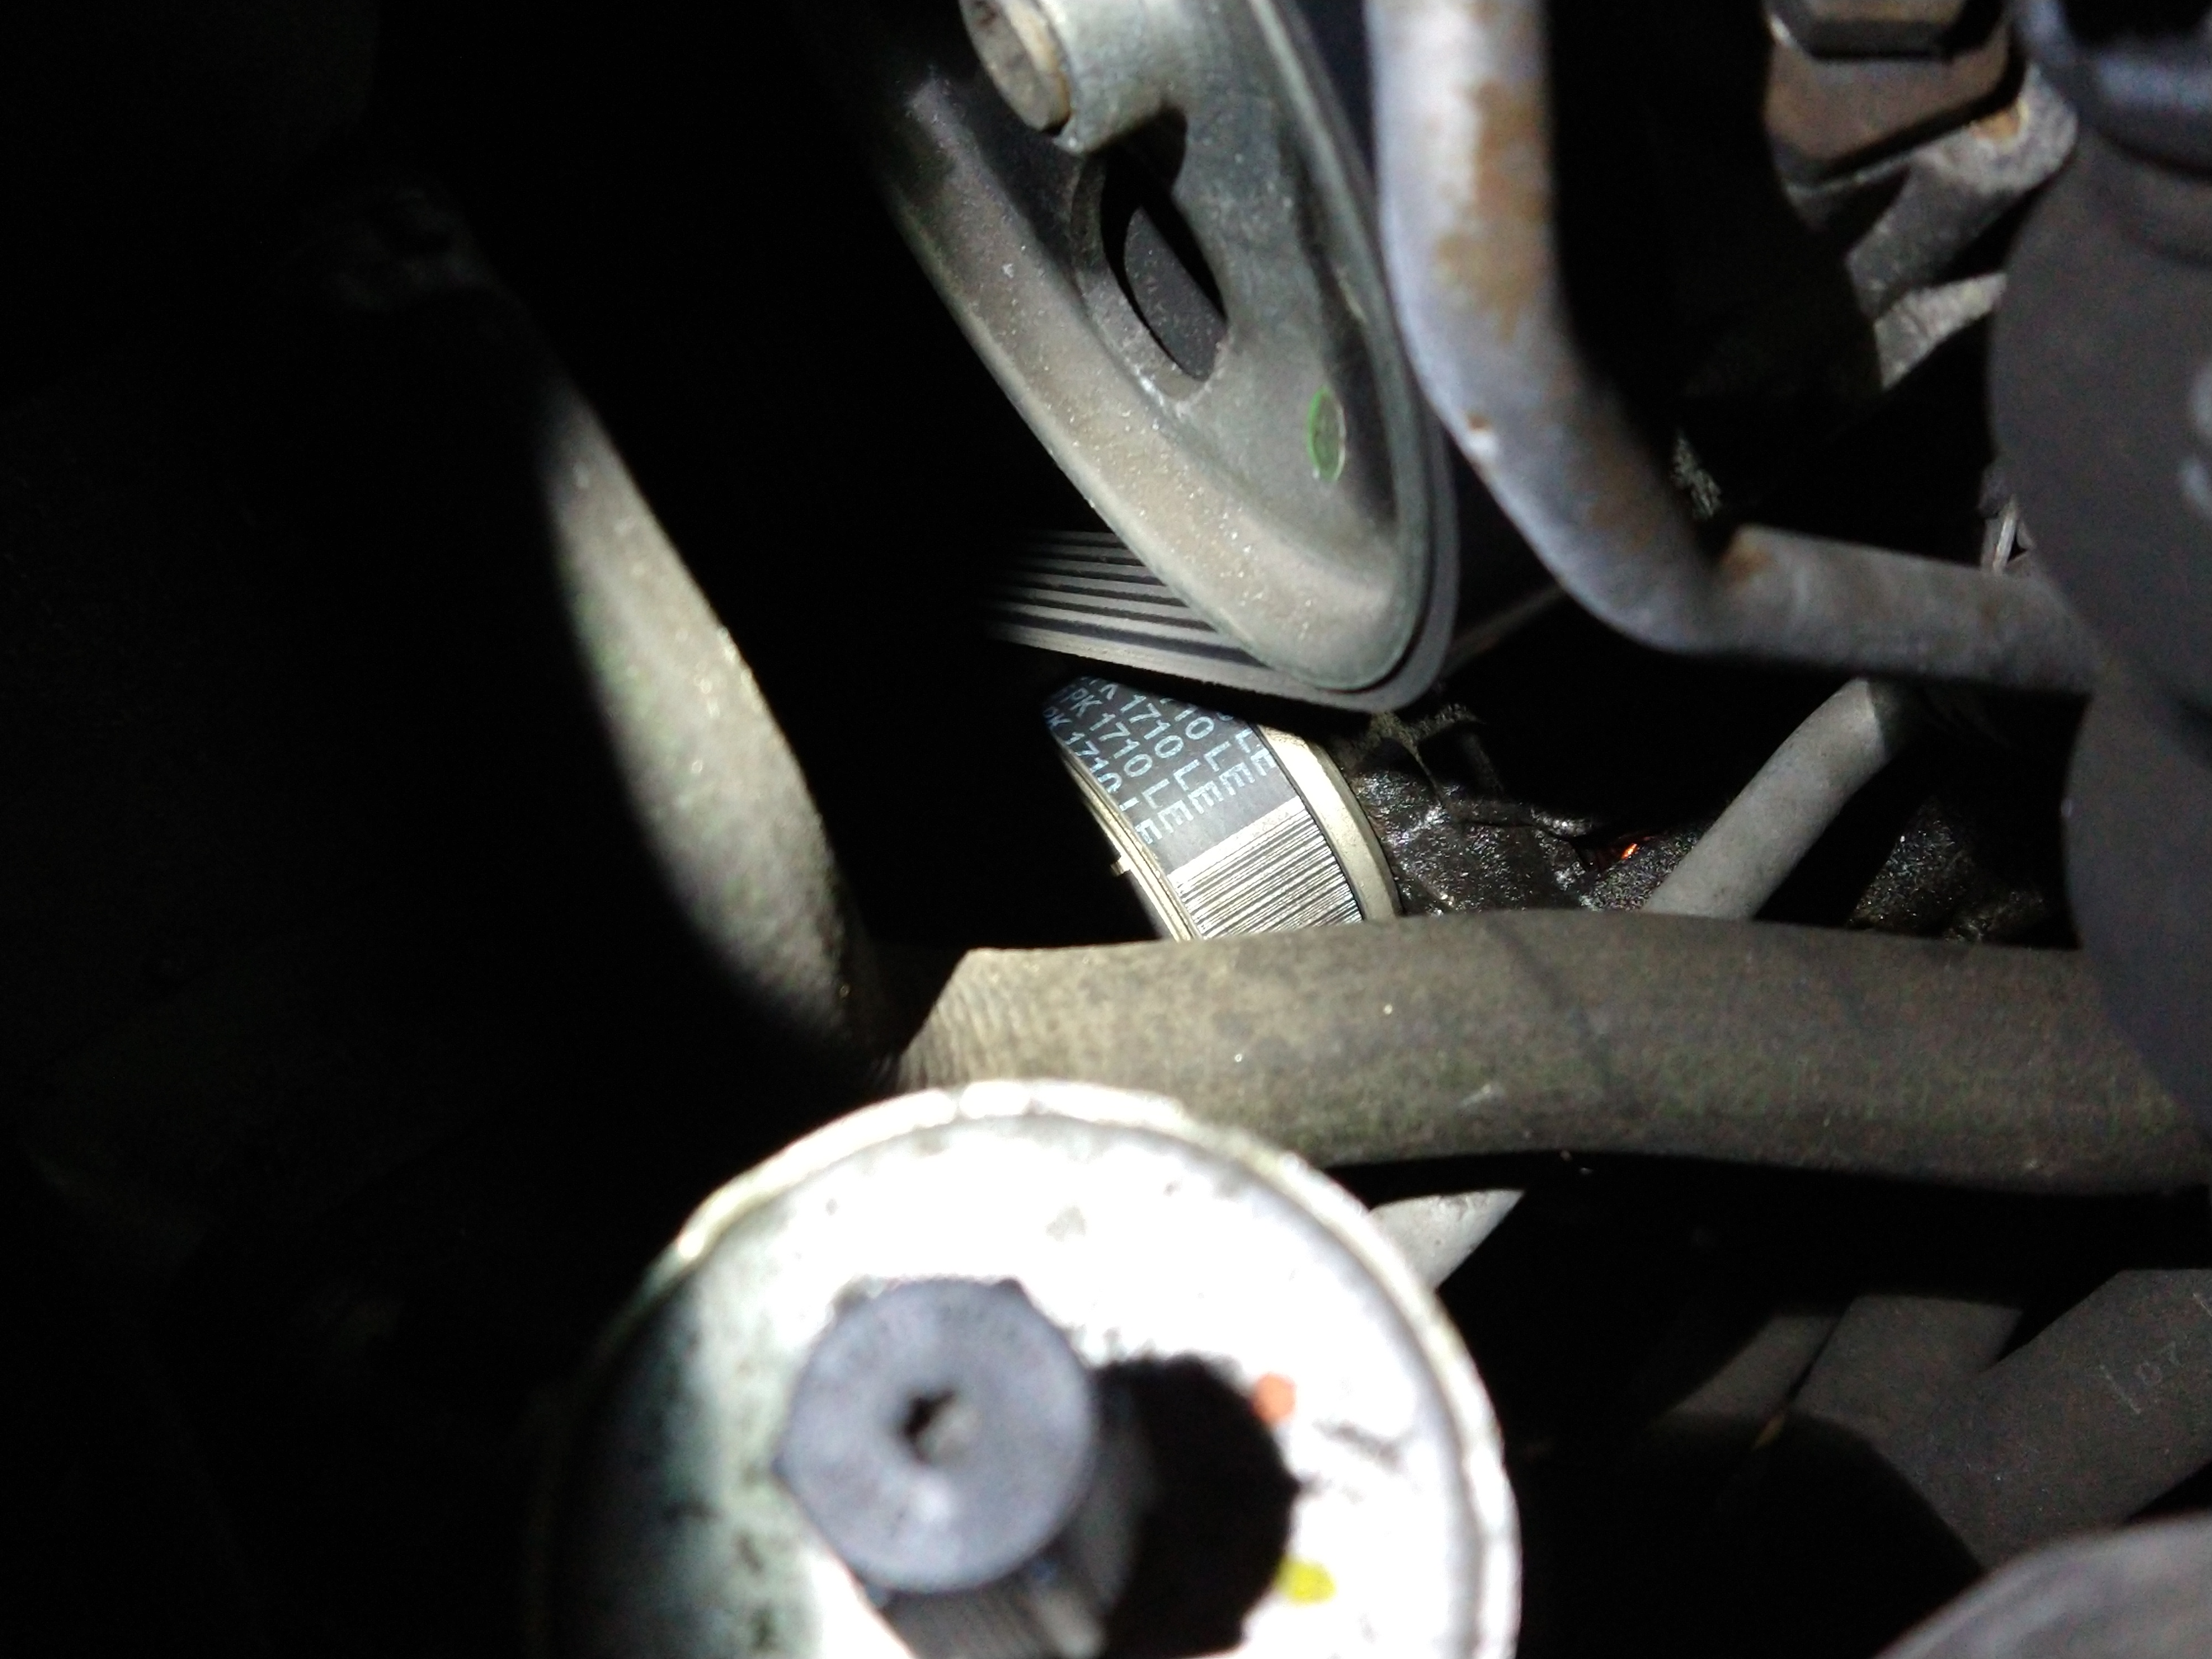
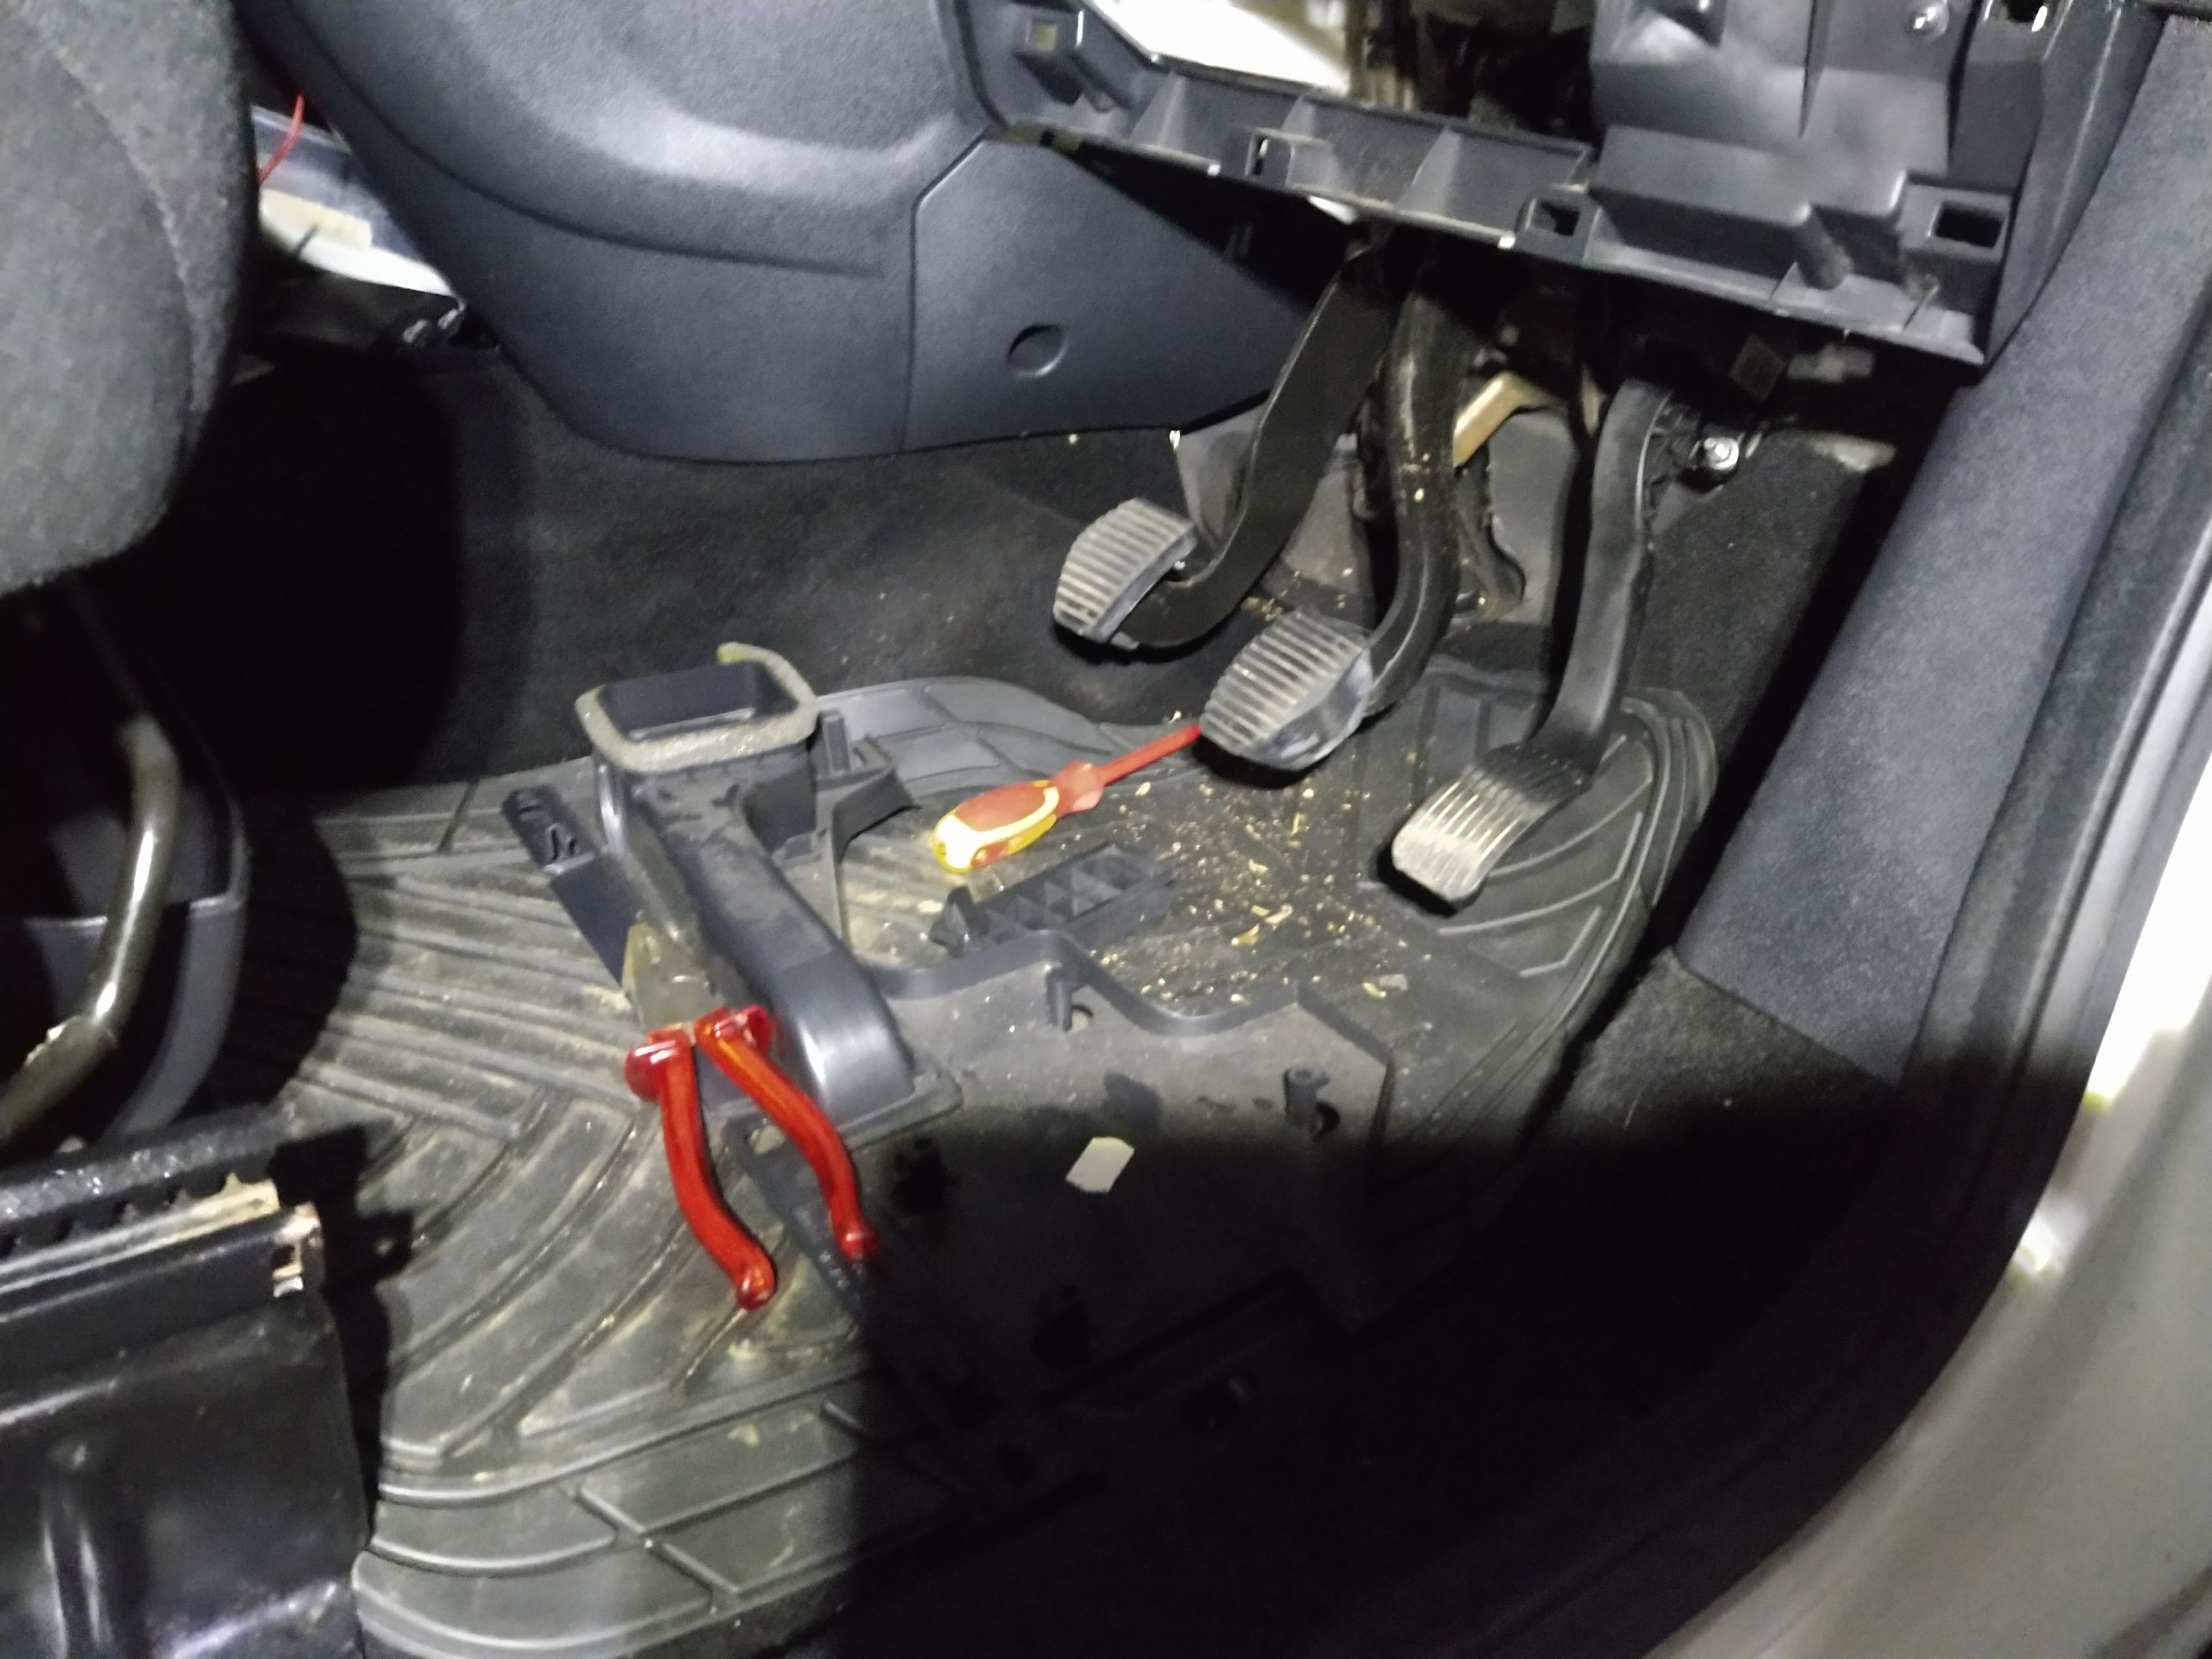
Auxiliary belt
Checking auxiliary belt condition.
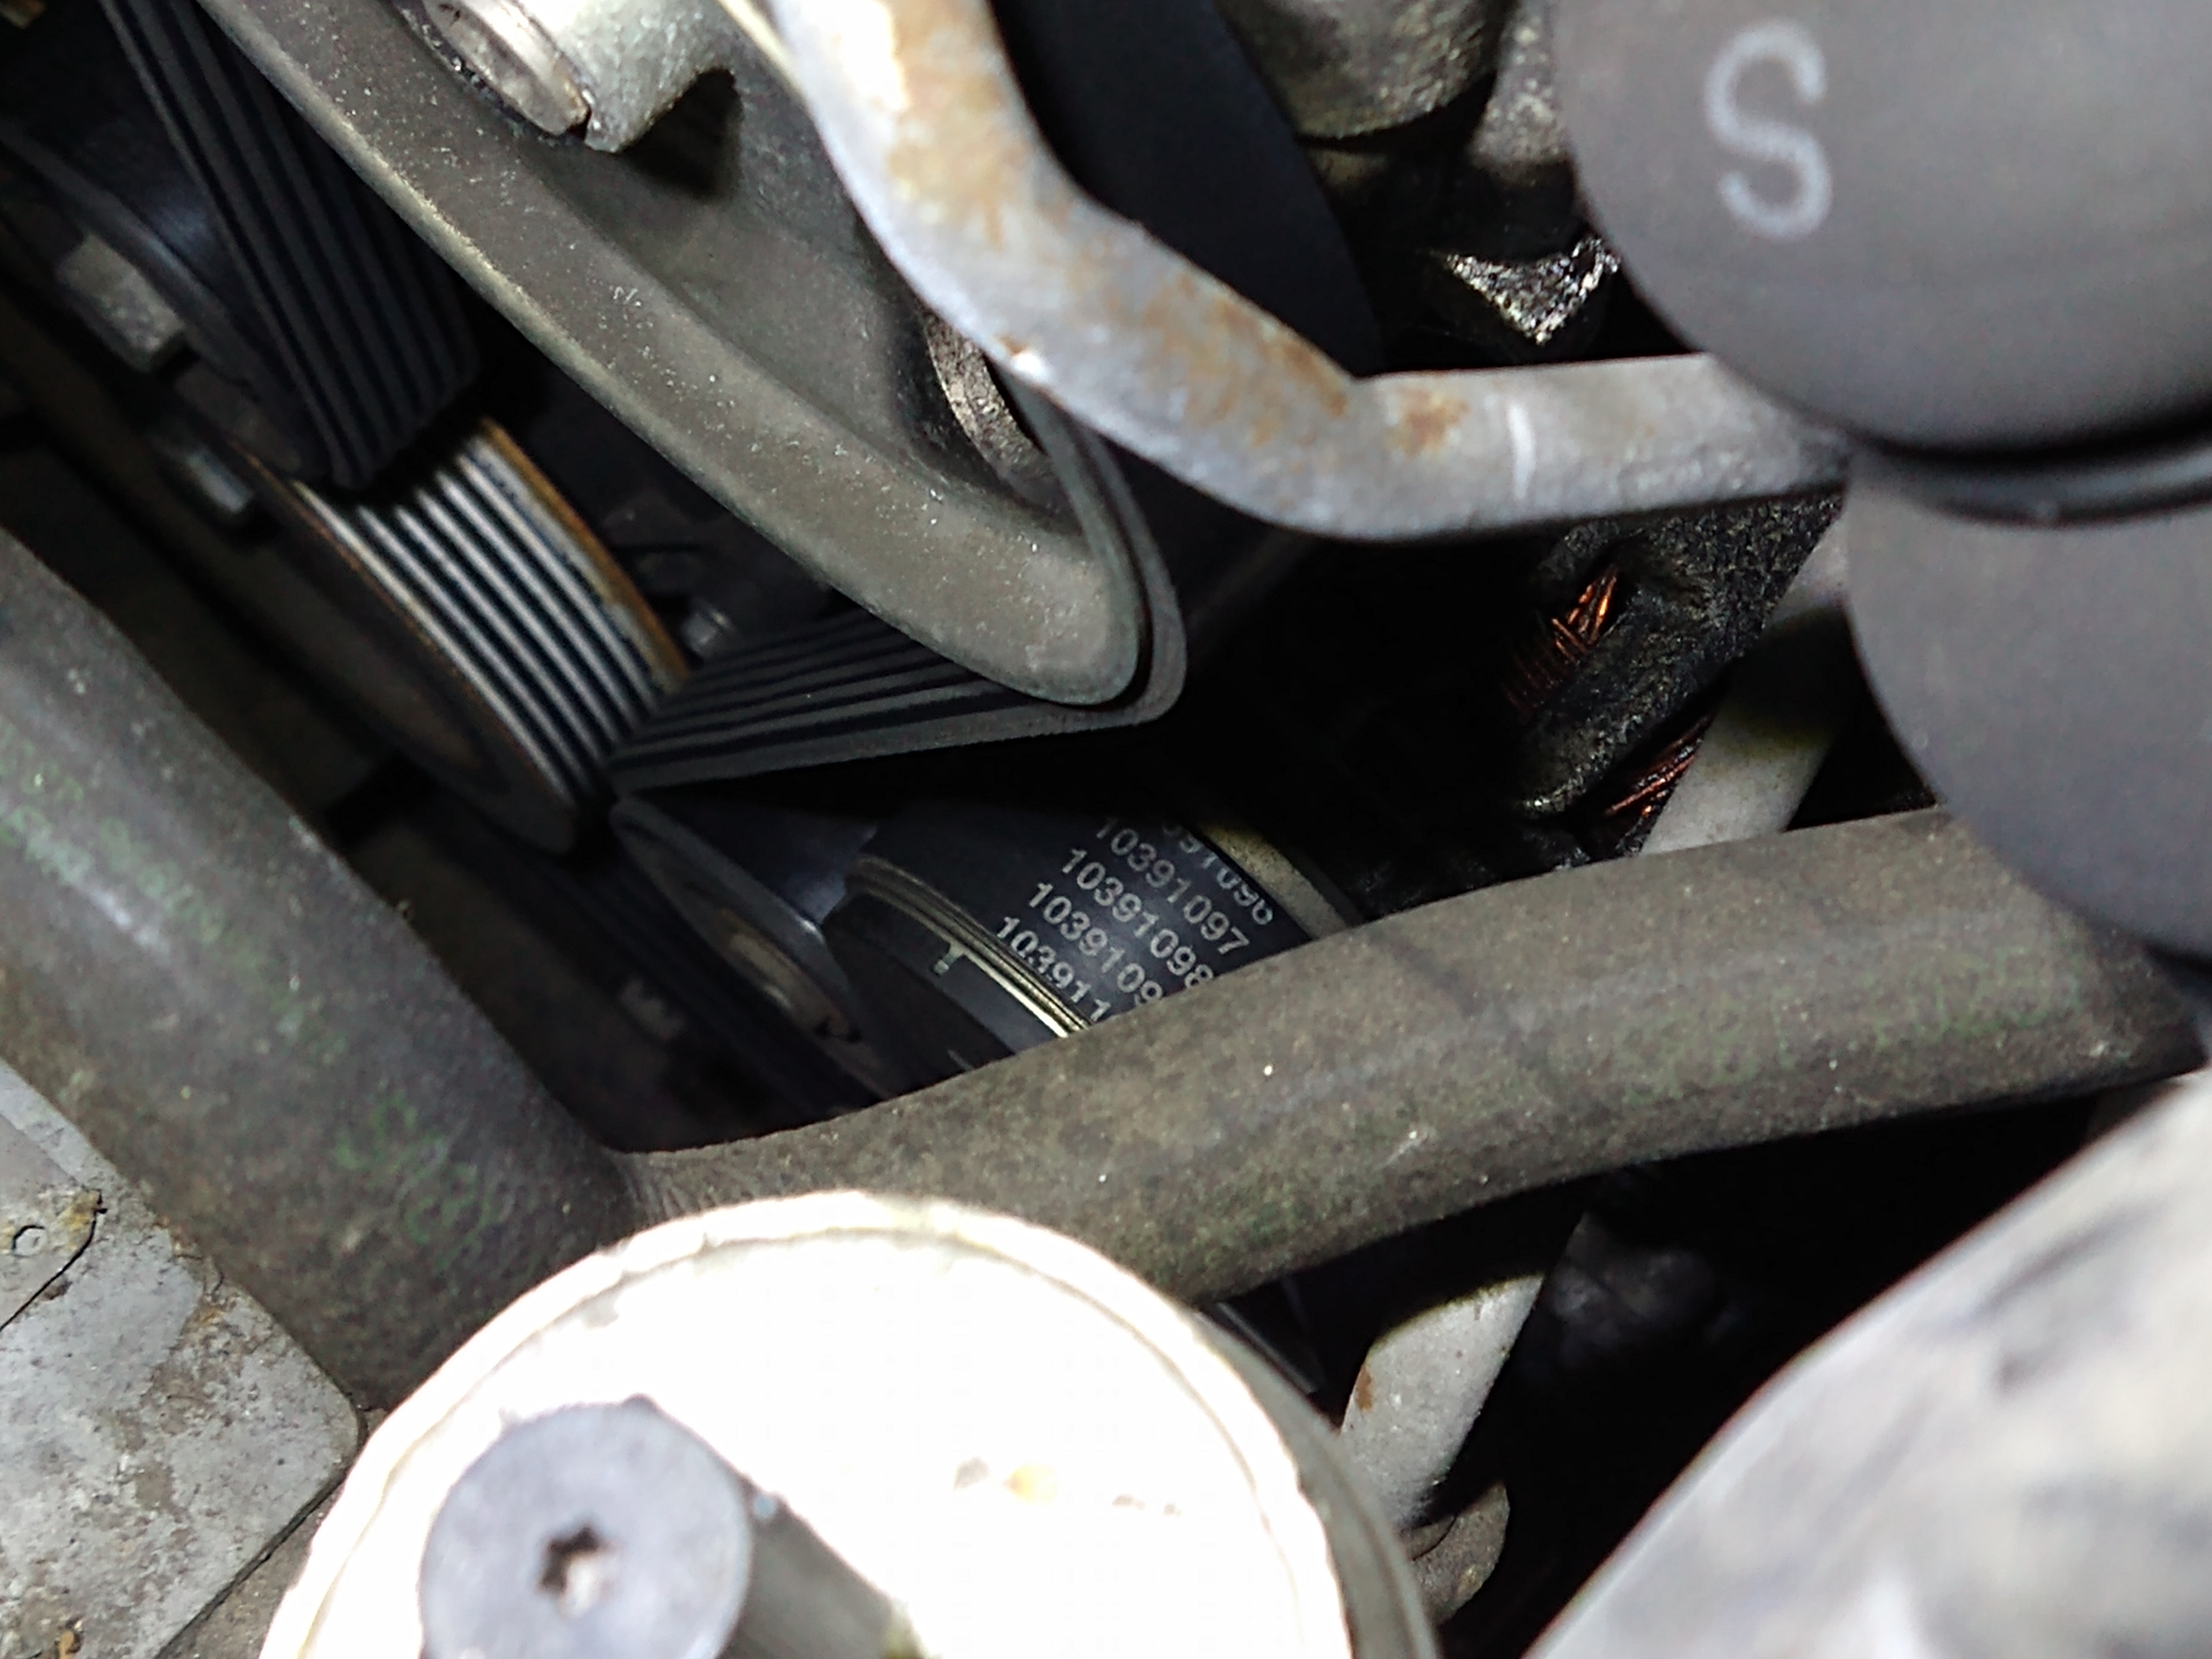
Can see the bar code so that’s a good sign.
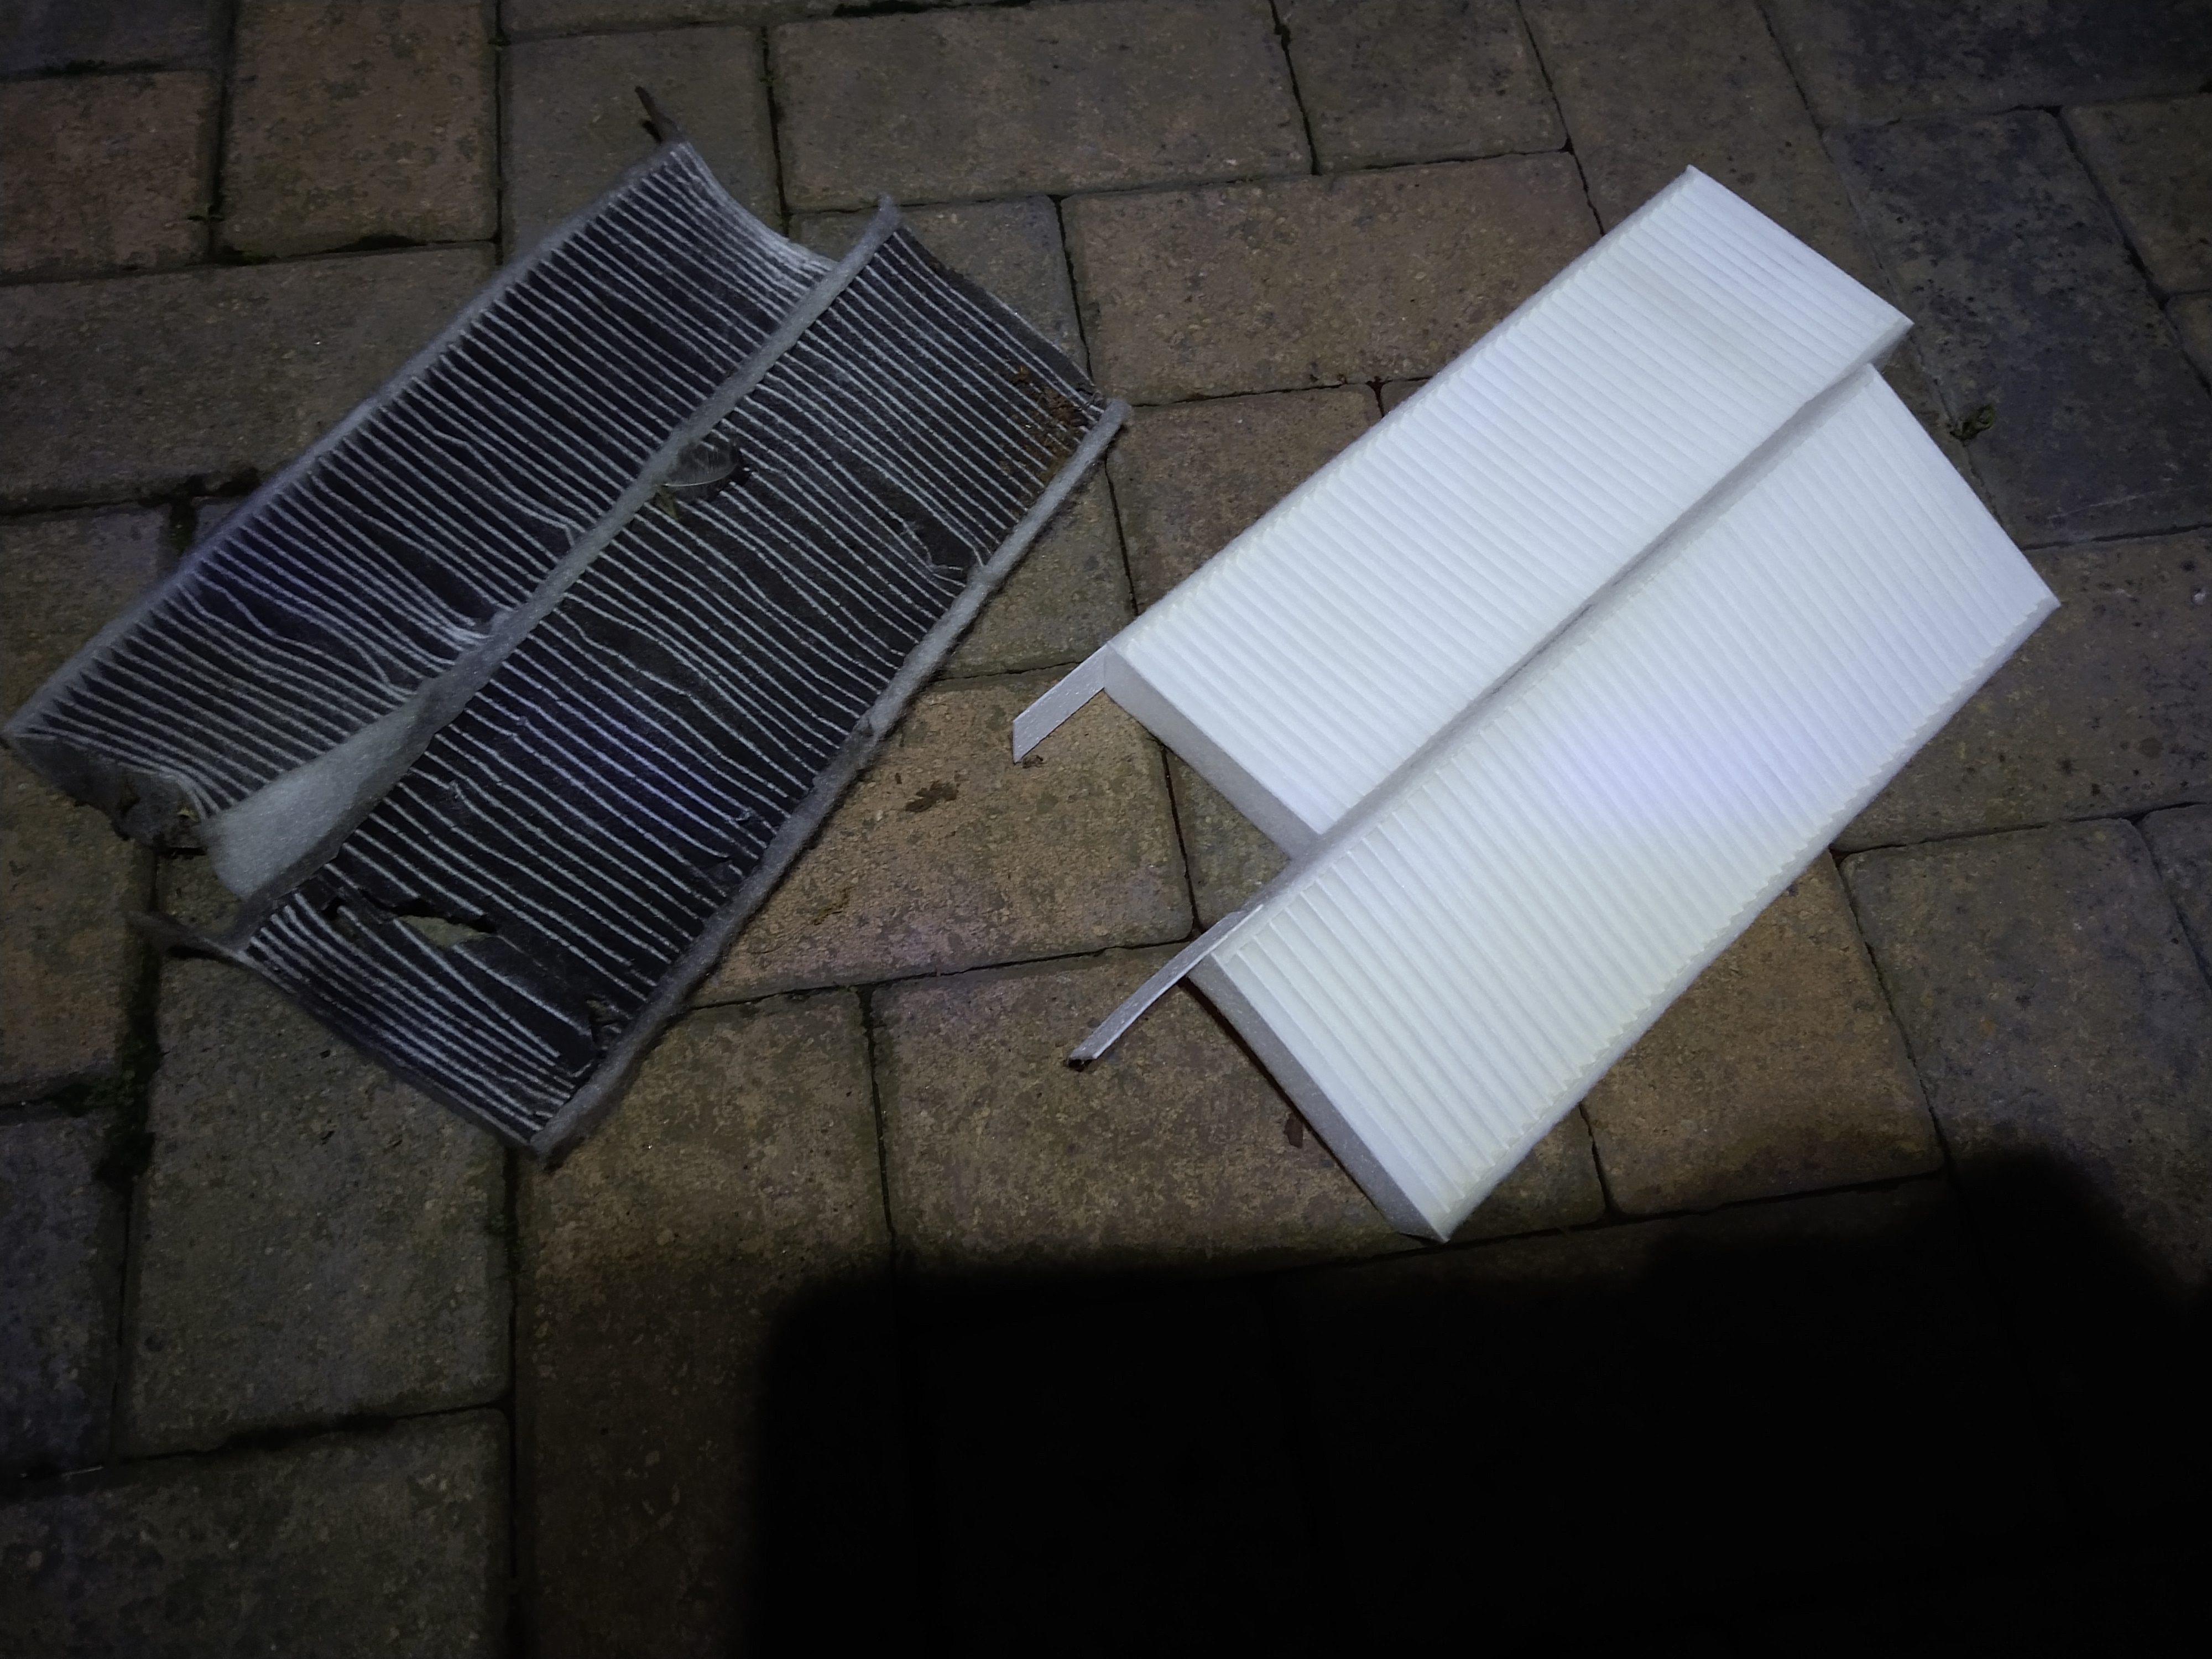
Pollen filter
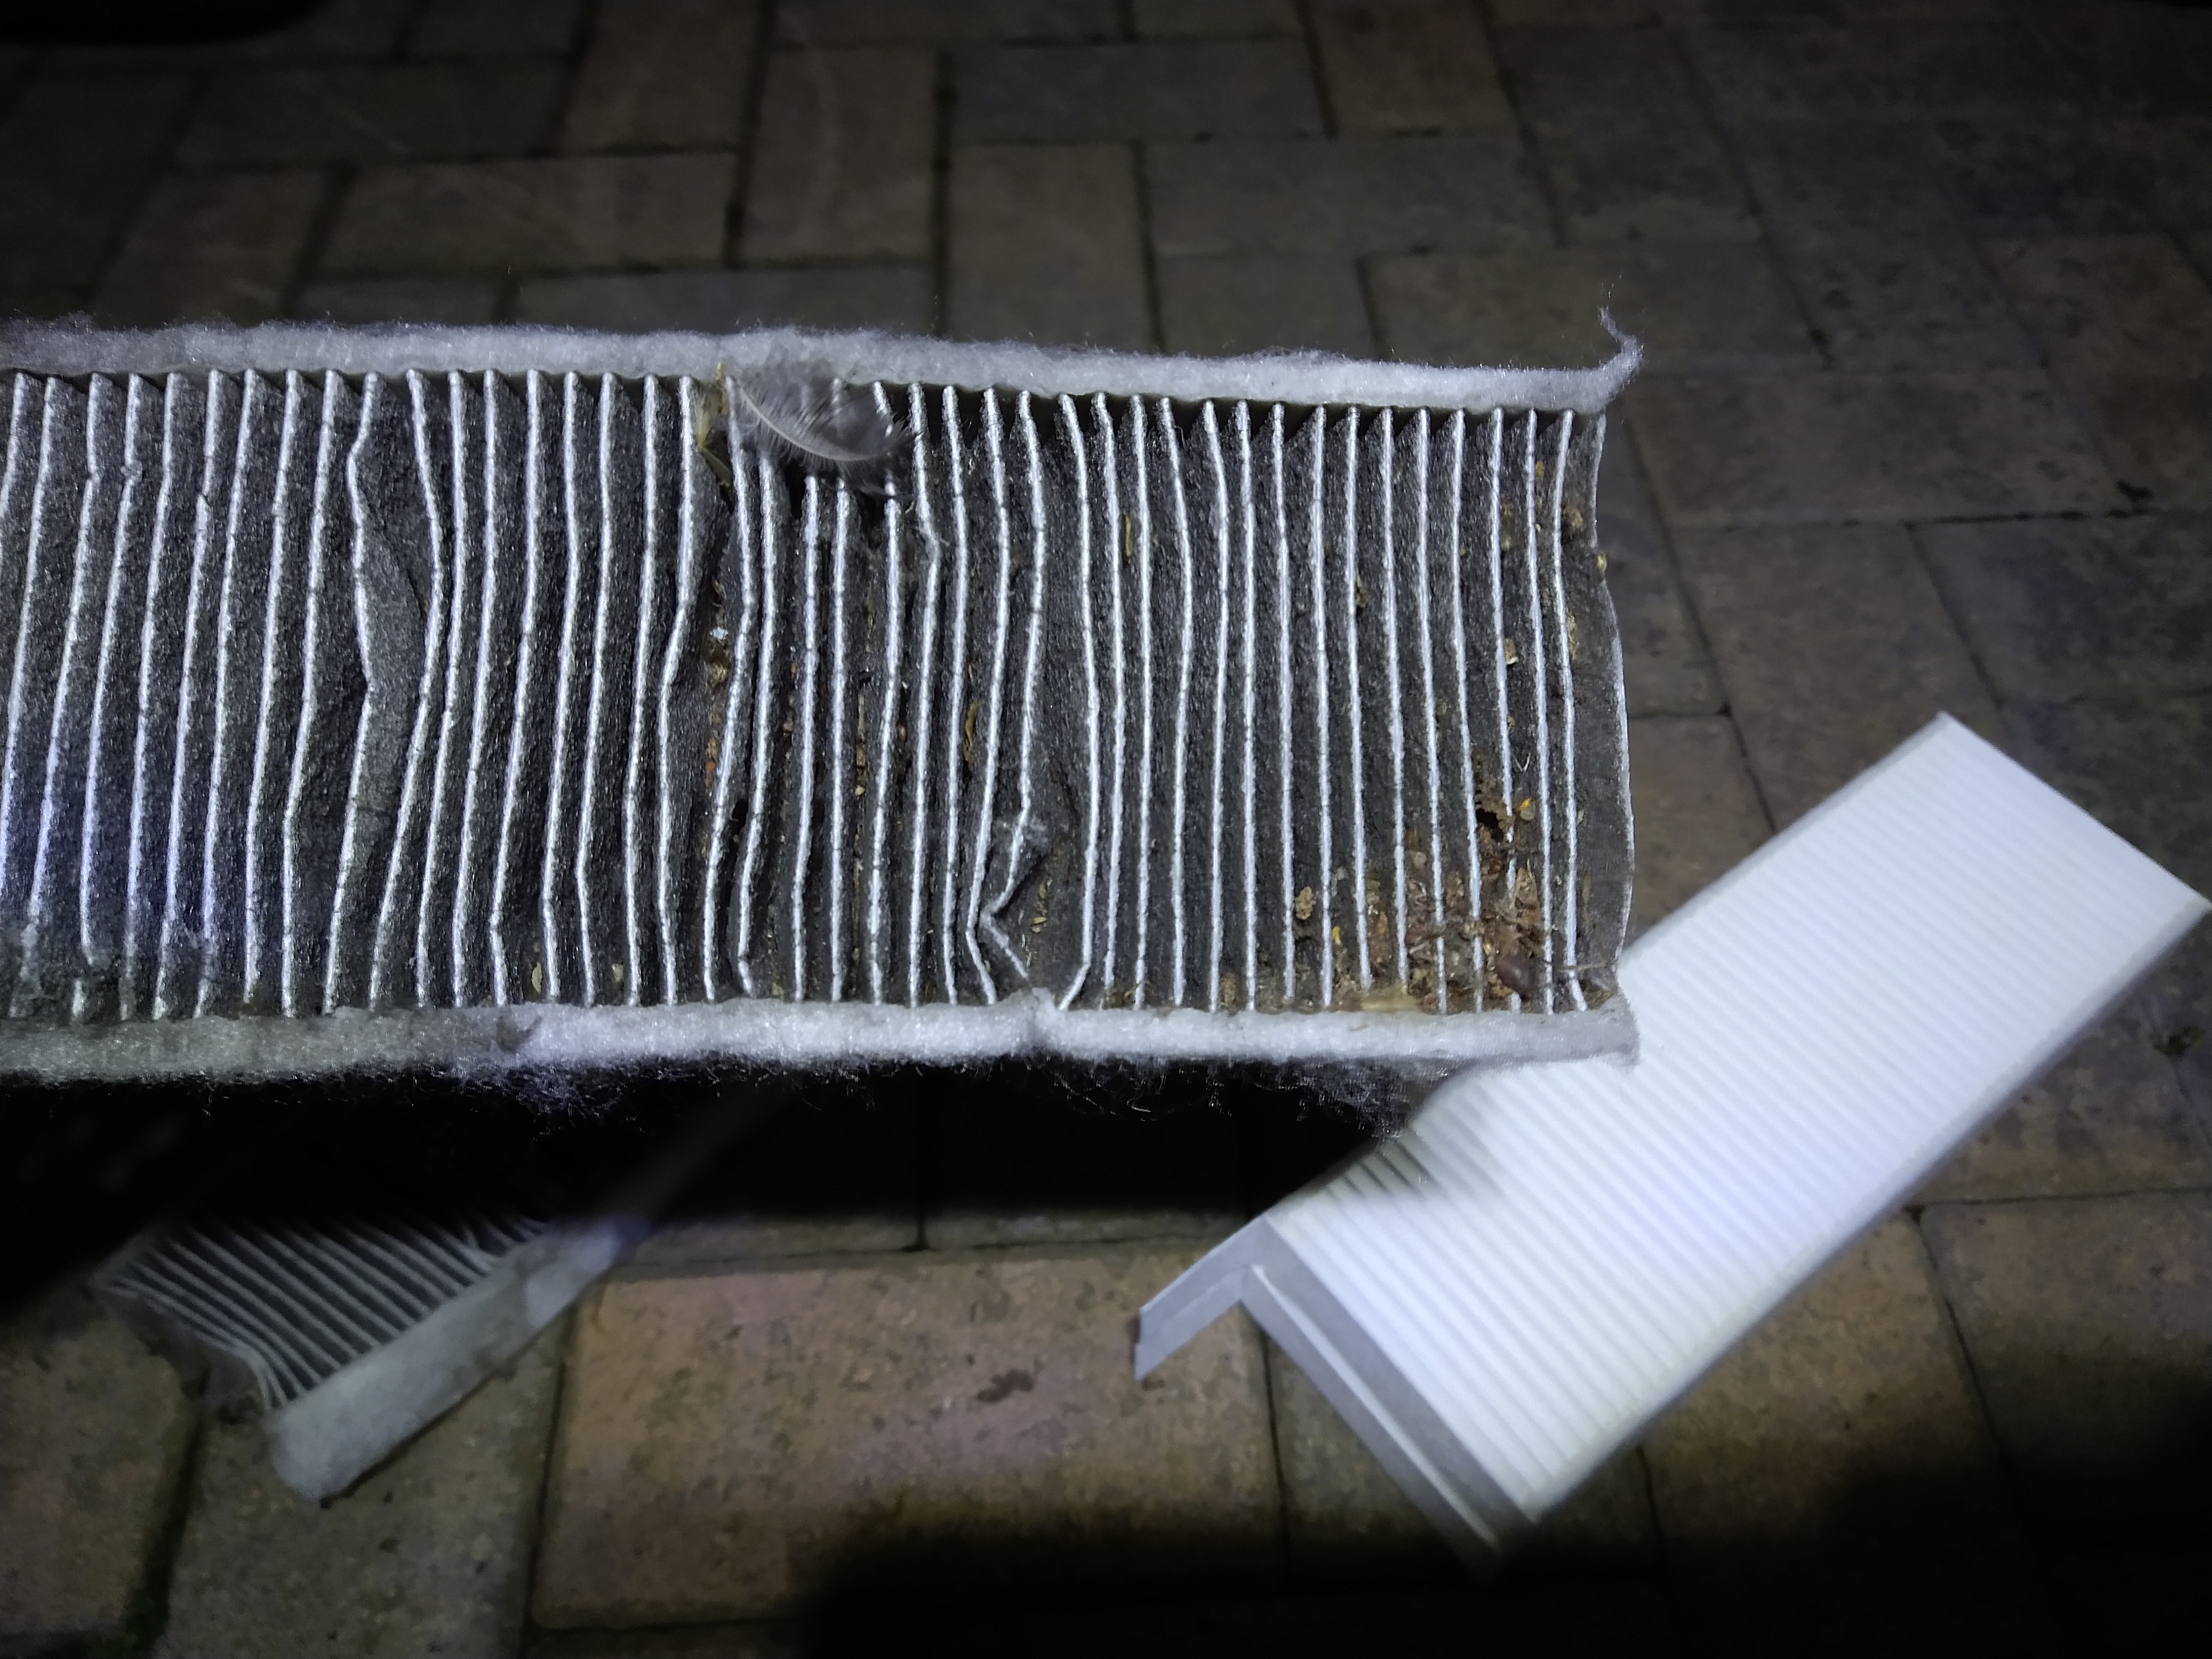
It was a very finicky job to get the old pollen/cab filter out as it was stuck behind the plastic lip. You can see the amount of debris that came with it.
Old vs new filter. A massive difference.
I think I could grow a tree from that.
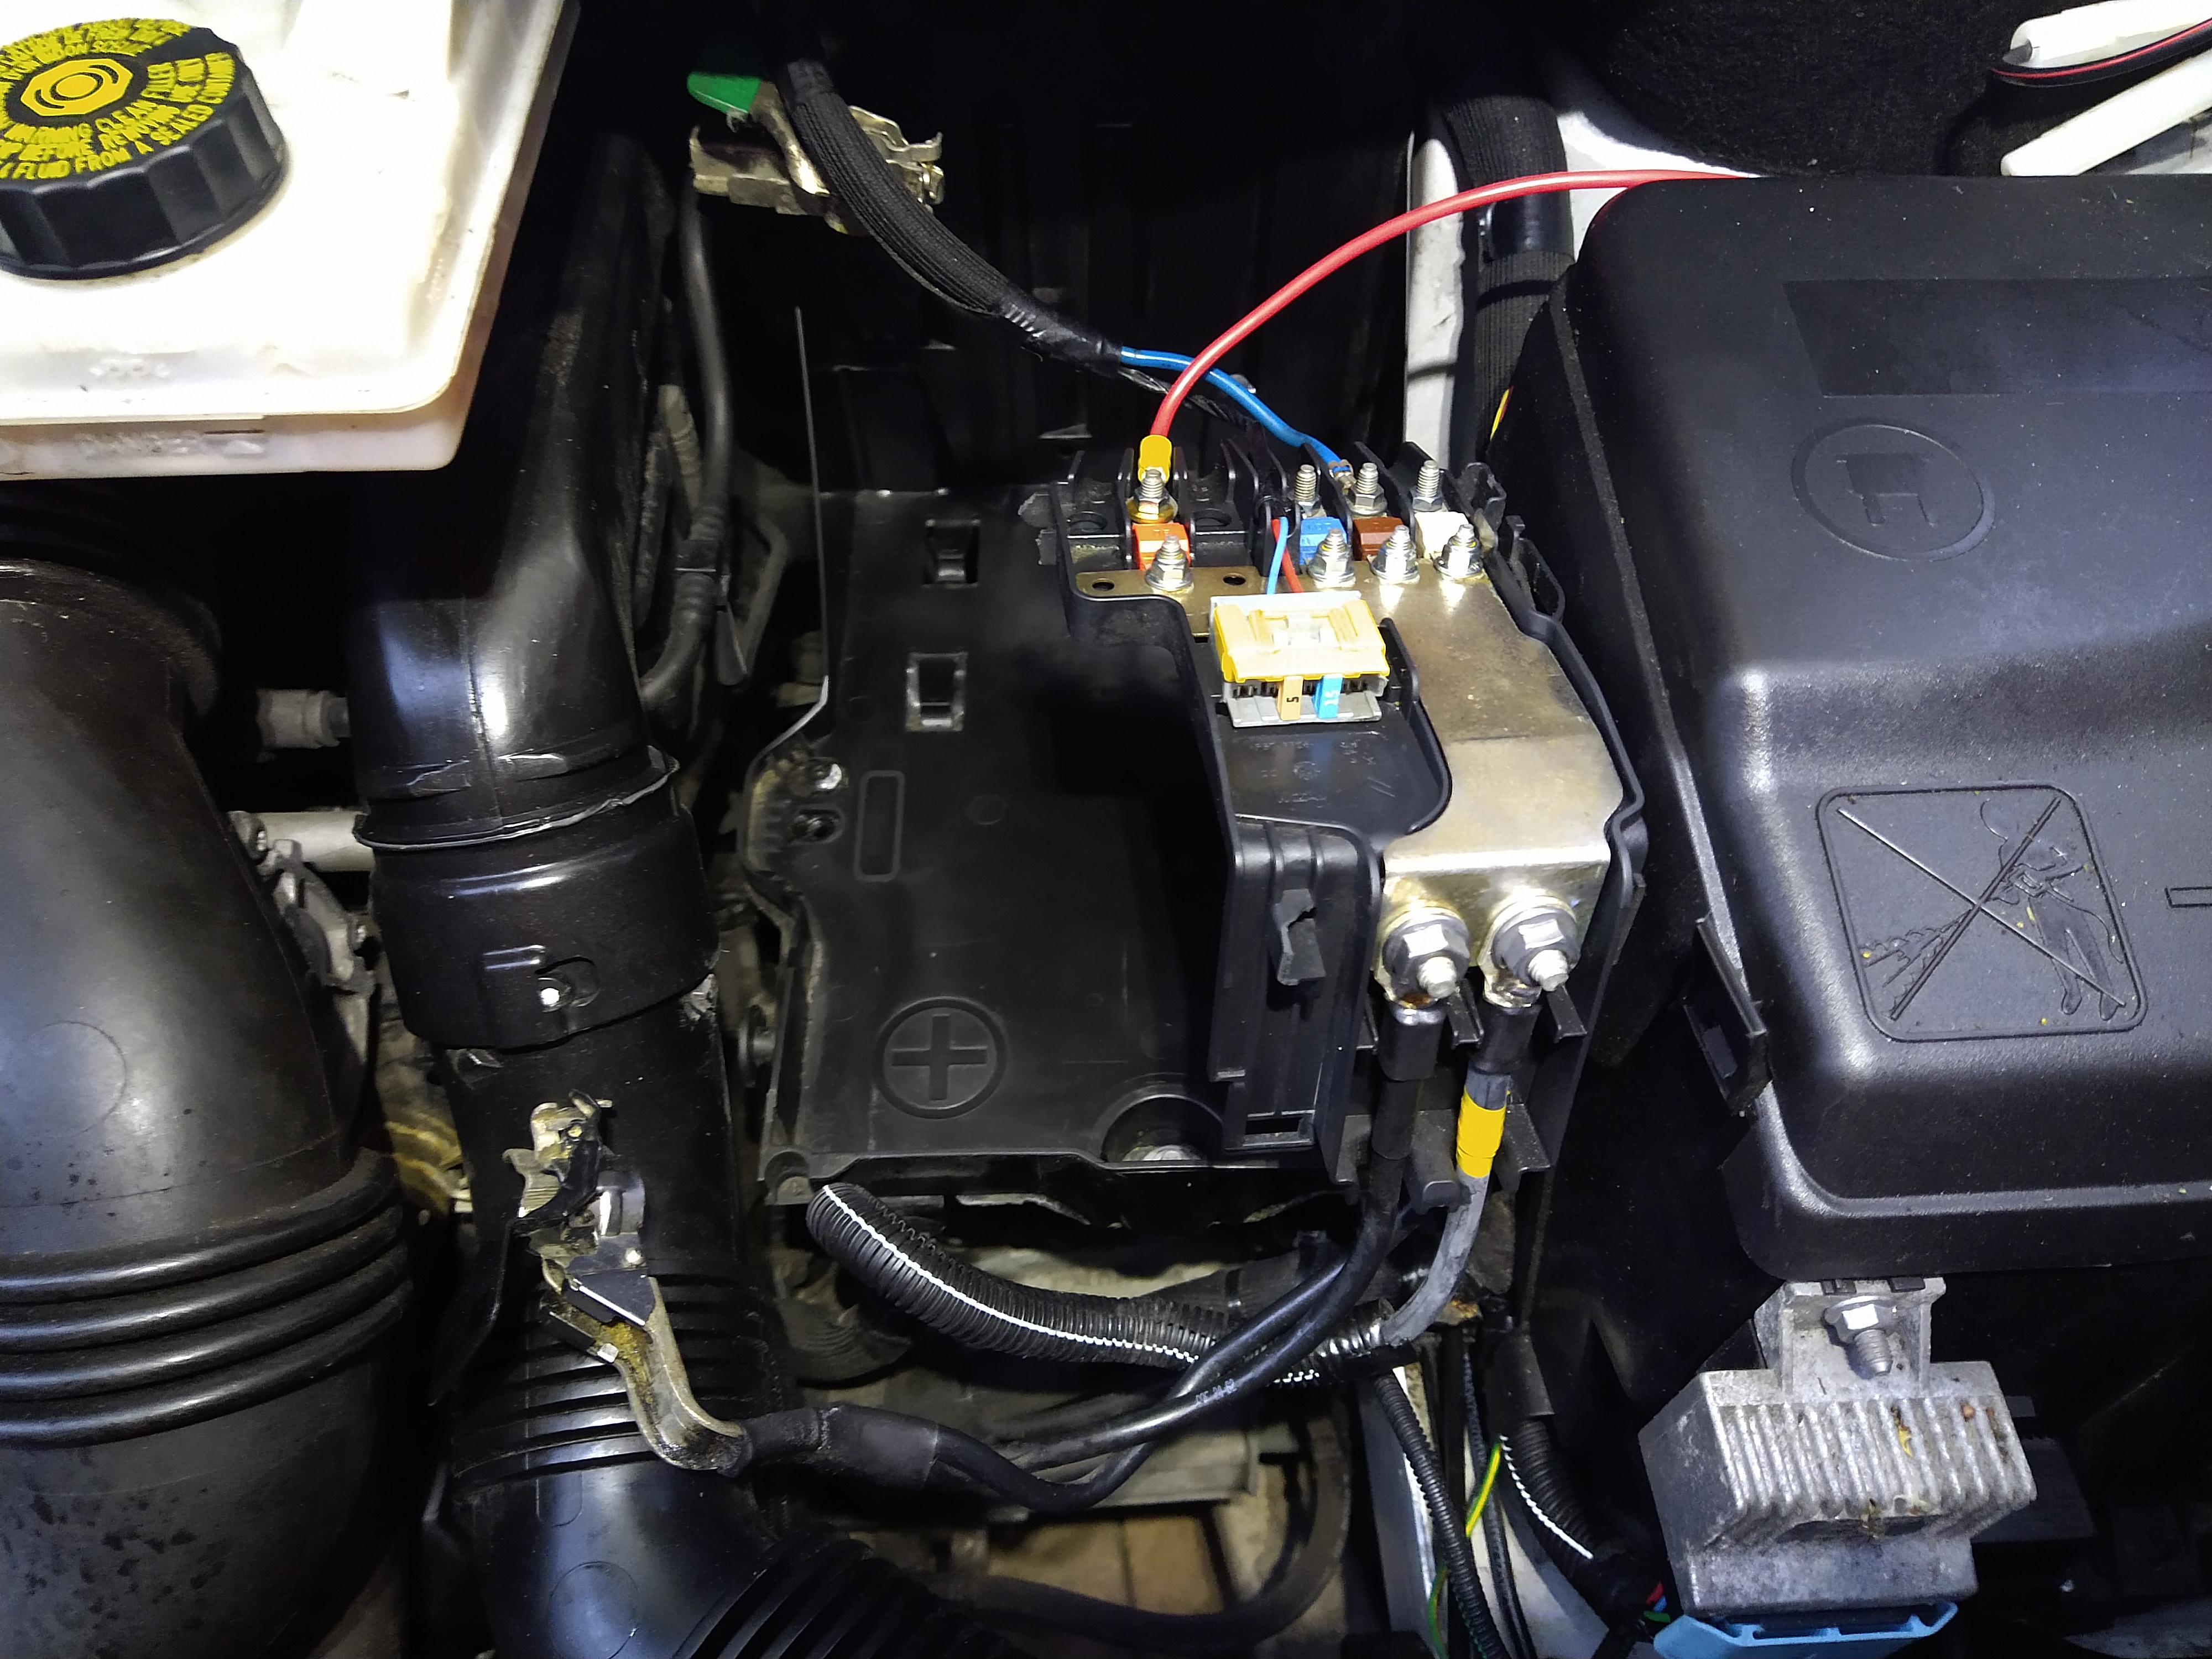
Battery
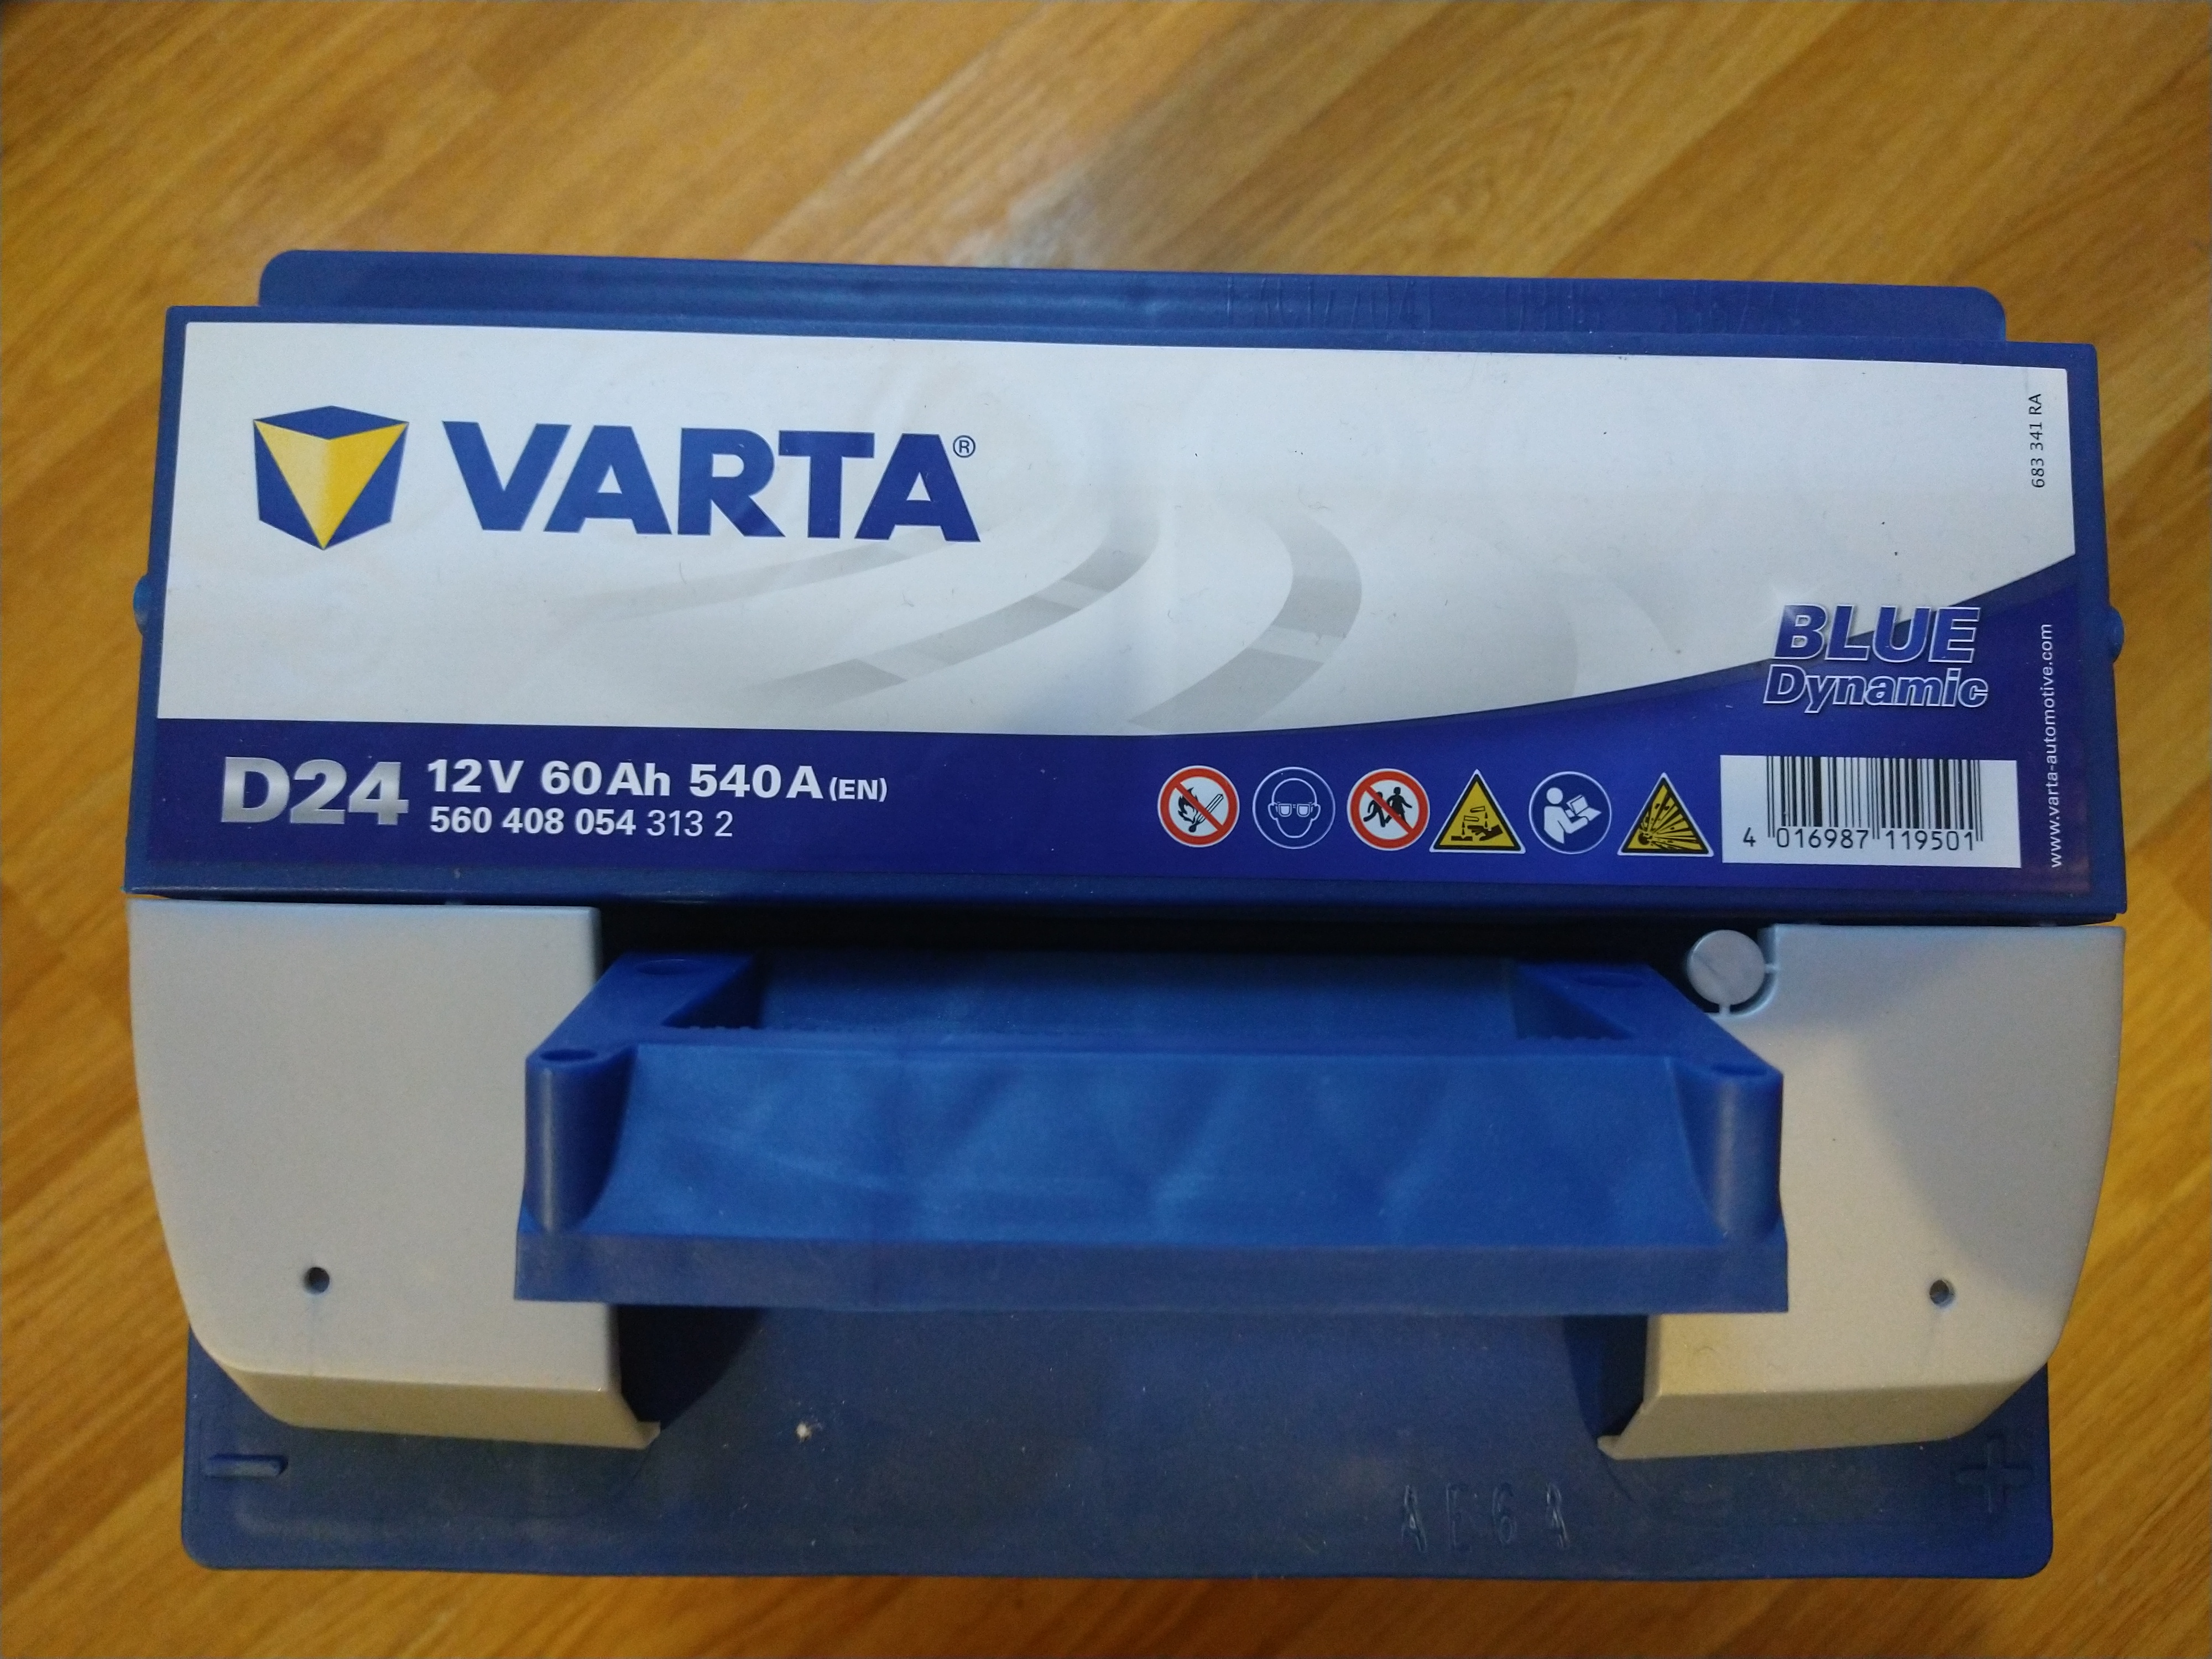
The new Varta 12 v 60 Ah 540 CCA battery.
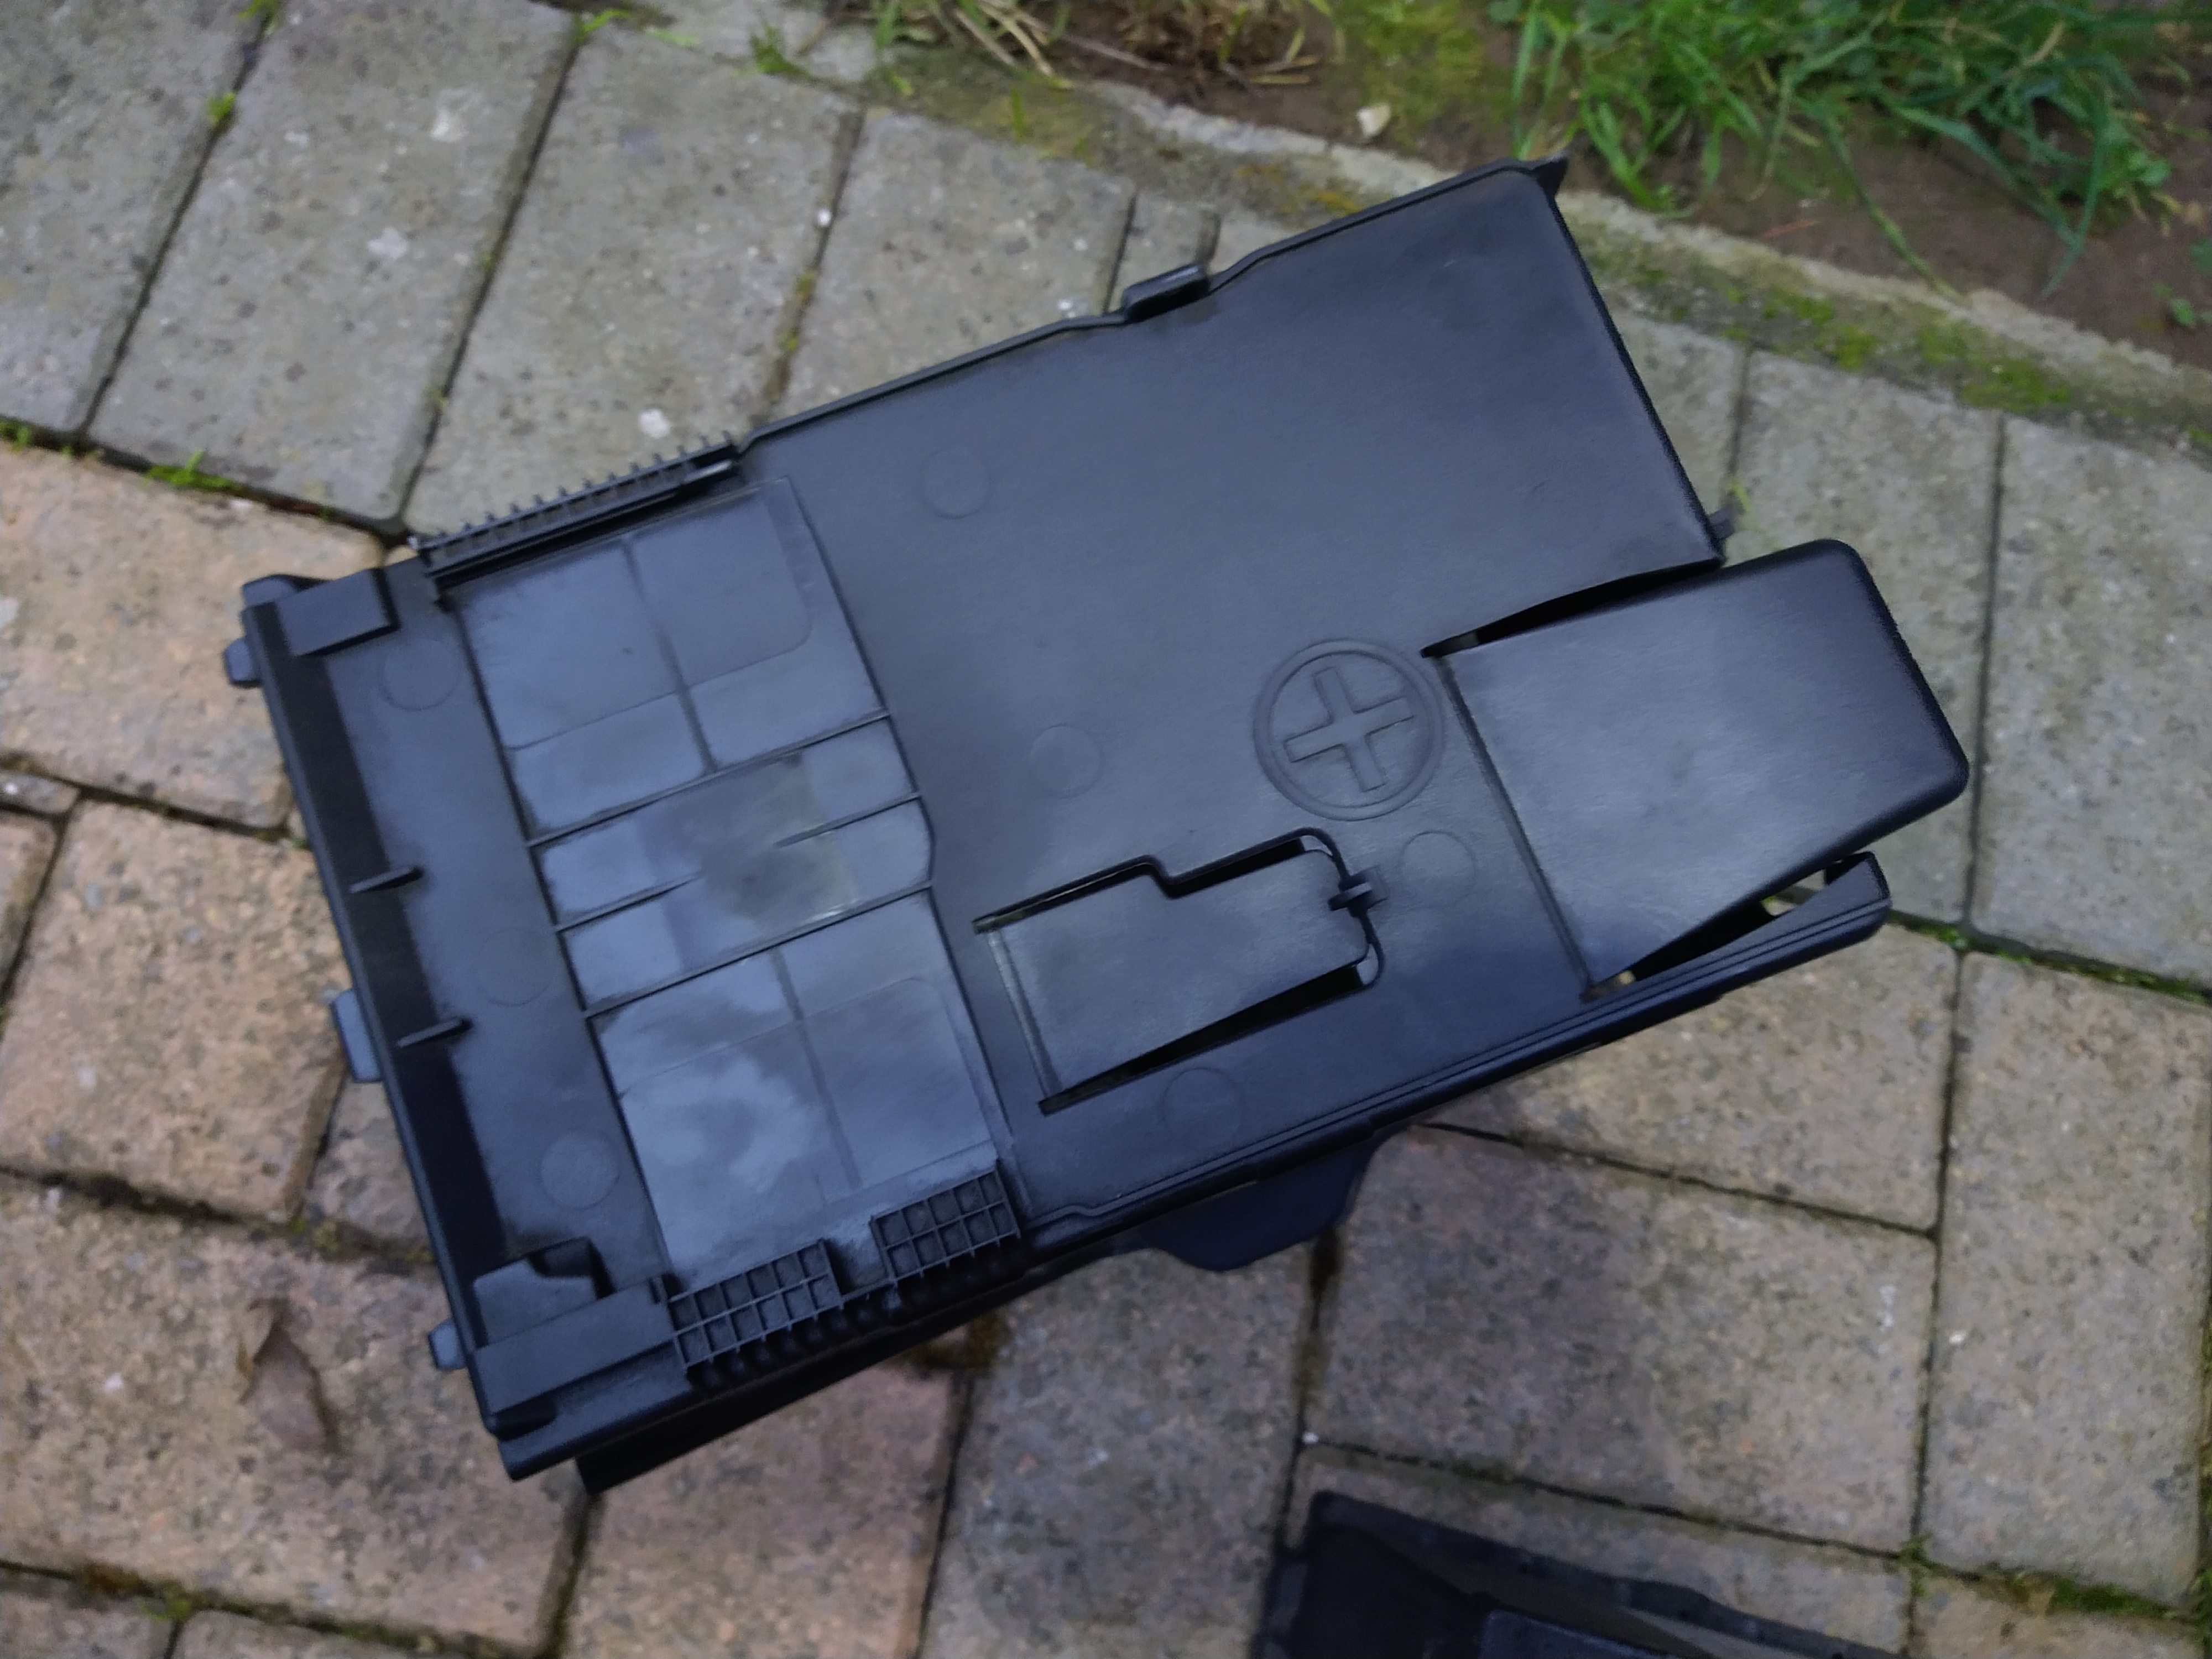
I cleaned the battery holder.
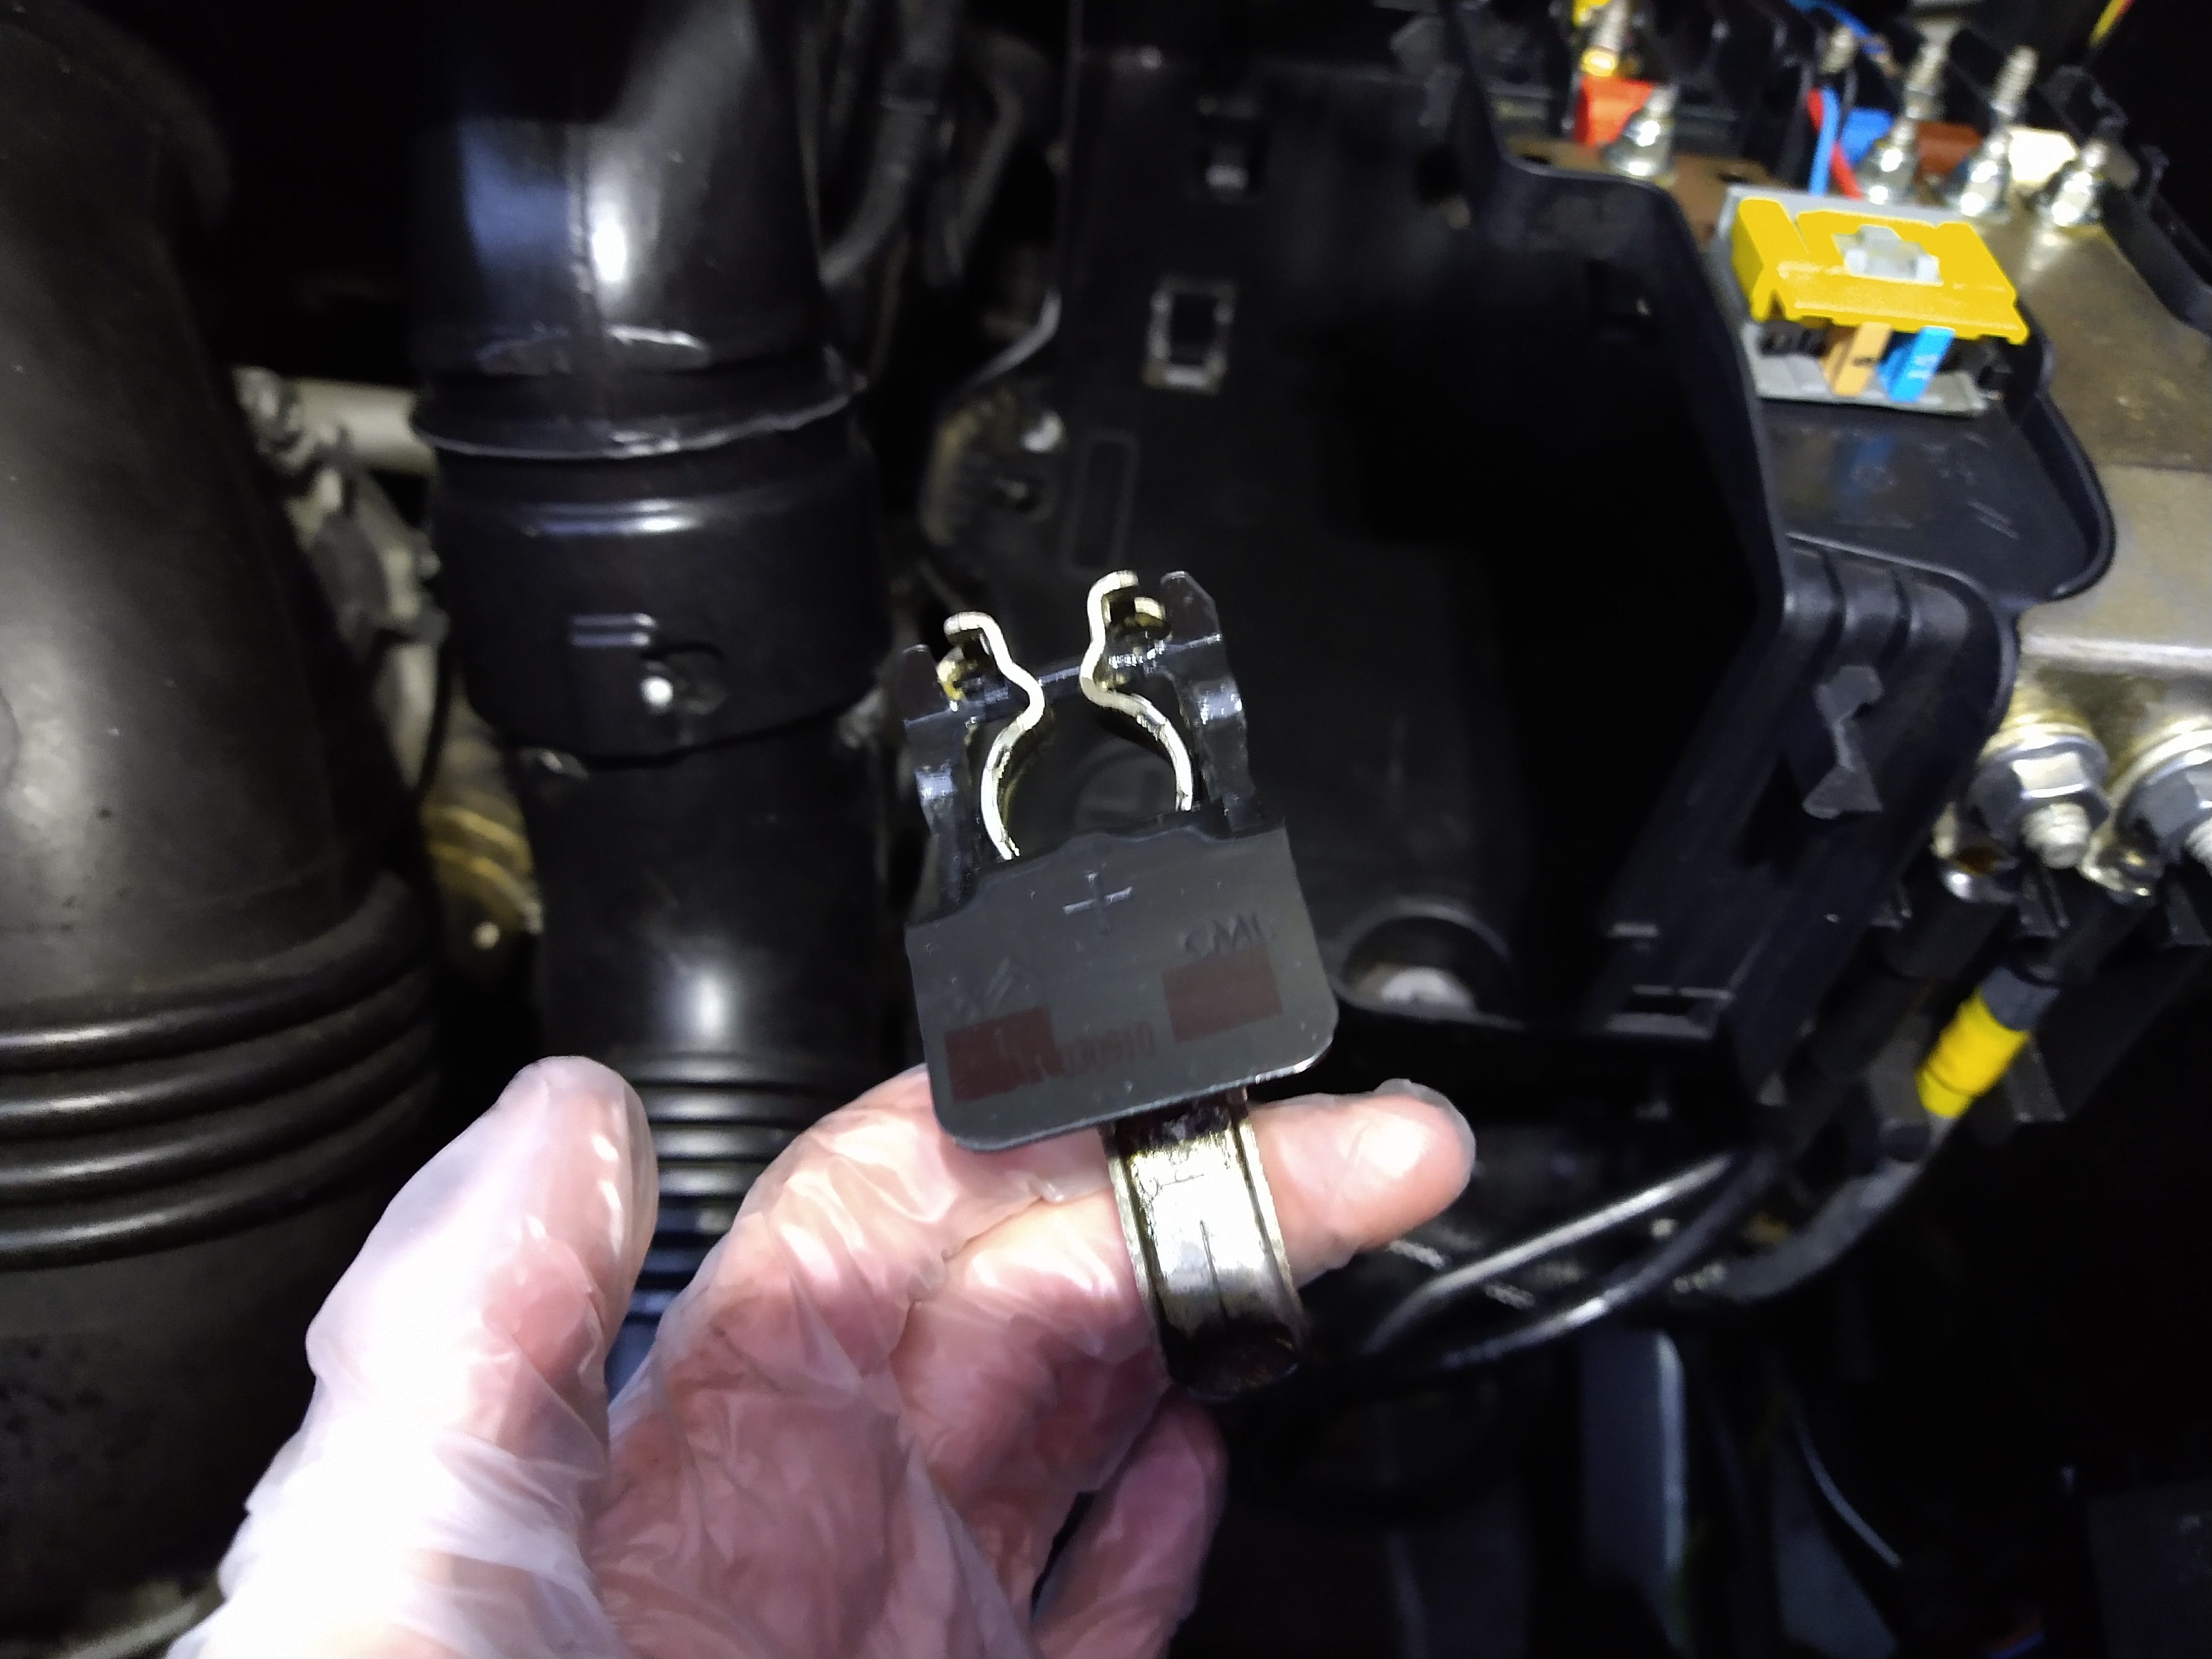
Interestingly the positive lug has a quick connect/disconnect toolless fastener. Useful for long term storage of the vehicle. I cleaned off the old anti rust petroleum which appeared to be water logged.
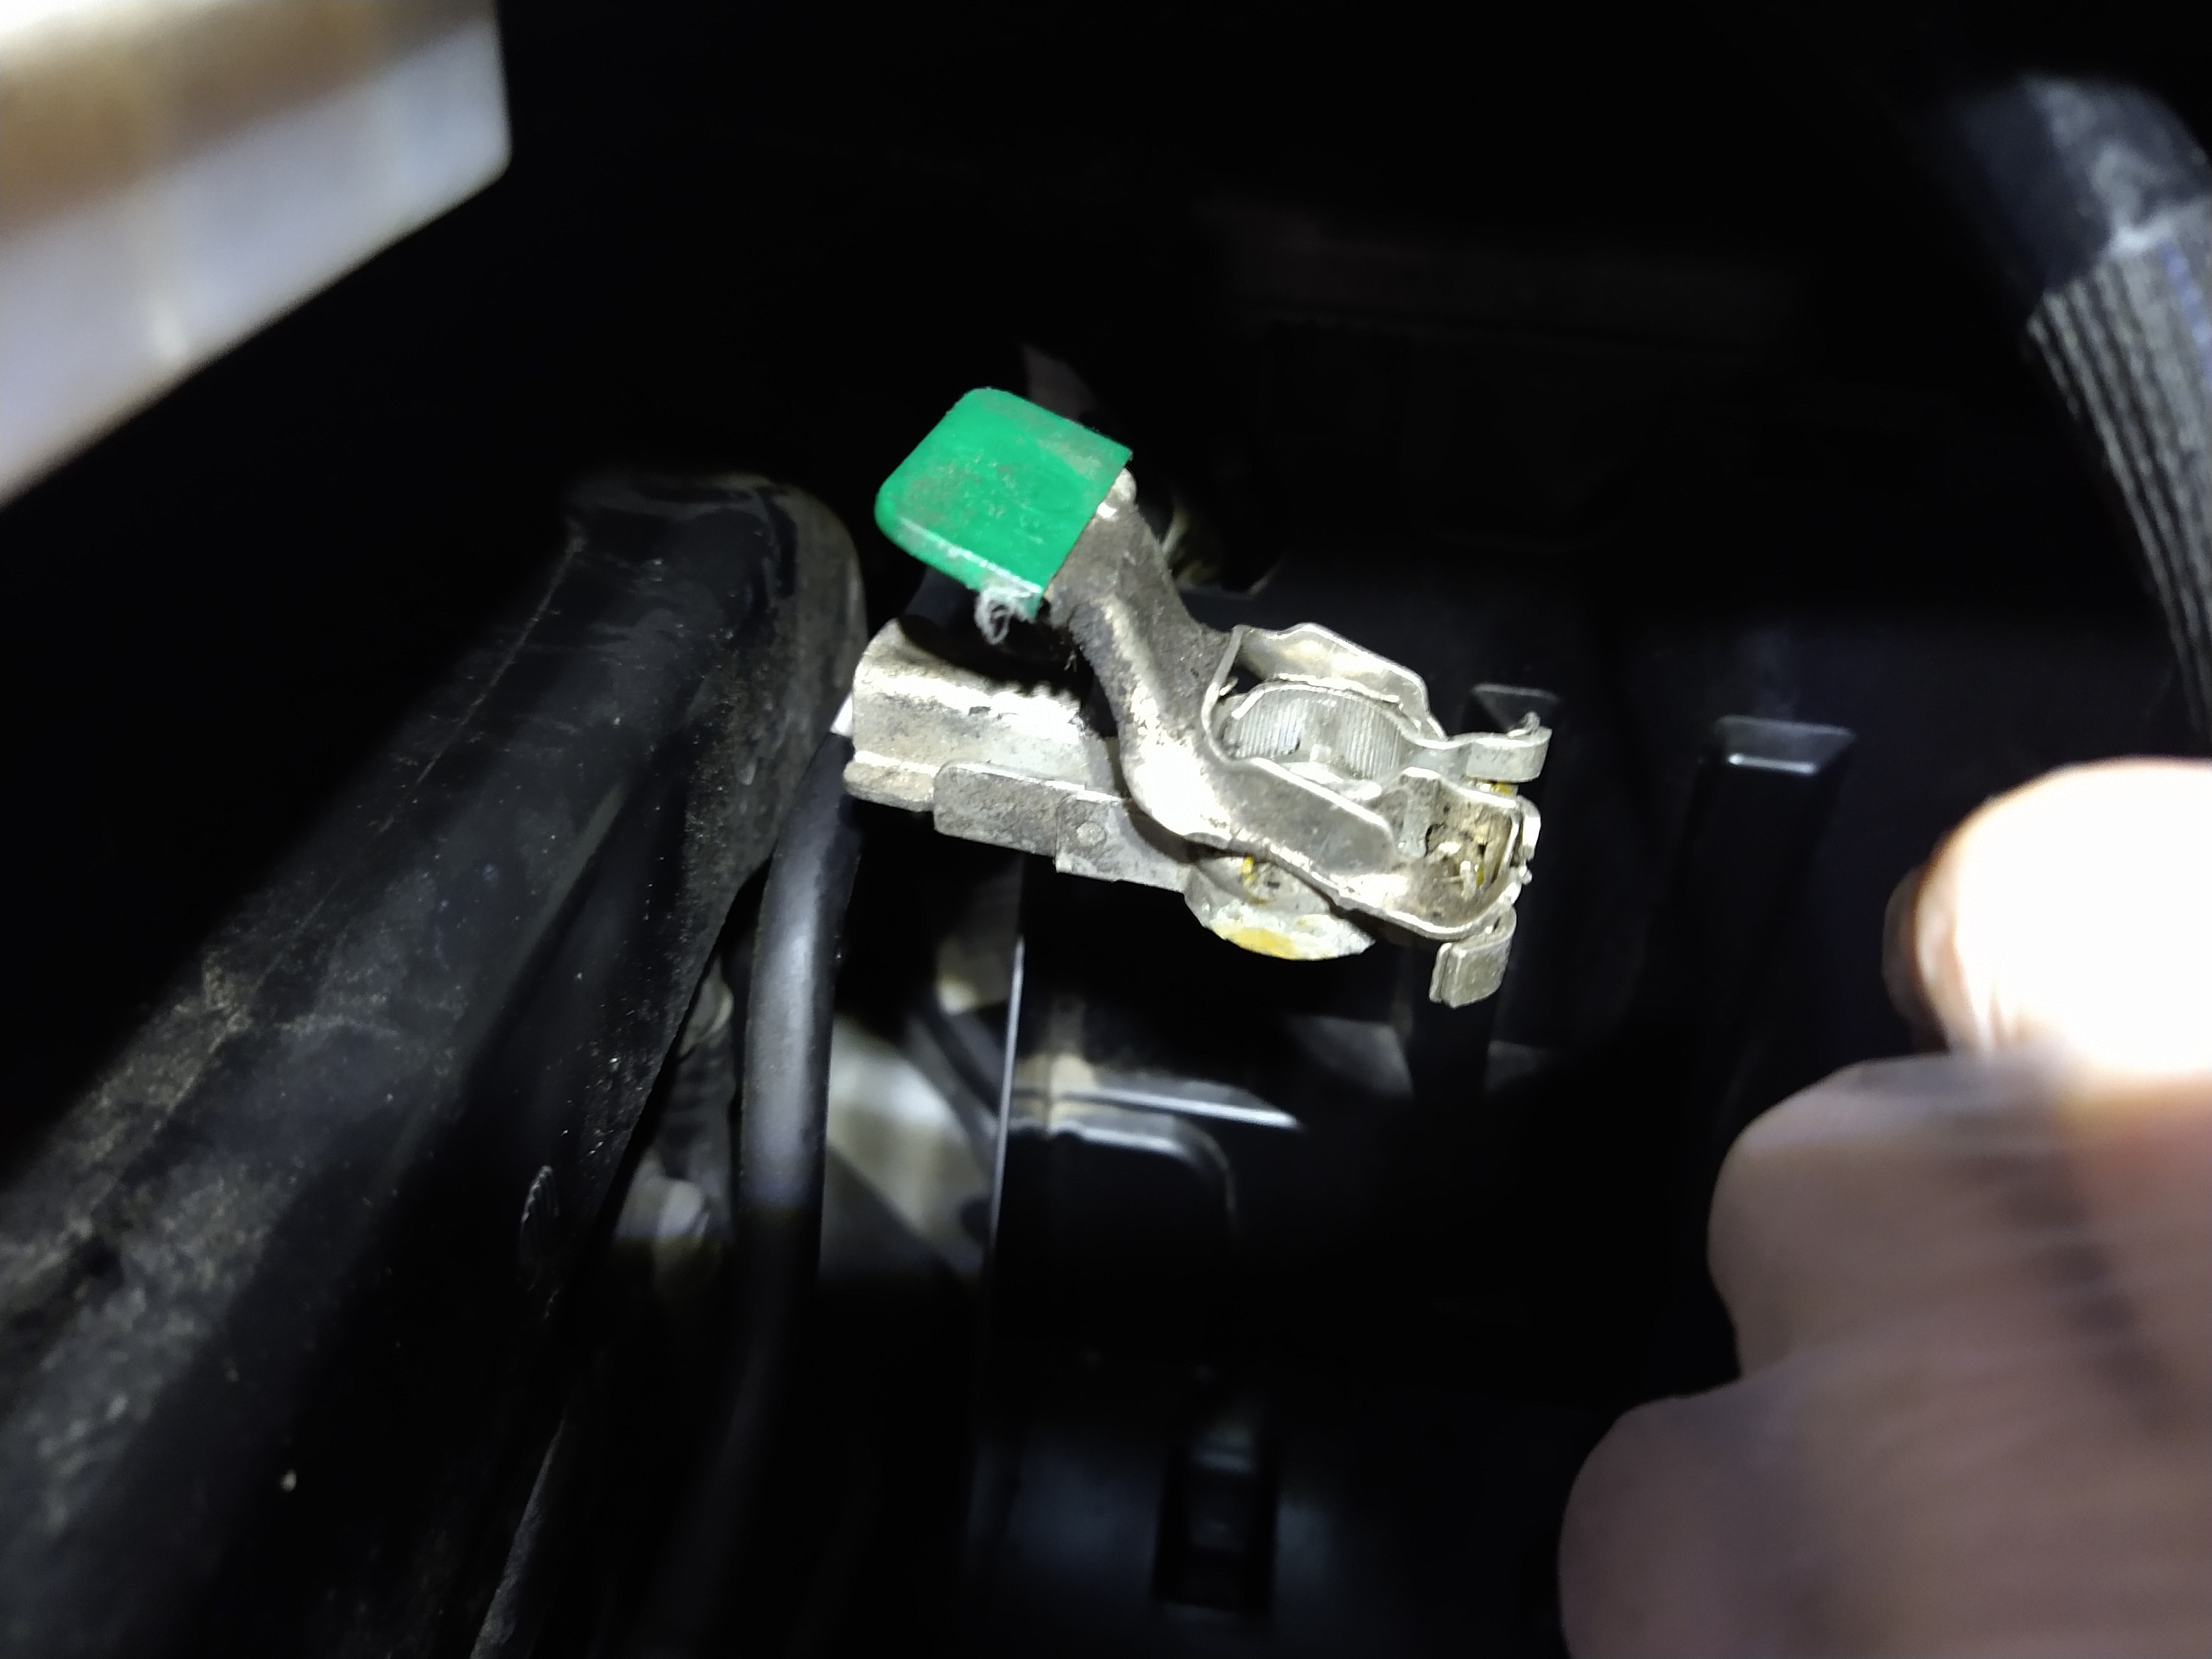
Similar situation with the negative although slightly inaccessible.
Battery cover got a clean up too.
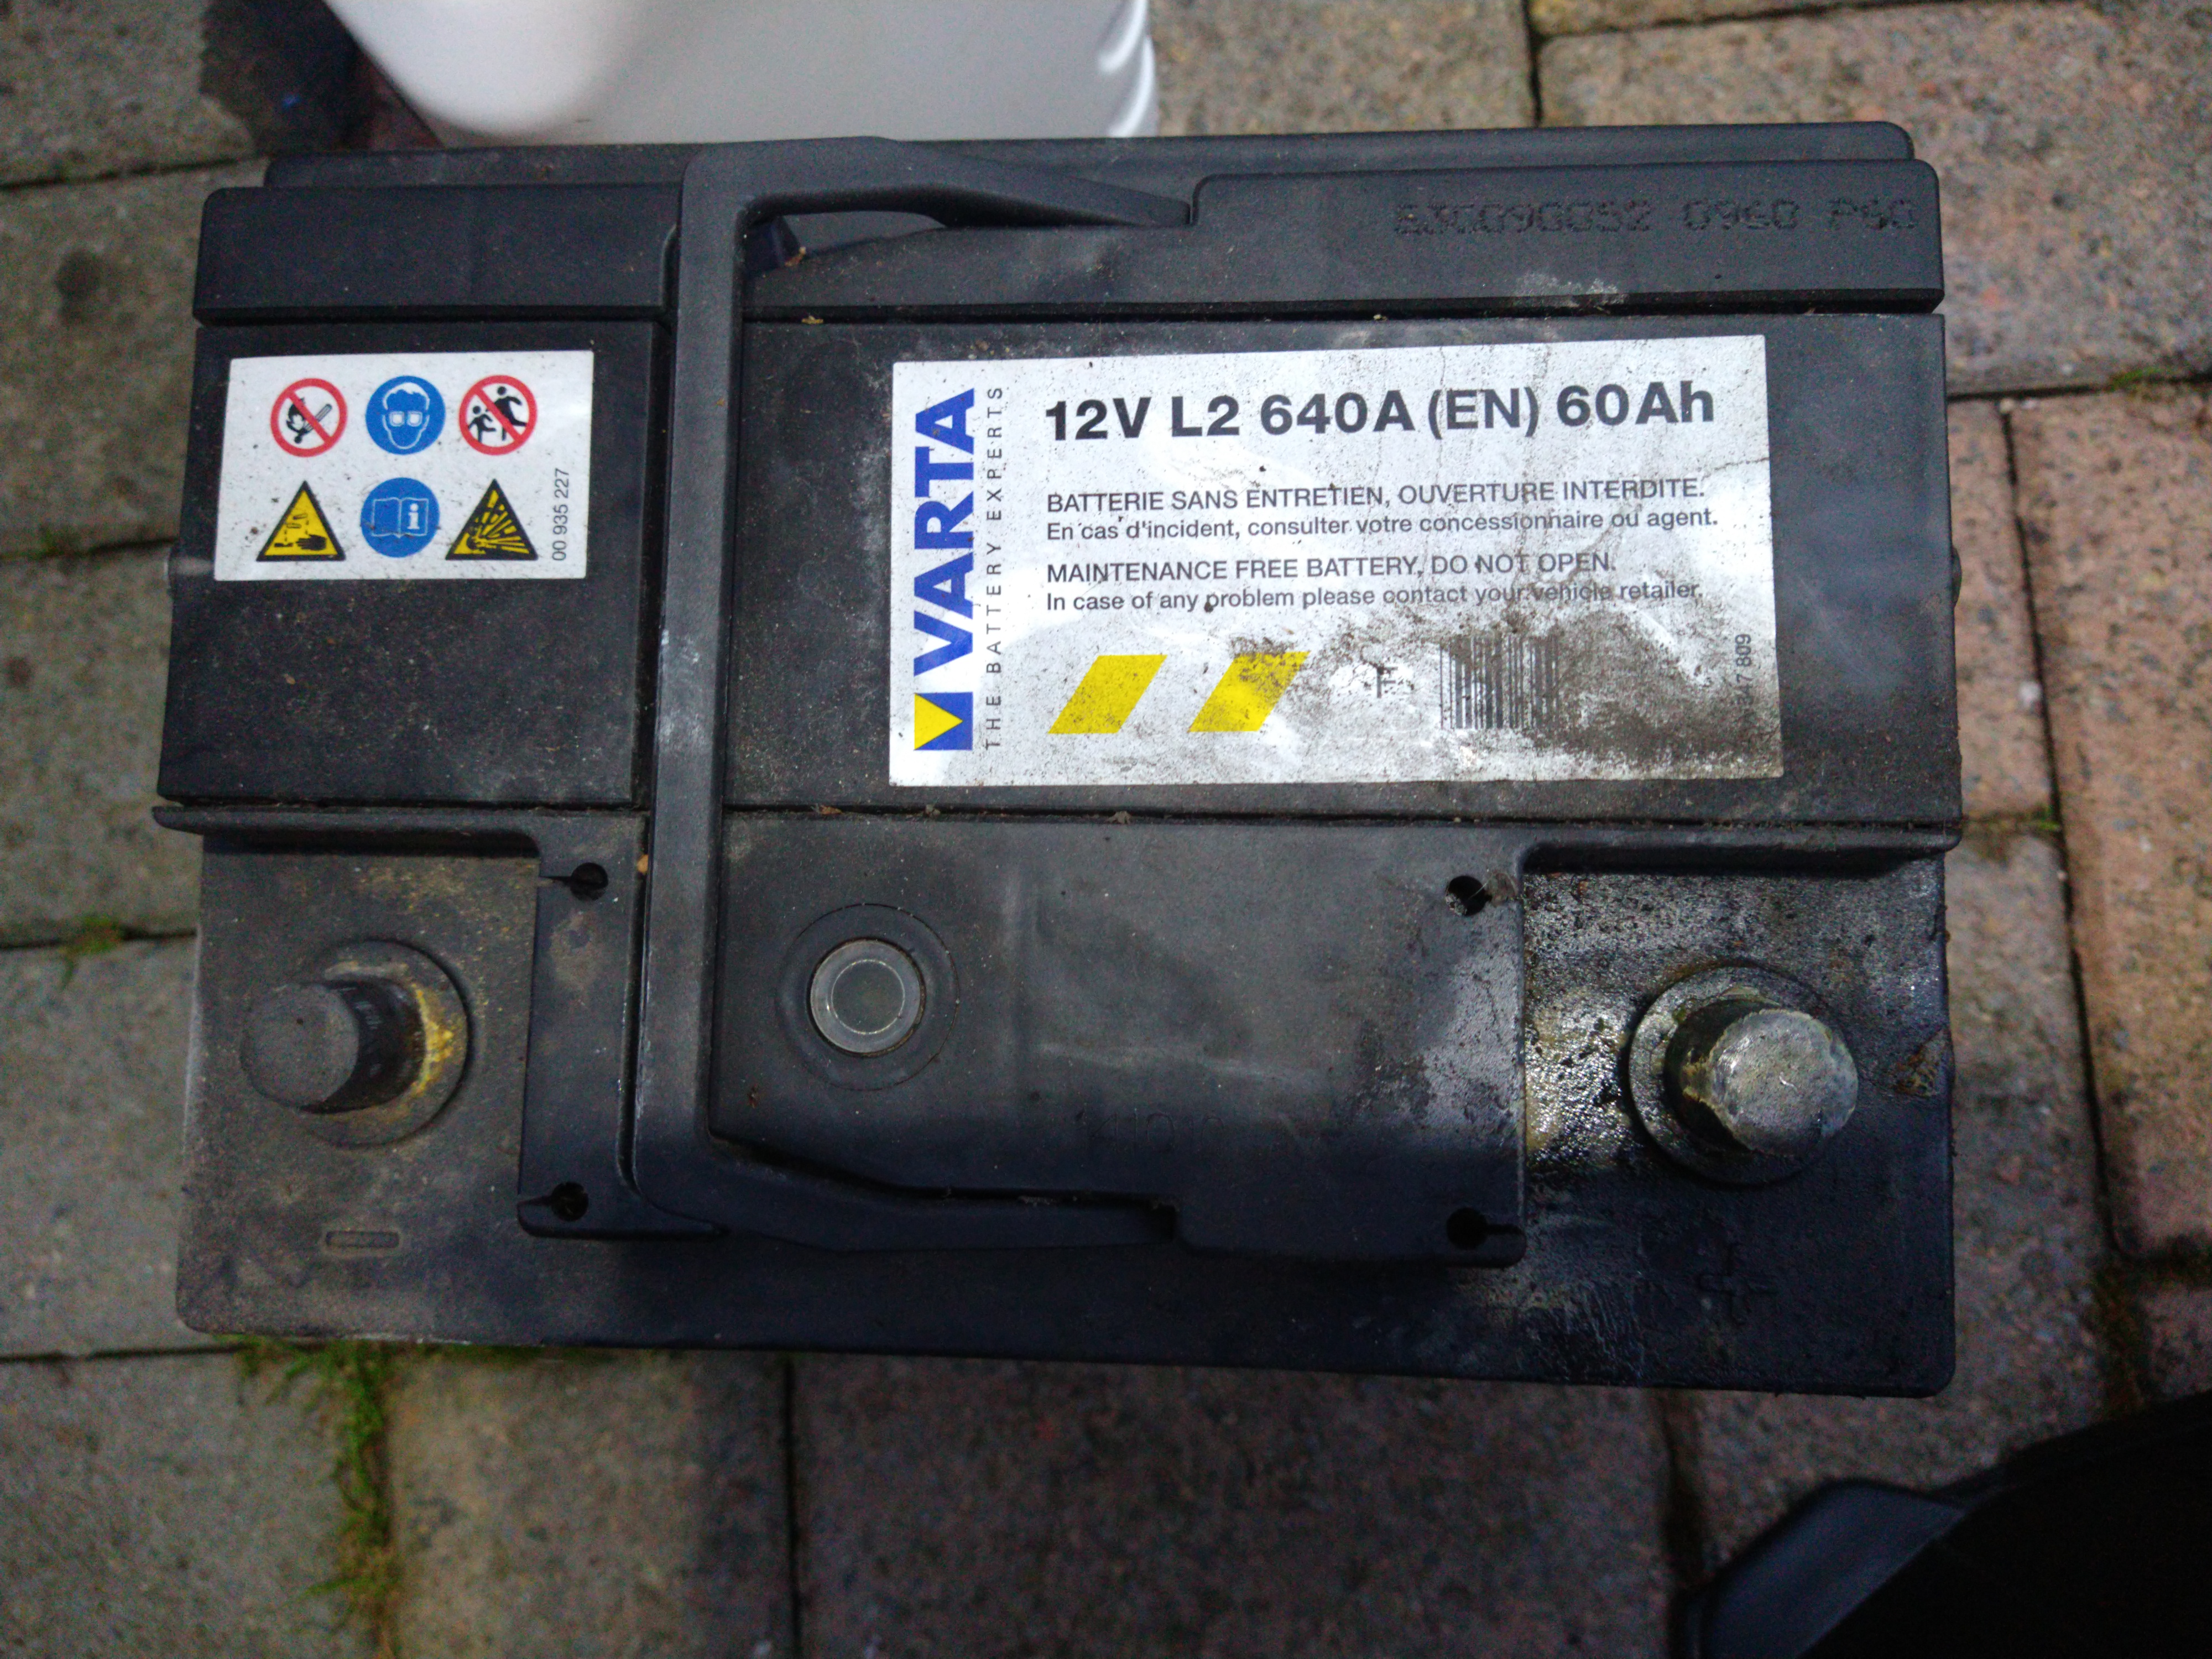
This is the old Varta. Interestingly I didn’t note the old battery brand before purchasing a replacement. Anyway it’s 12 v 640 CCA with 60 Ah.
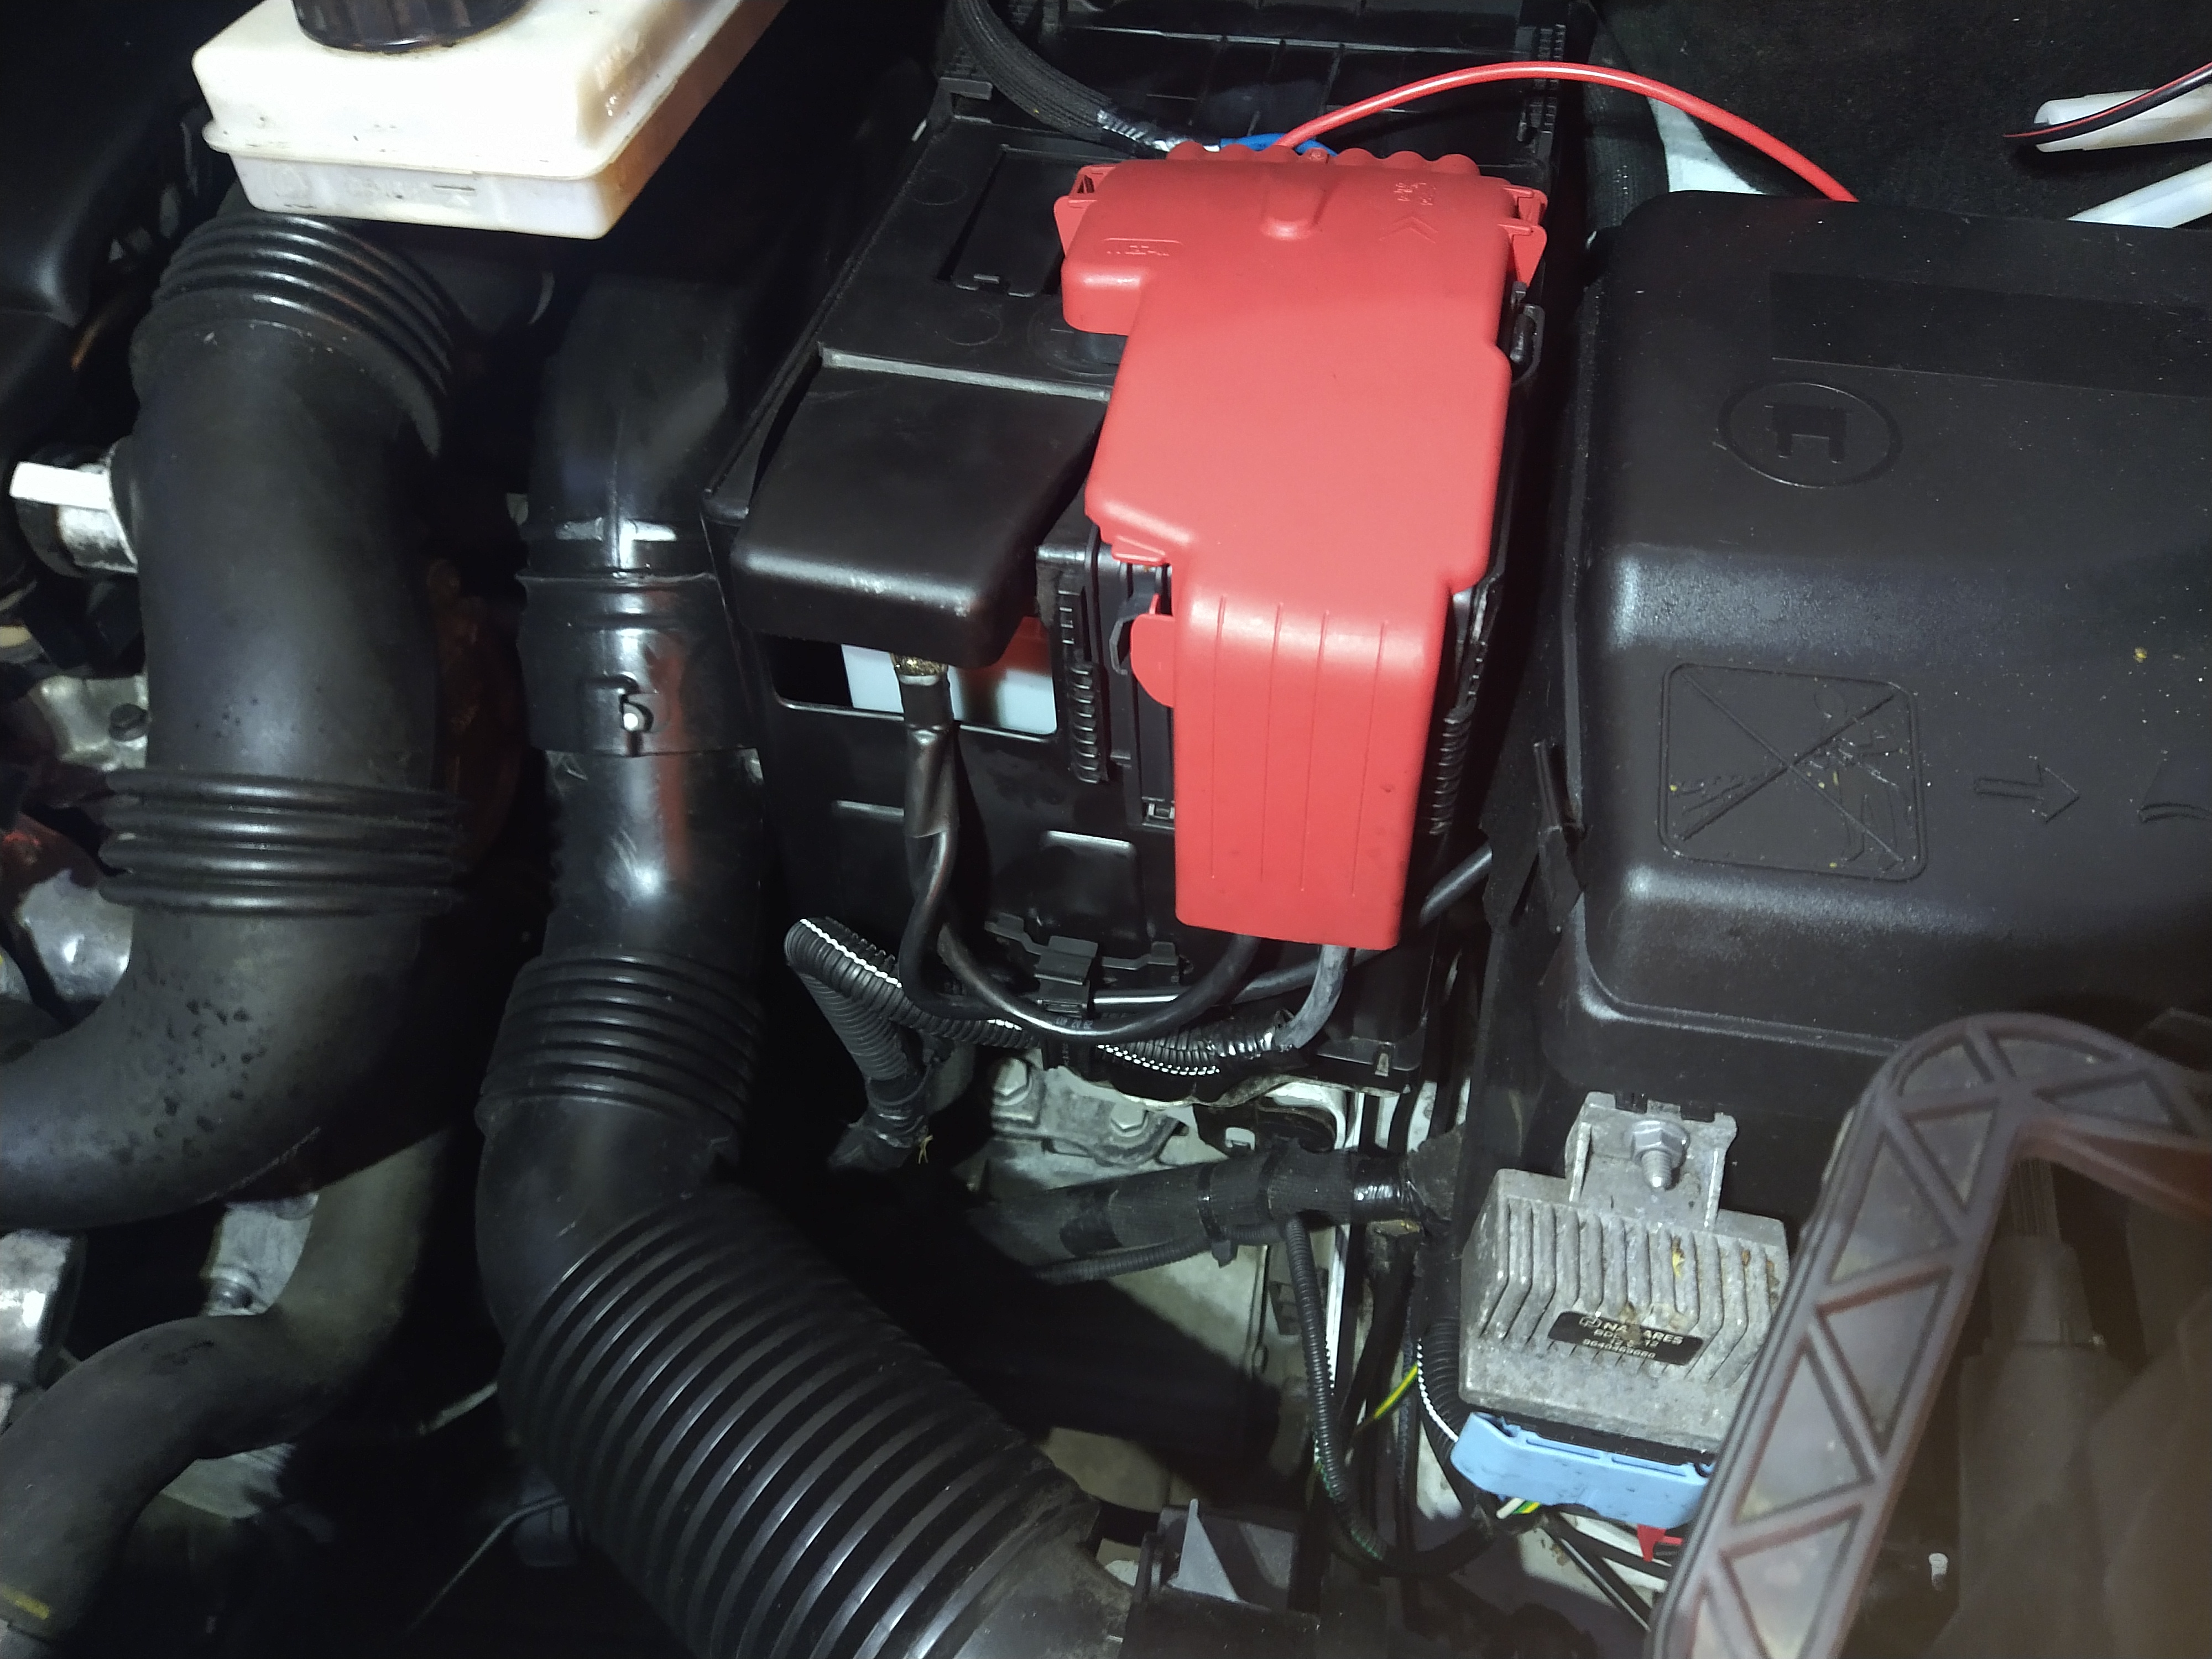
At first the distribution seemed like it would get in the way but actually it’s easily moved aside. Anyway overall it’s useful since you get a few high amperage fuses to tap off from. 30 A and some 50 A fuses come as spare.

Adding the red cover keeps the water off.
The socket for the battery holder is a 10 mm. You will need a socket extension or two.

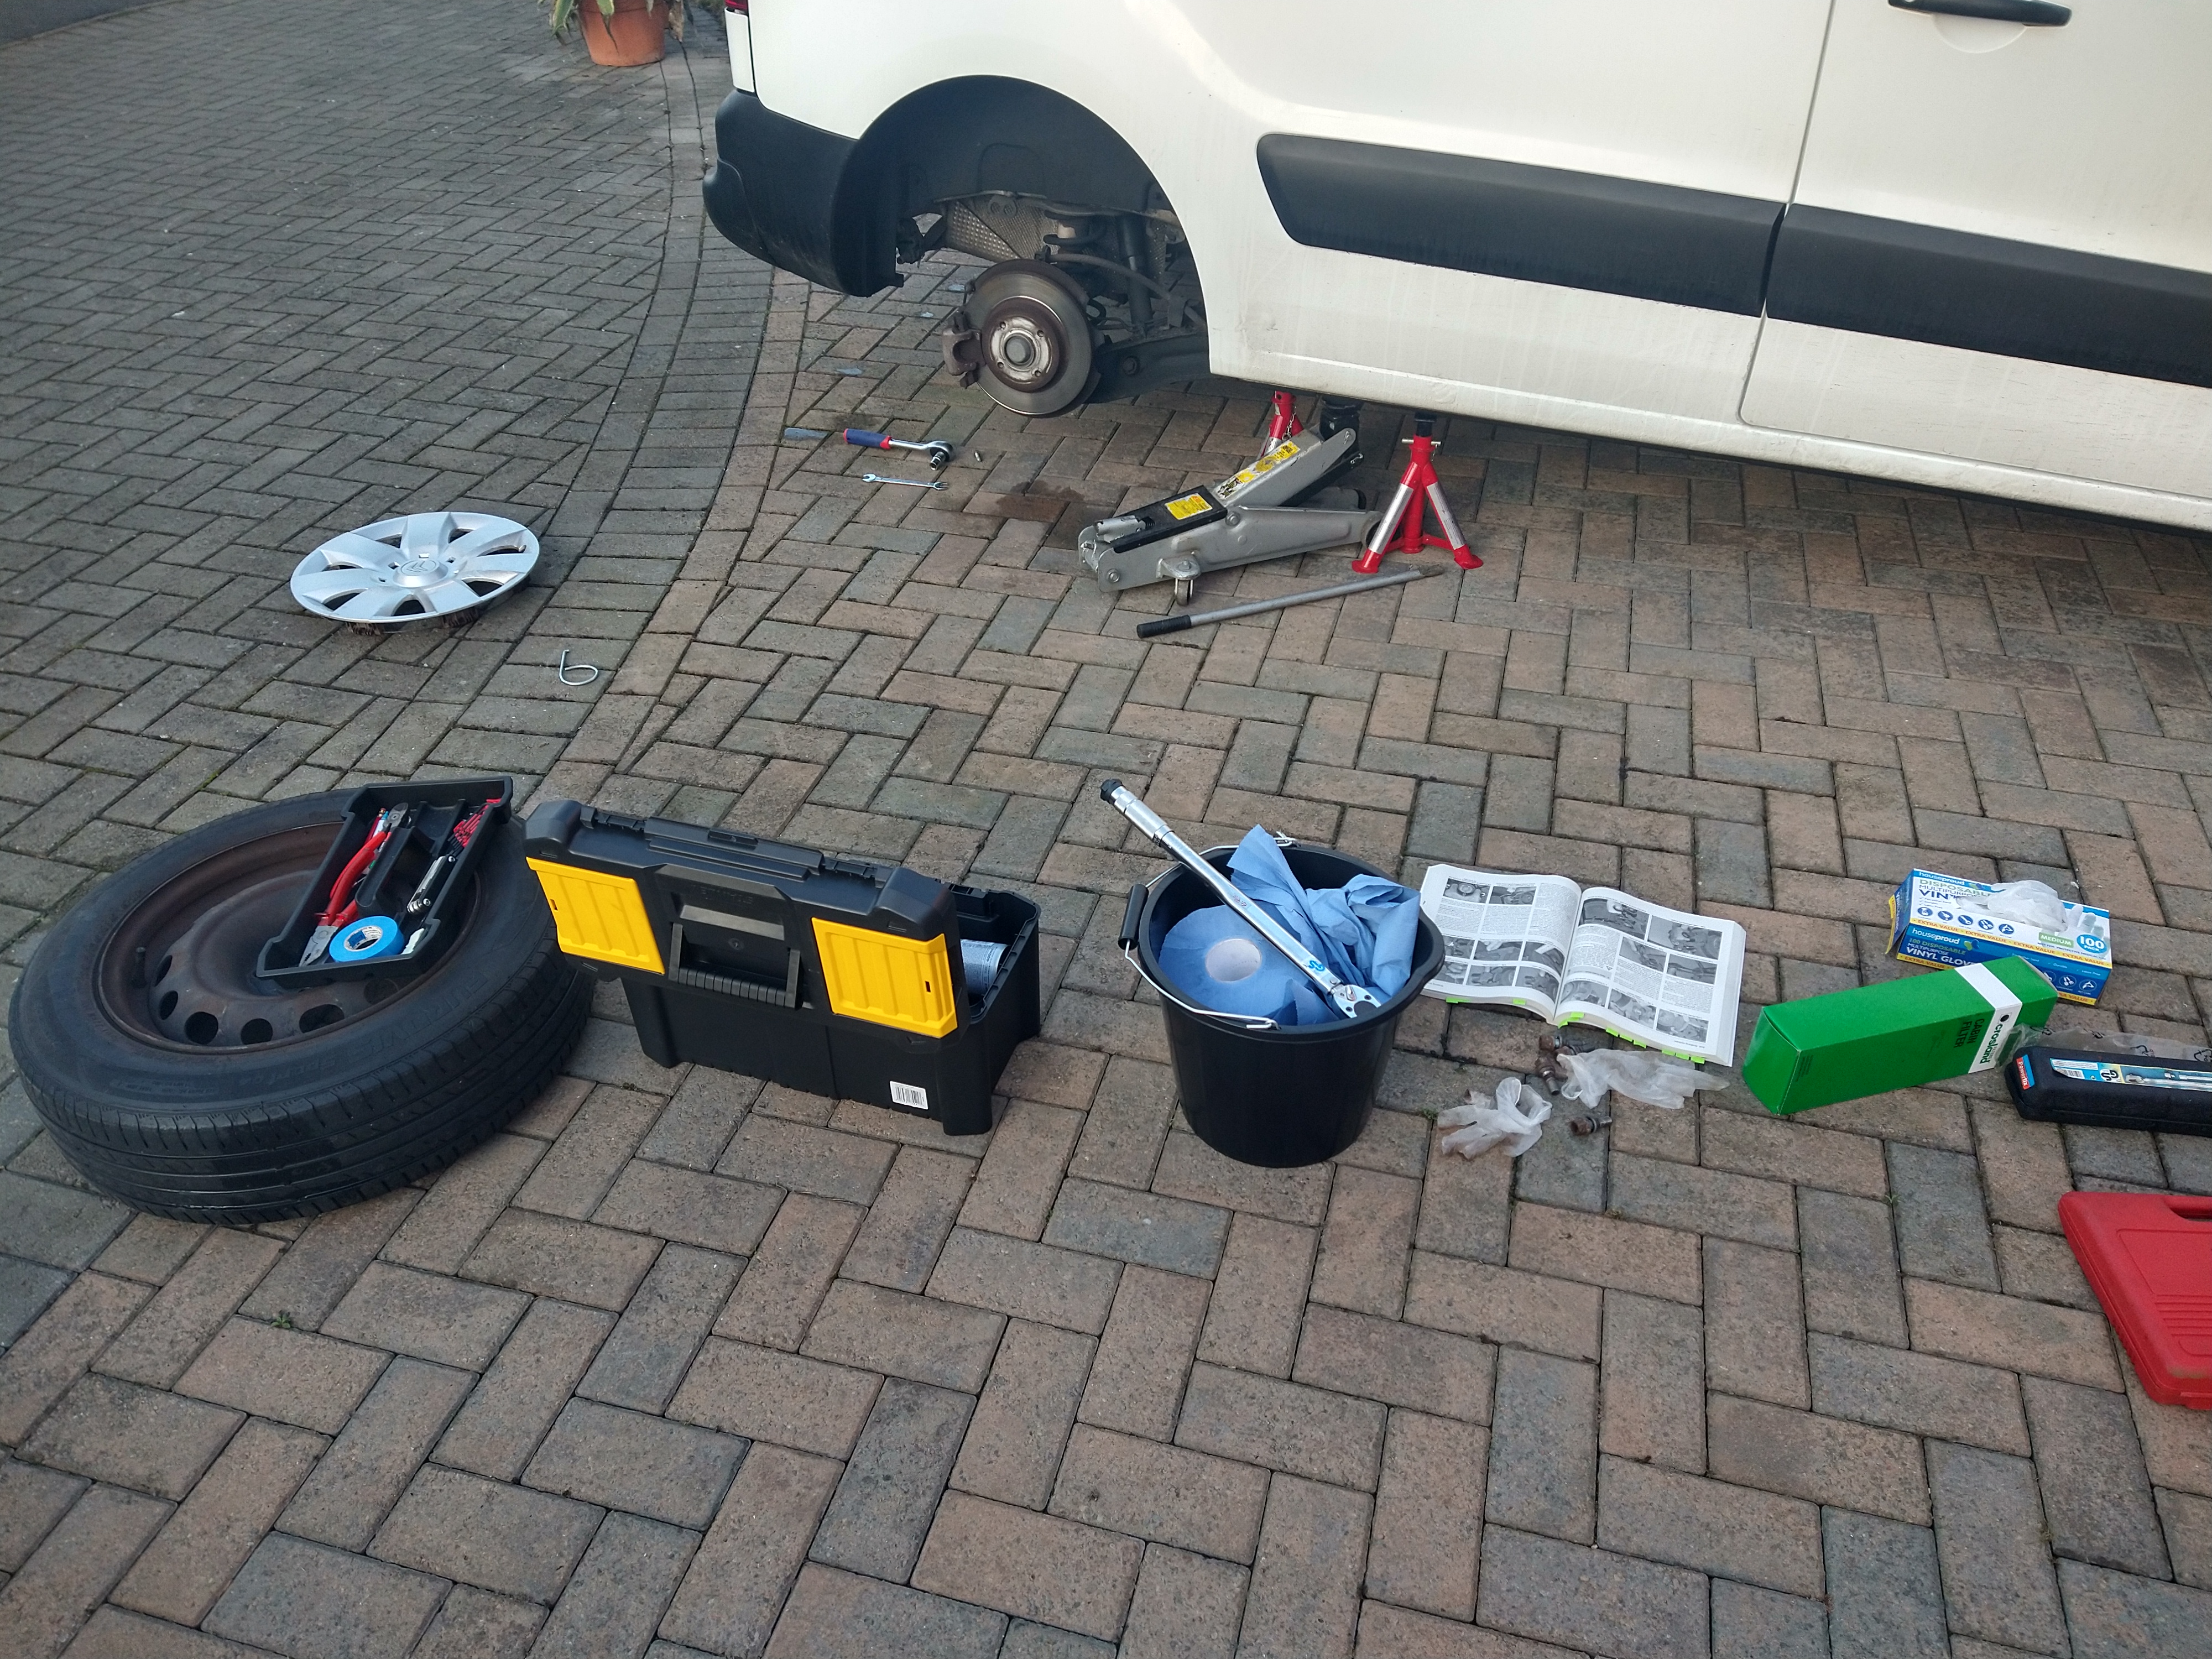
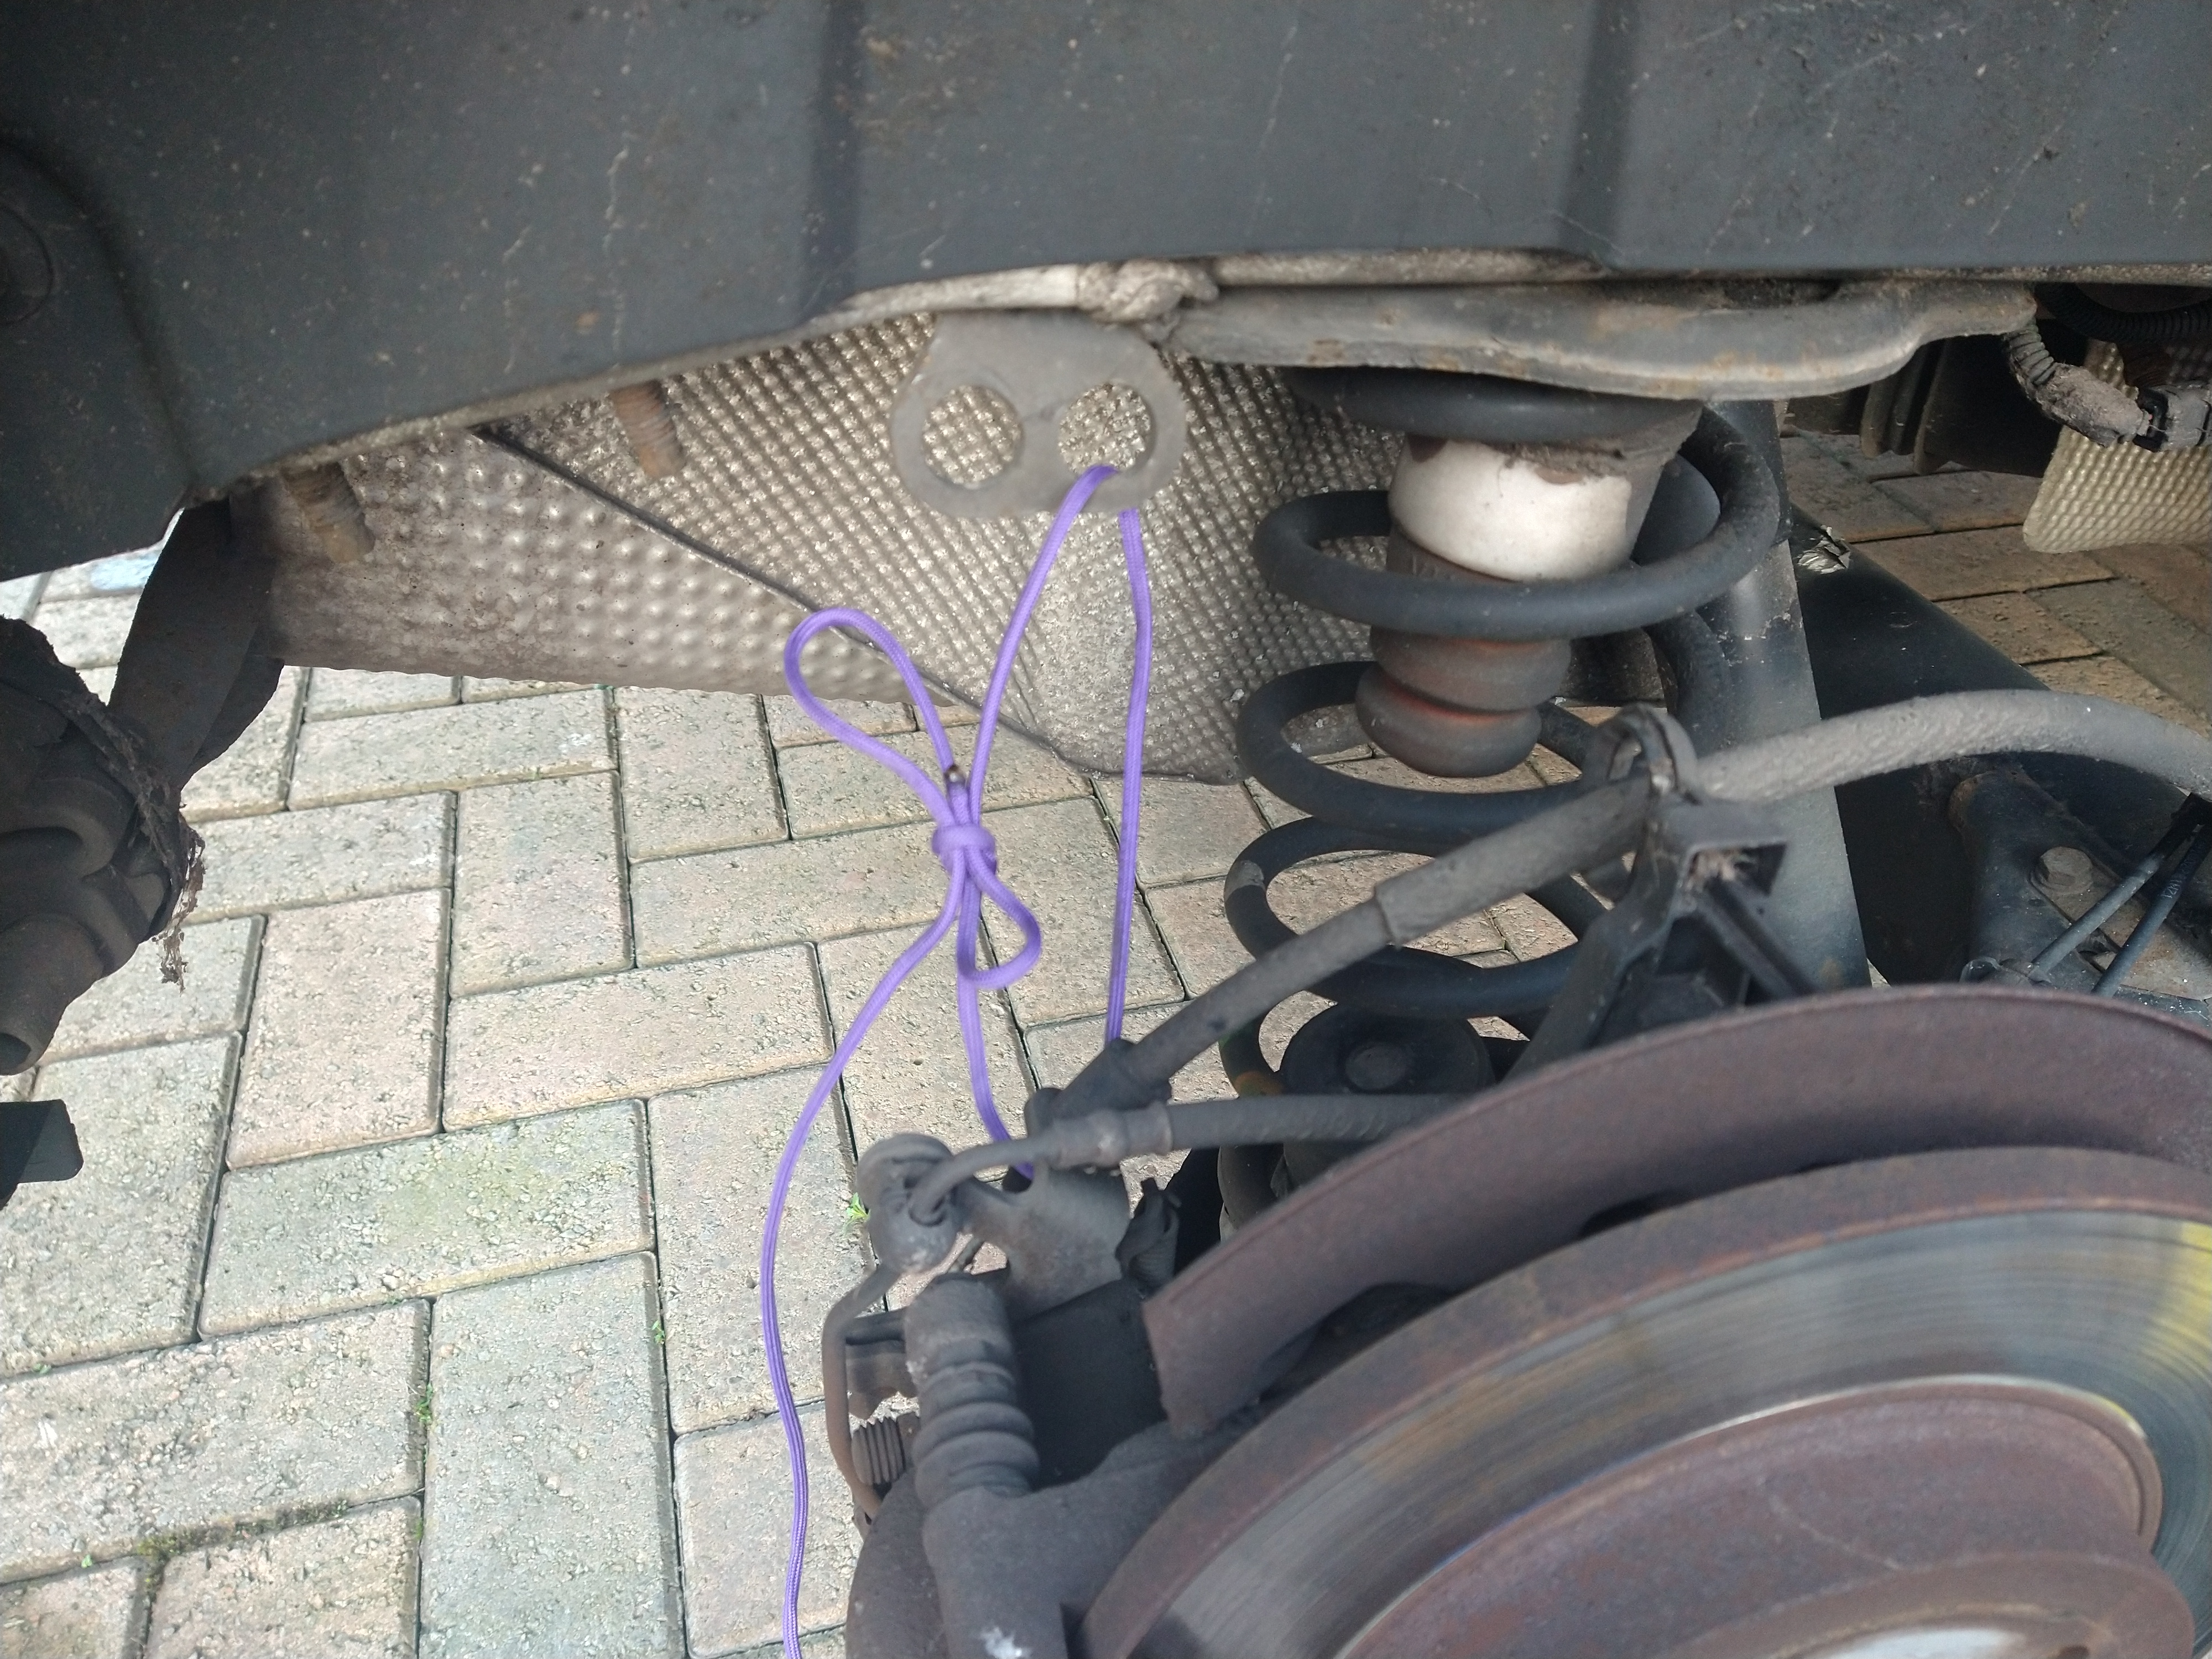
Rear breaks
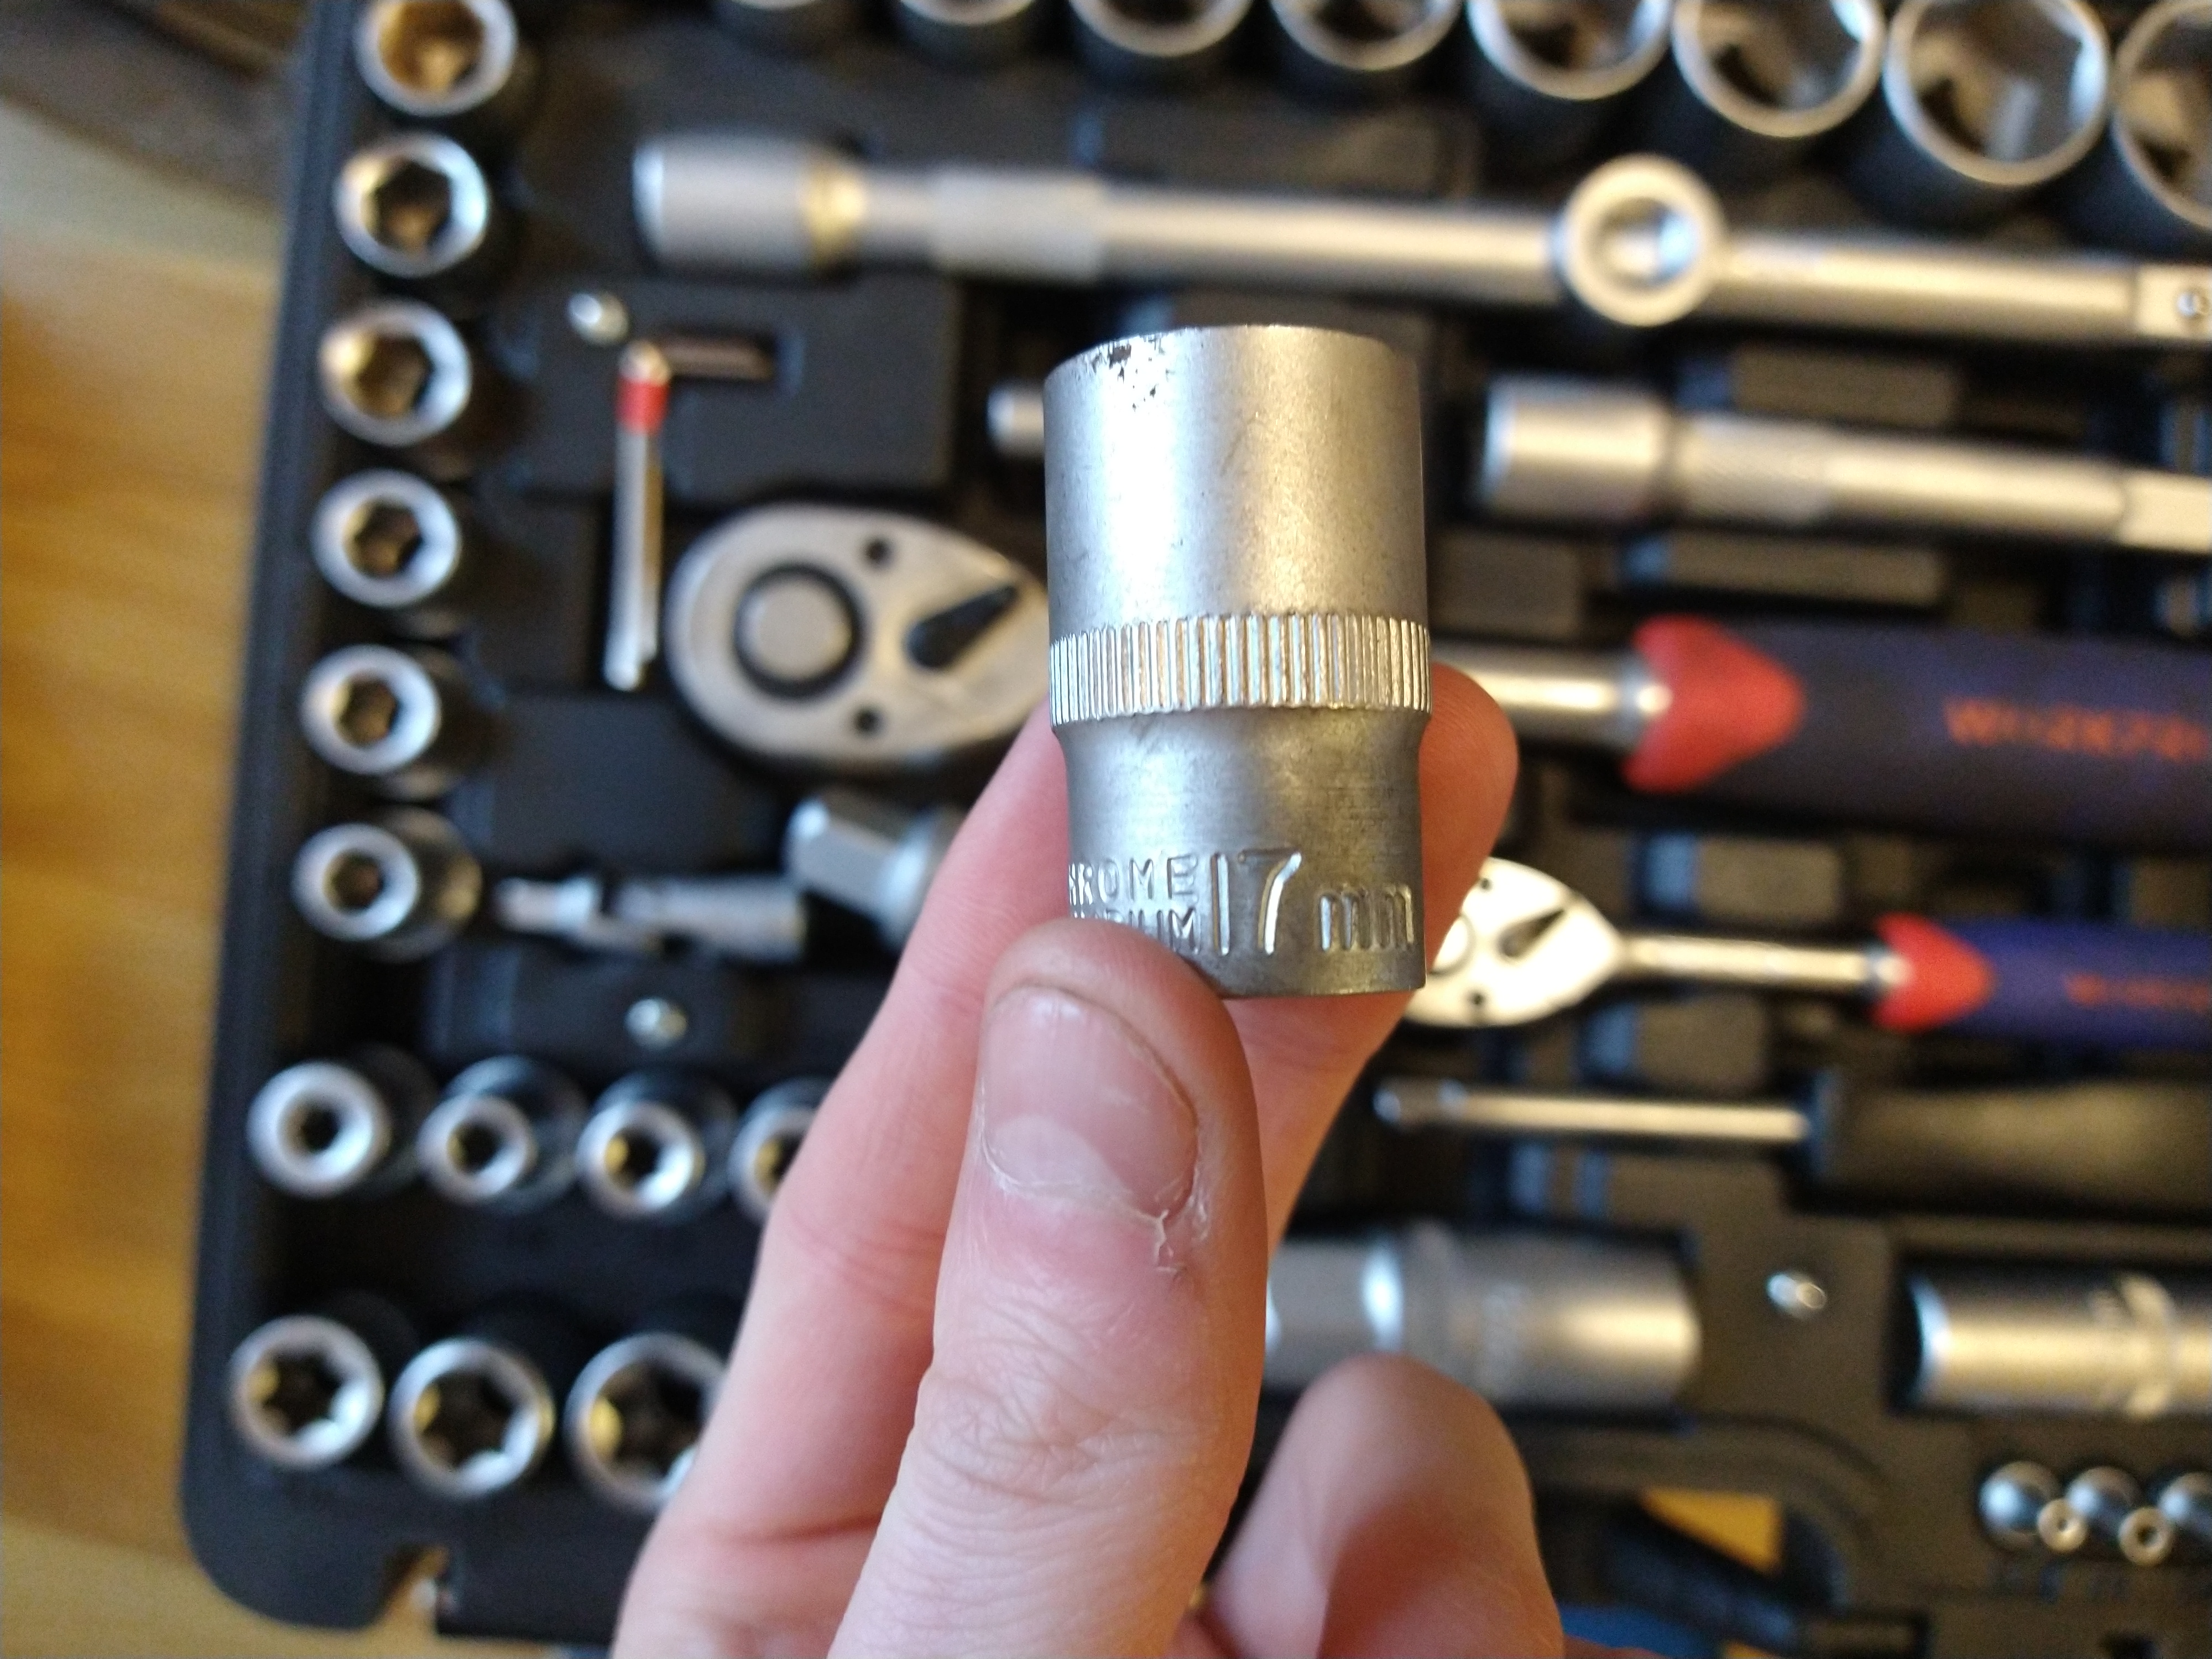
Socket size required for “wheel nuts” is 17 mm. I noted the actual bolts are the removable part, this is something other vehicles do backwards which makes it a pain when the nuts are stuck and the bolts need drilling.
An example of the tools required.
They actually thought about this. I like it. Nice tie point supplied for holding the calipers.
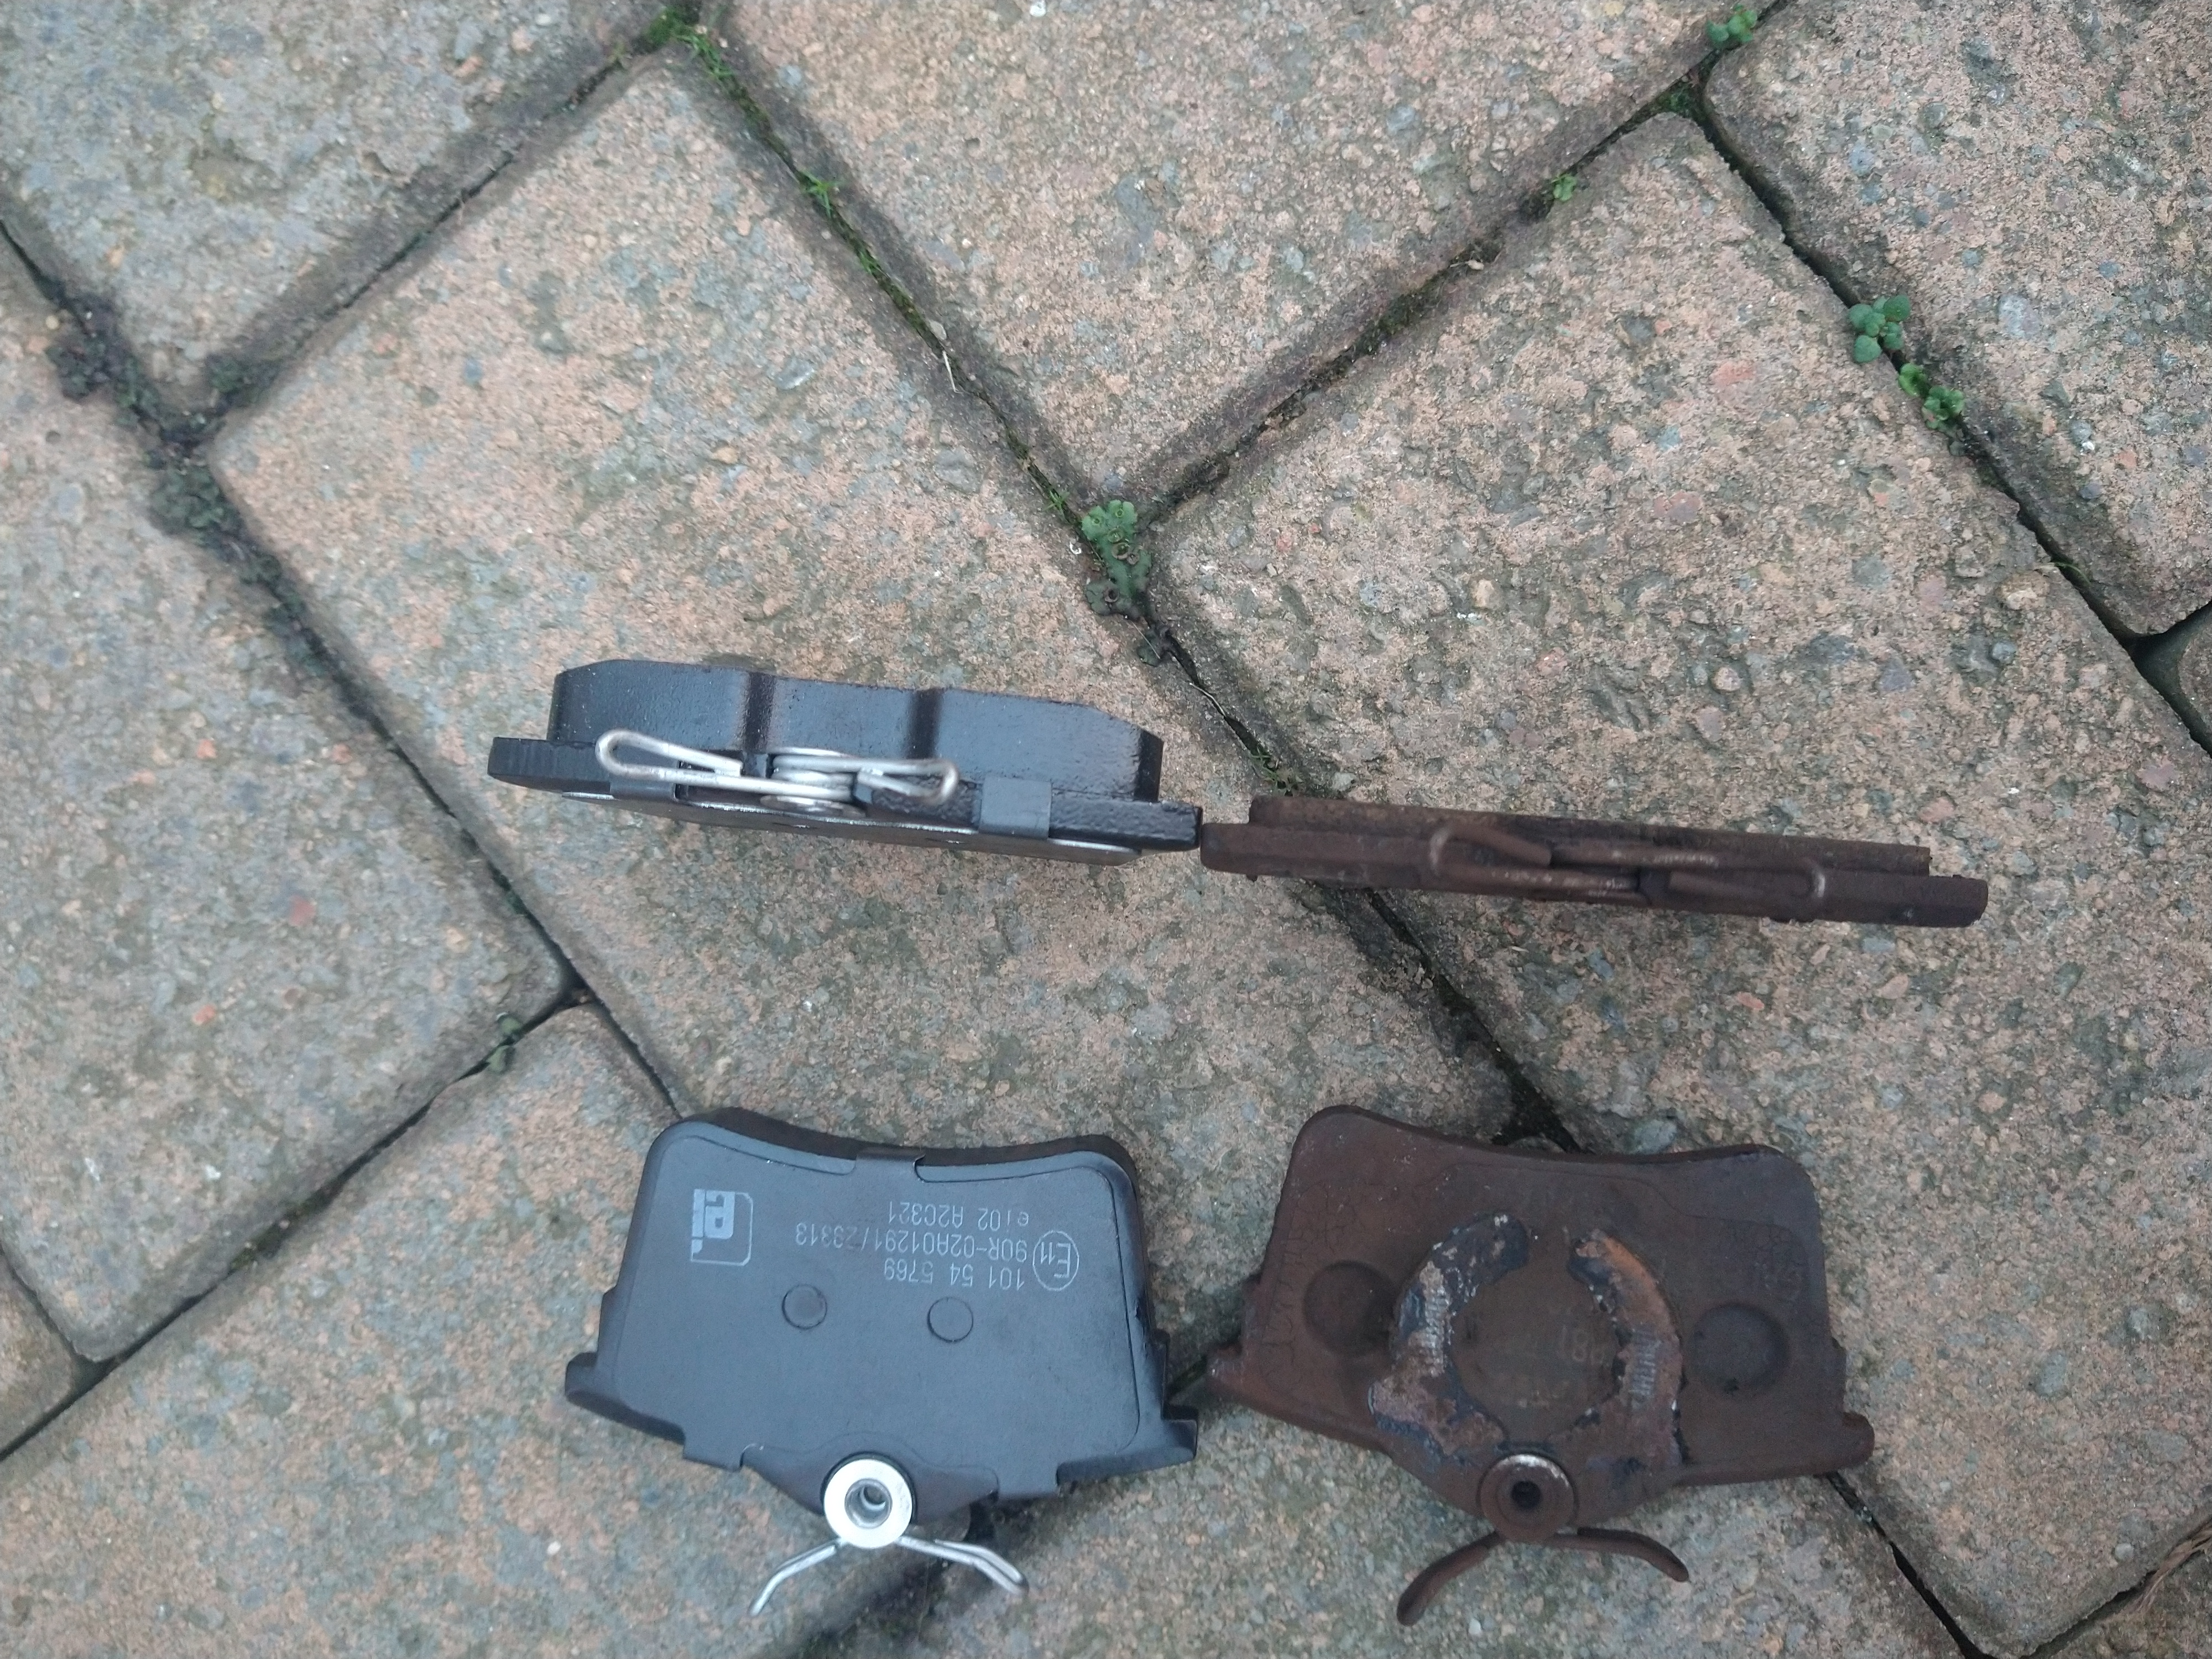
Quite a big difference in old vs new pads.
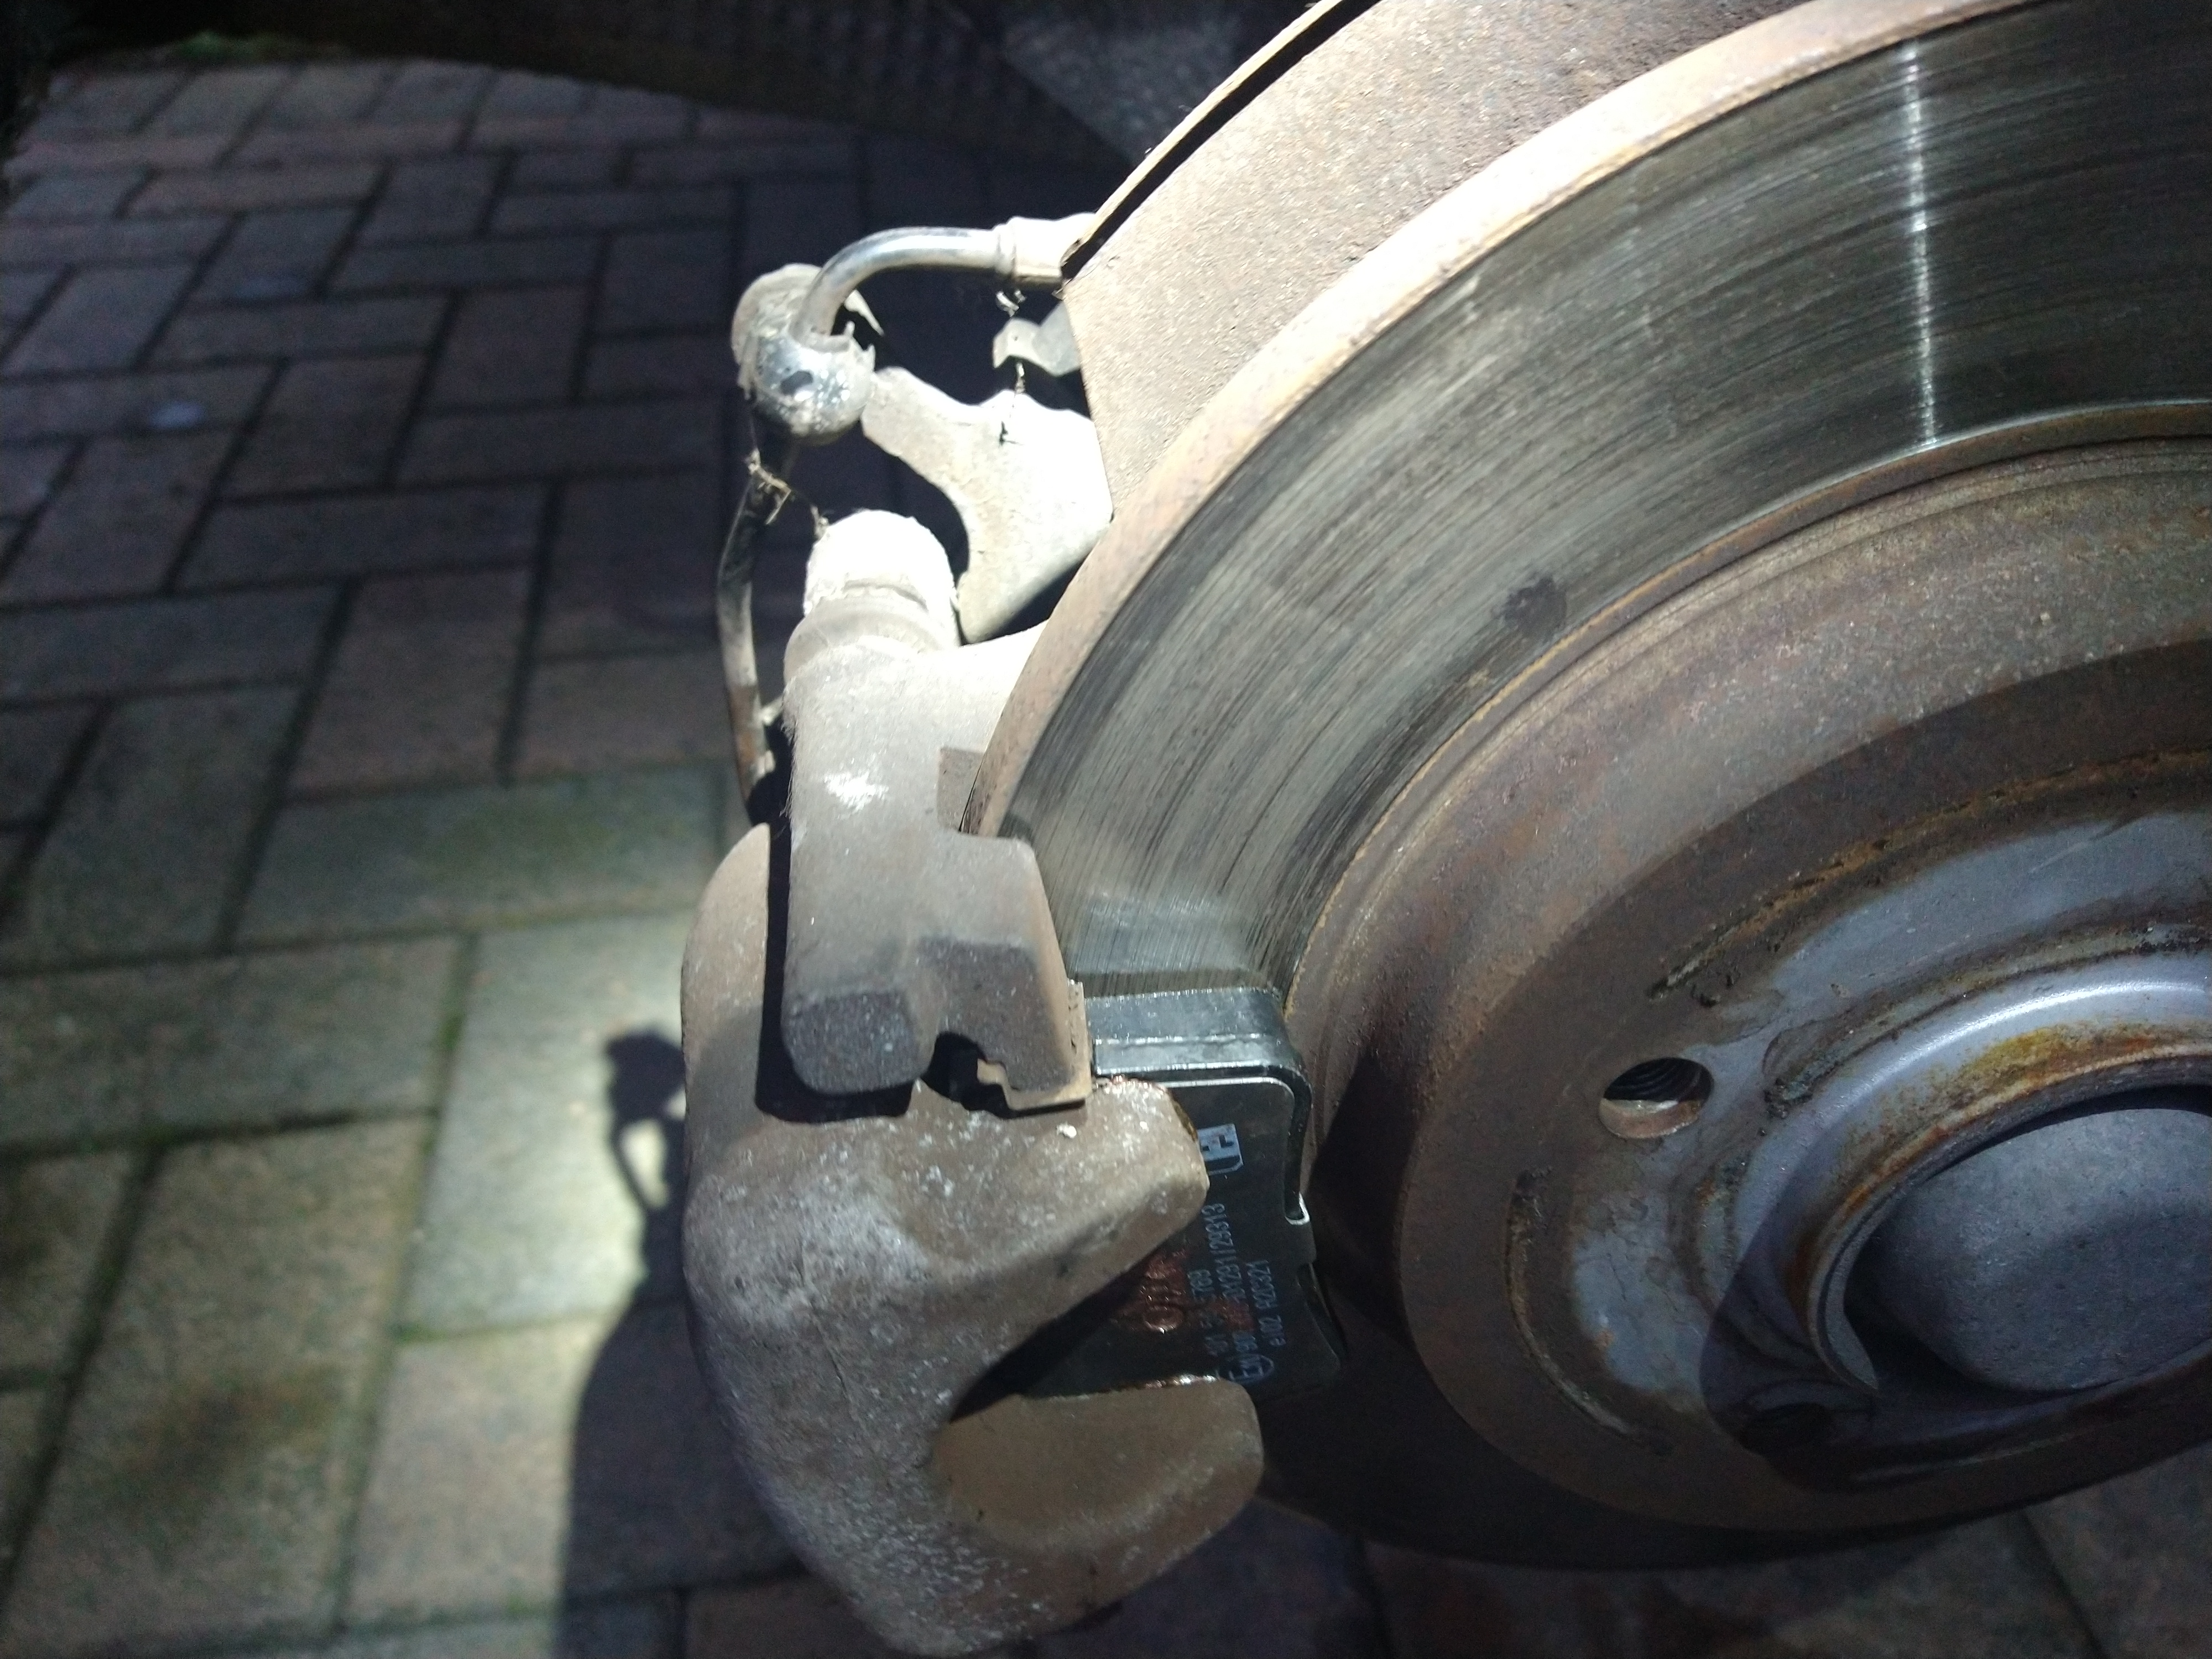
Driver side rear disc looks fine.
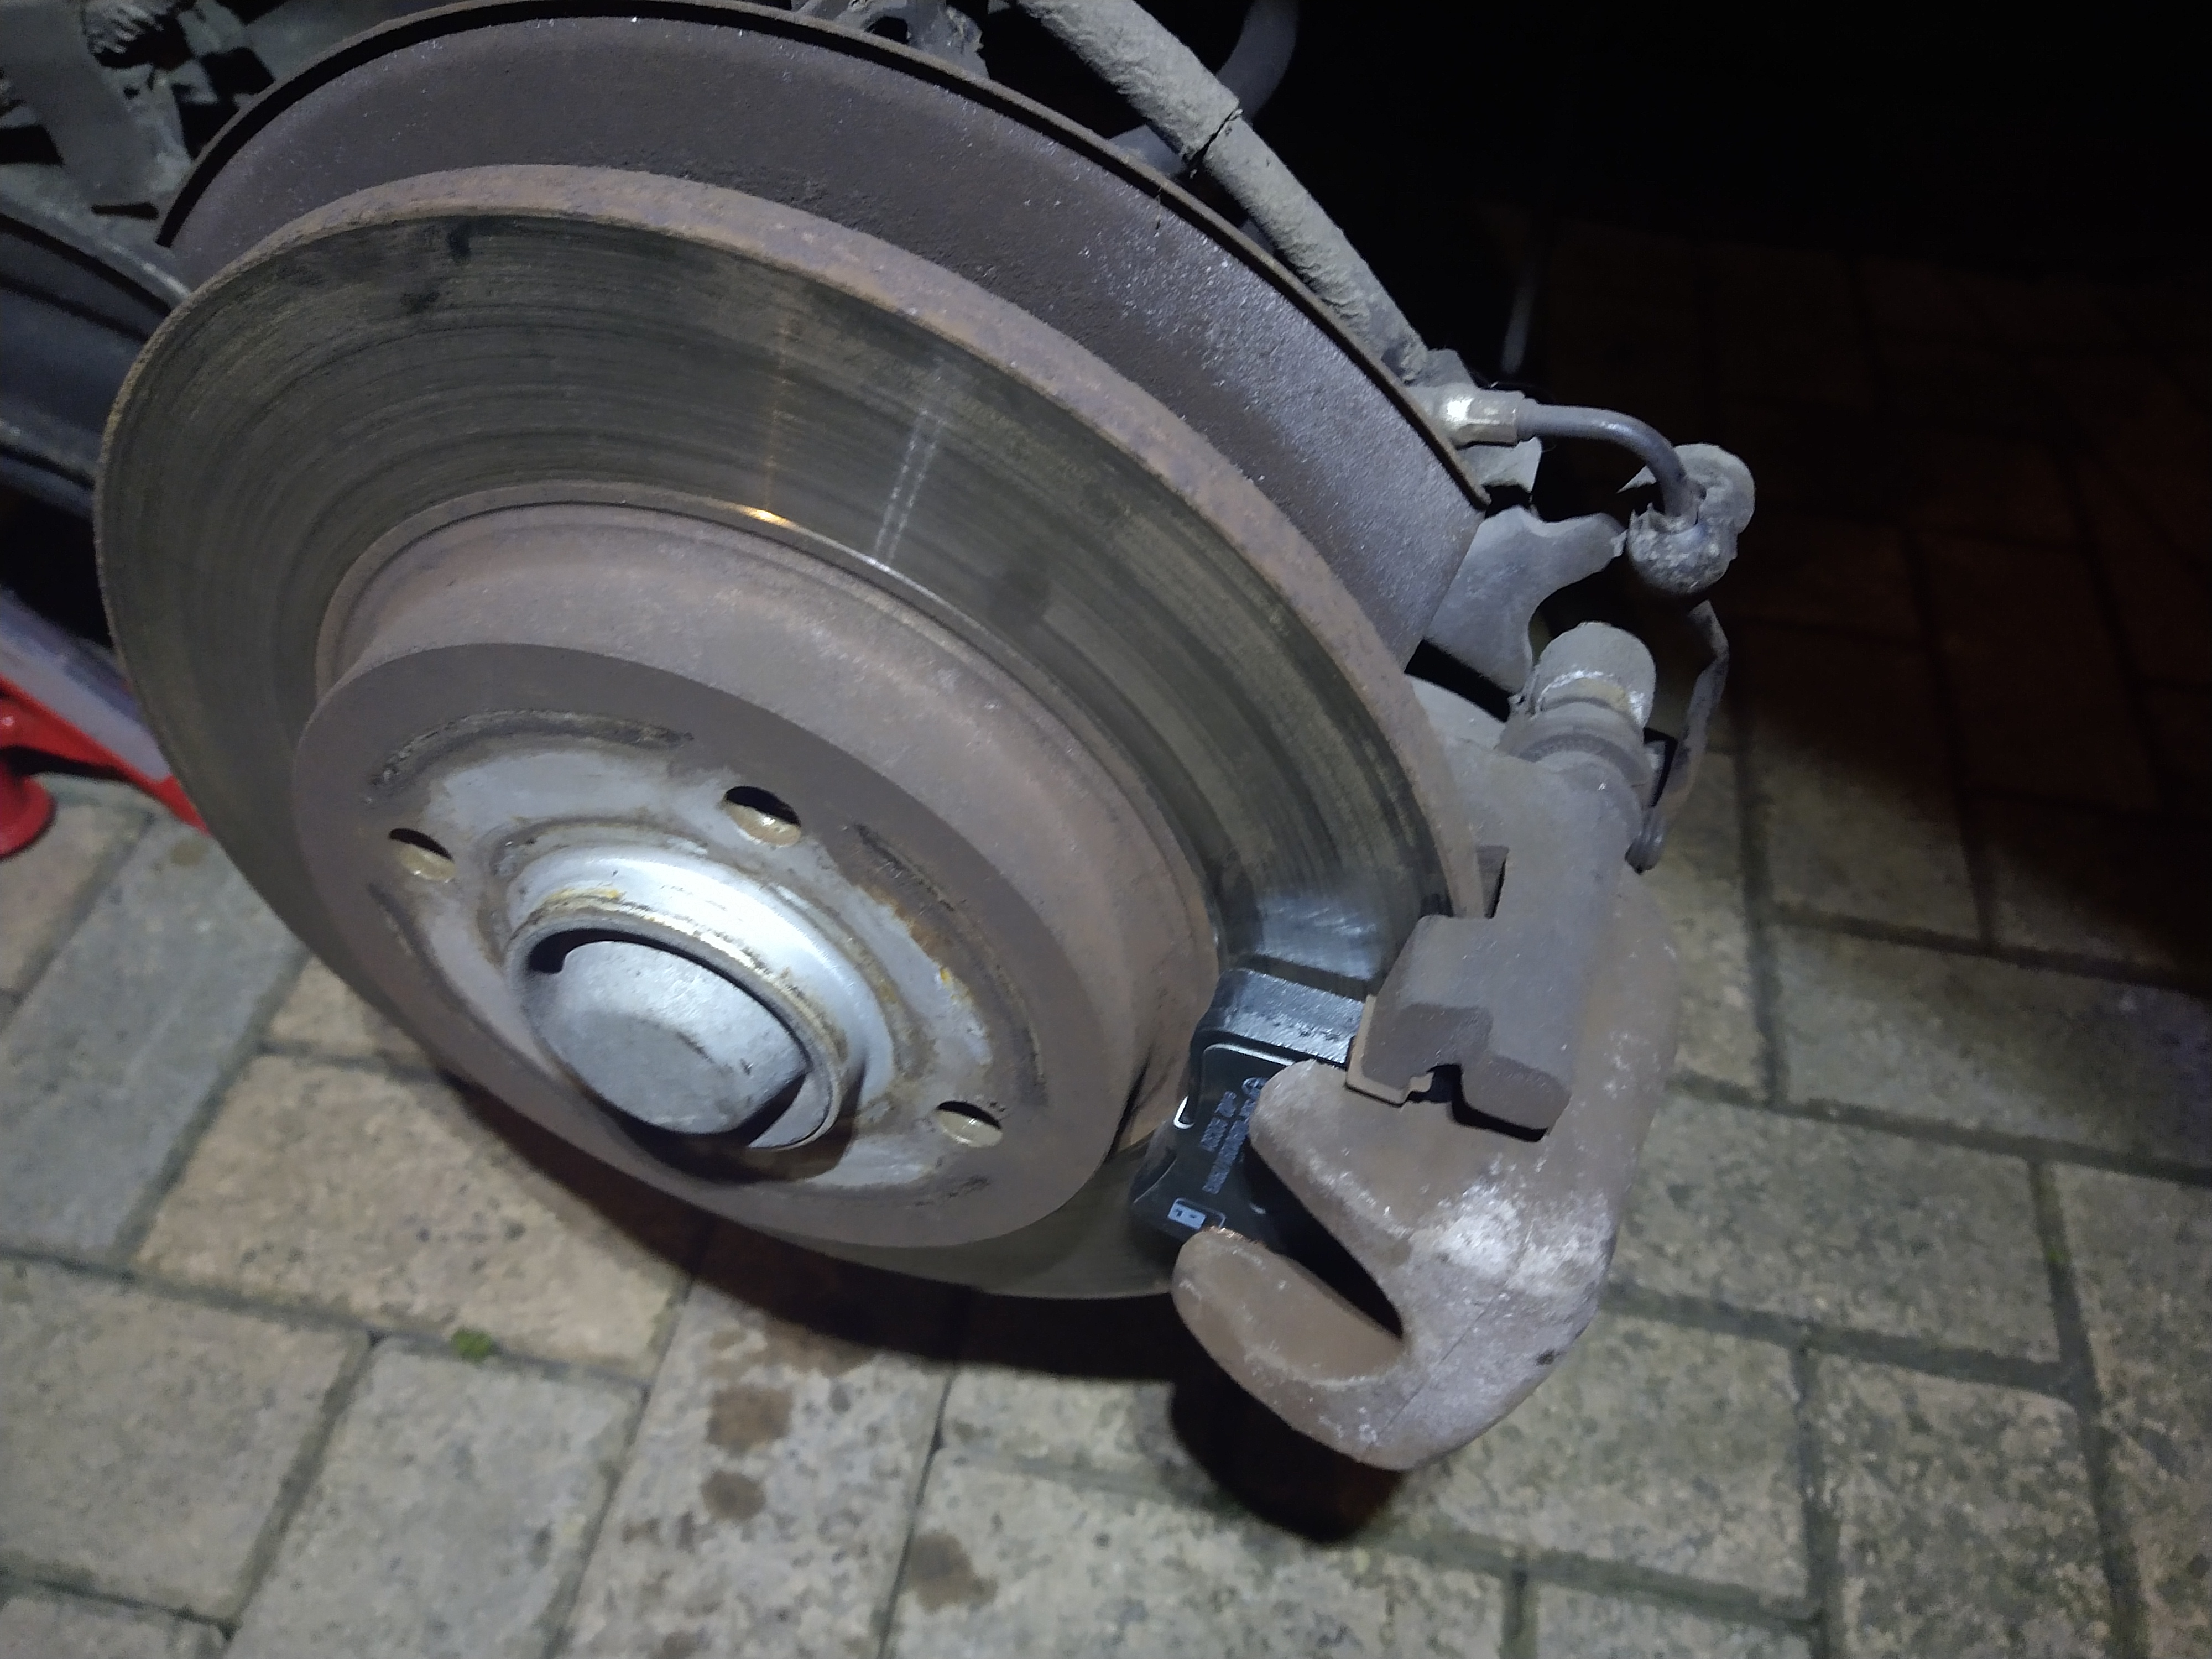
Passenger side rear disc looks fine.
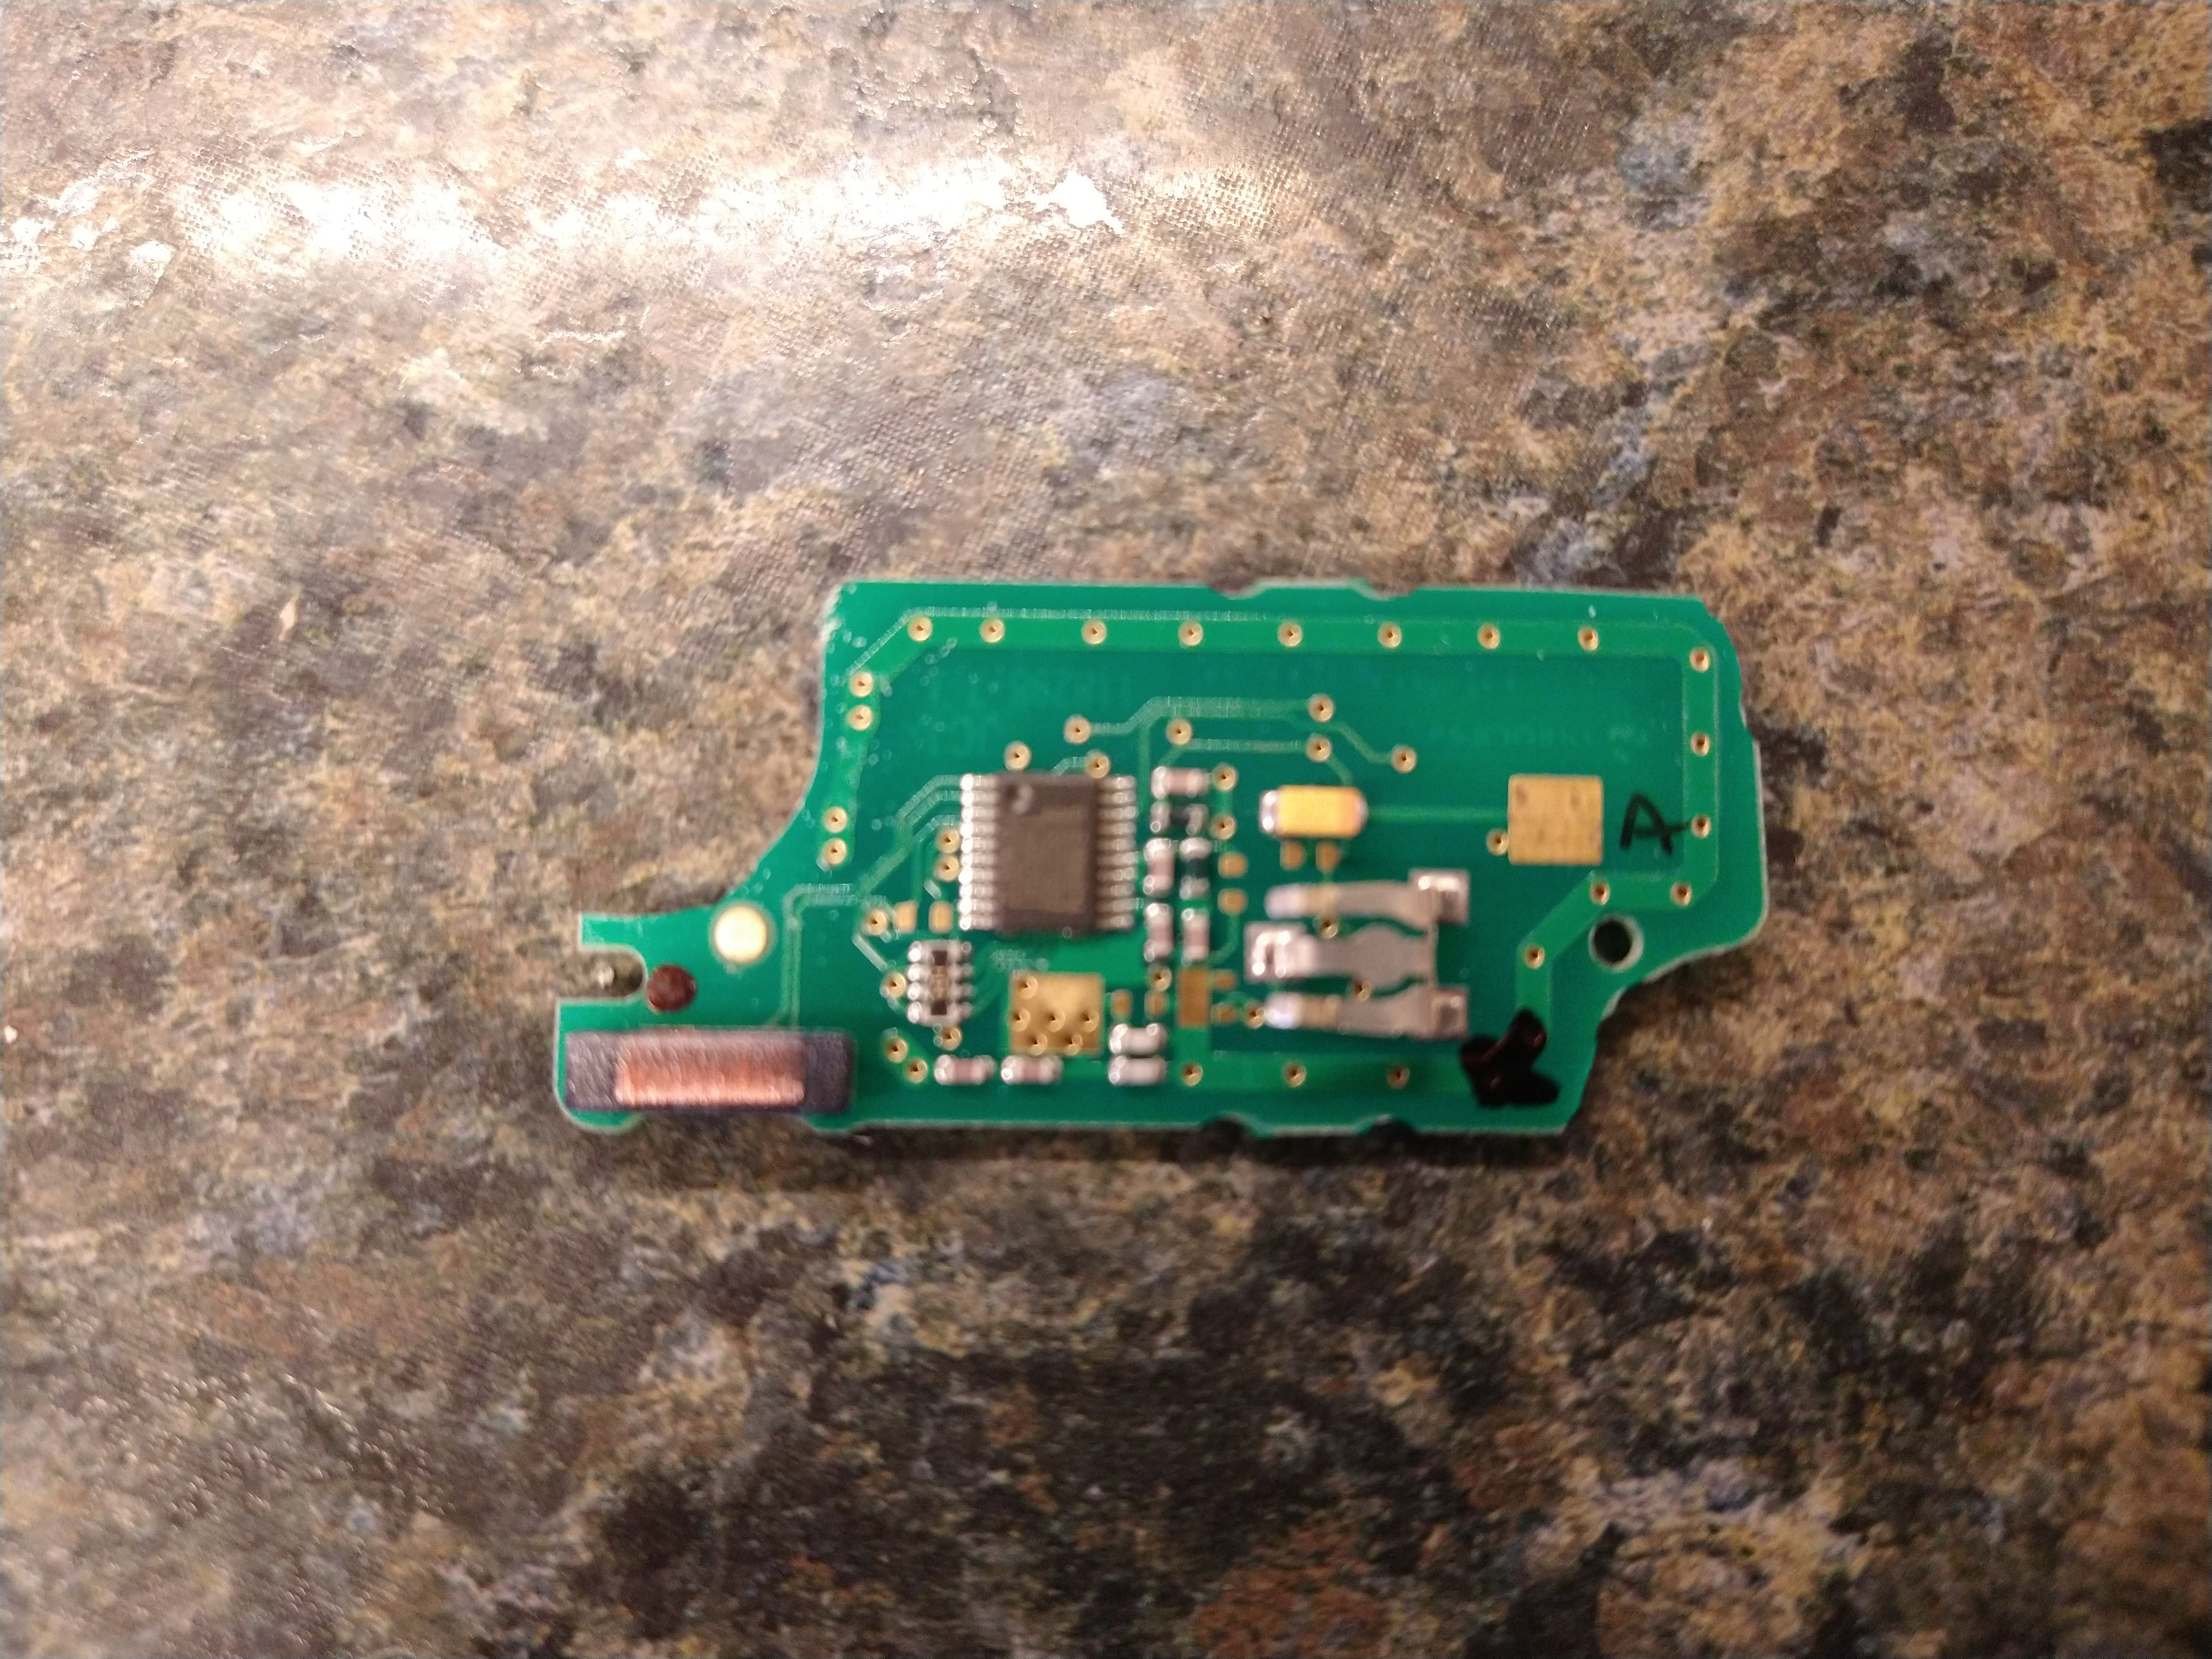
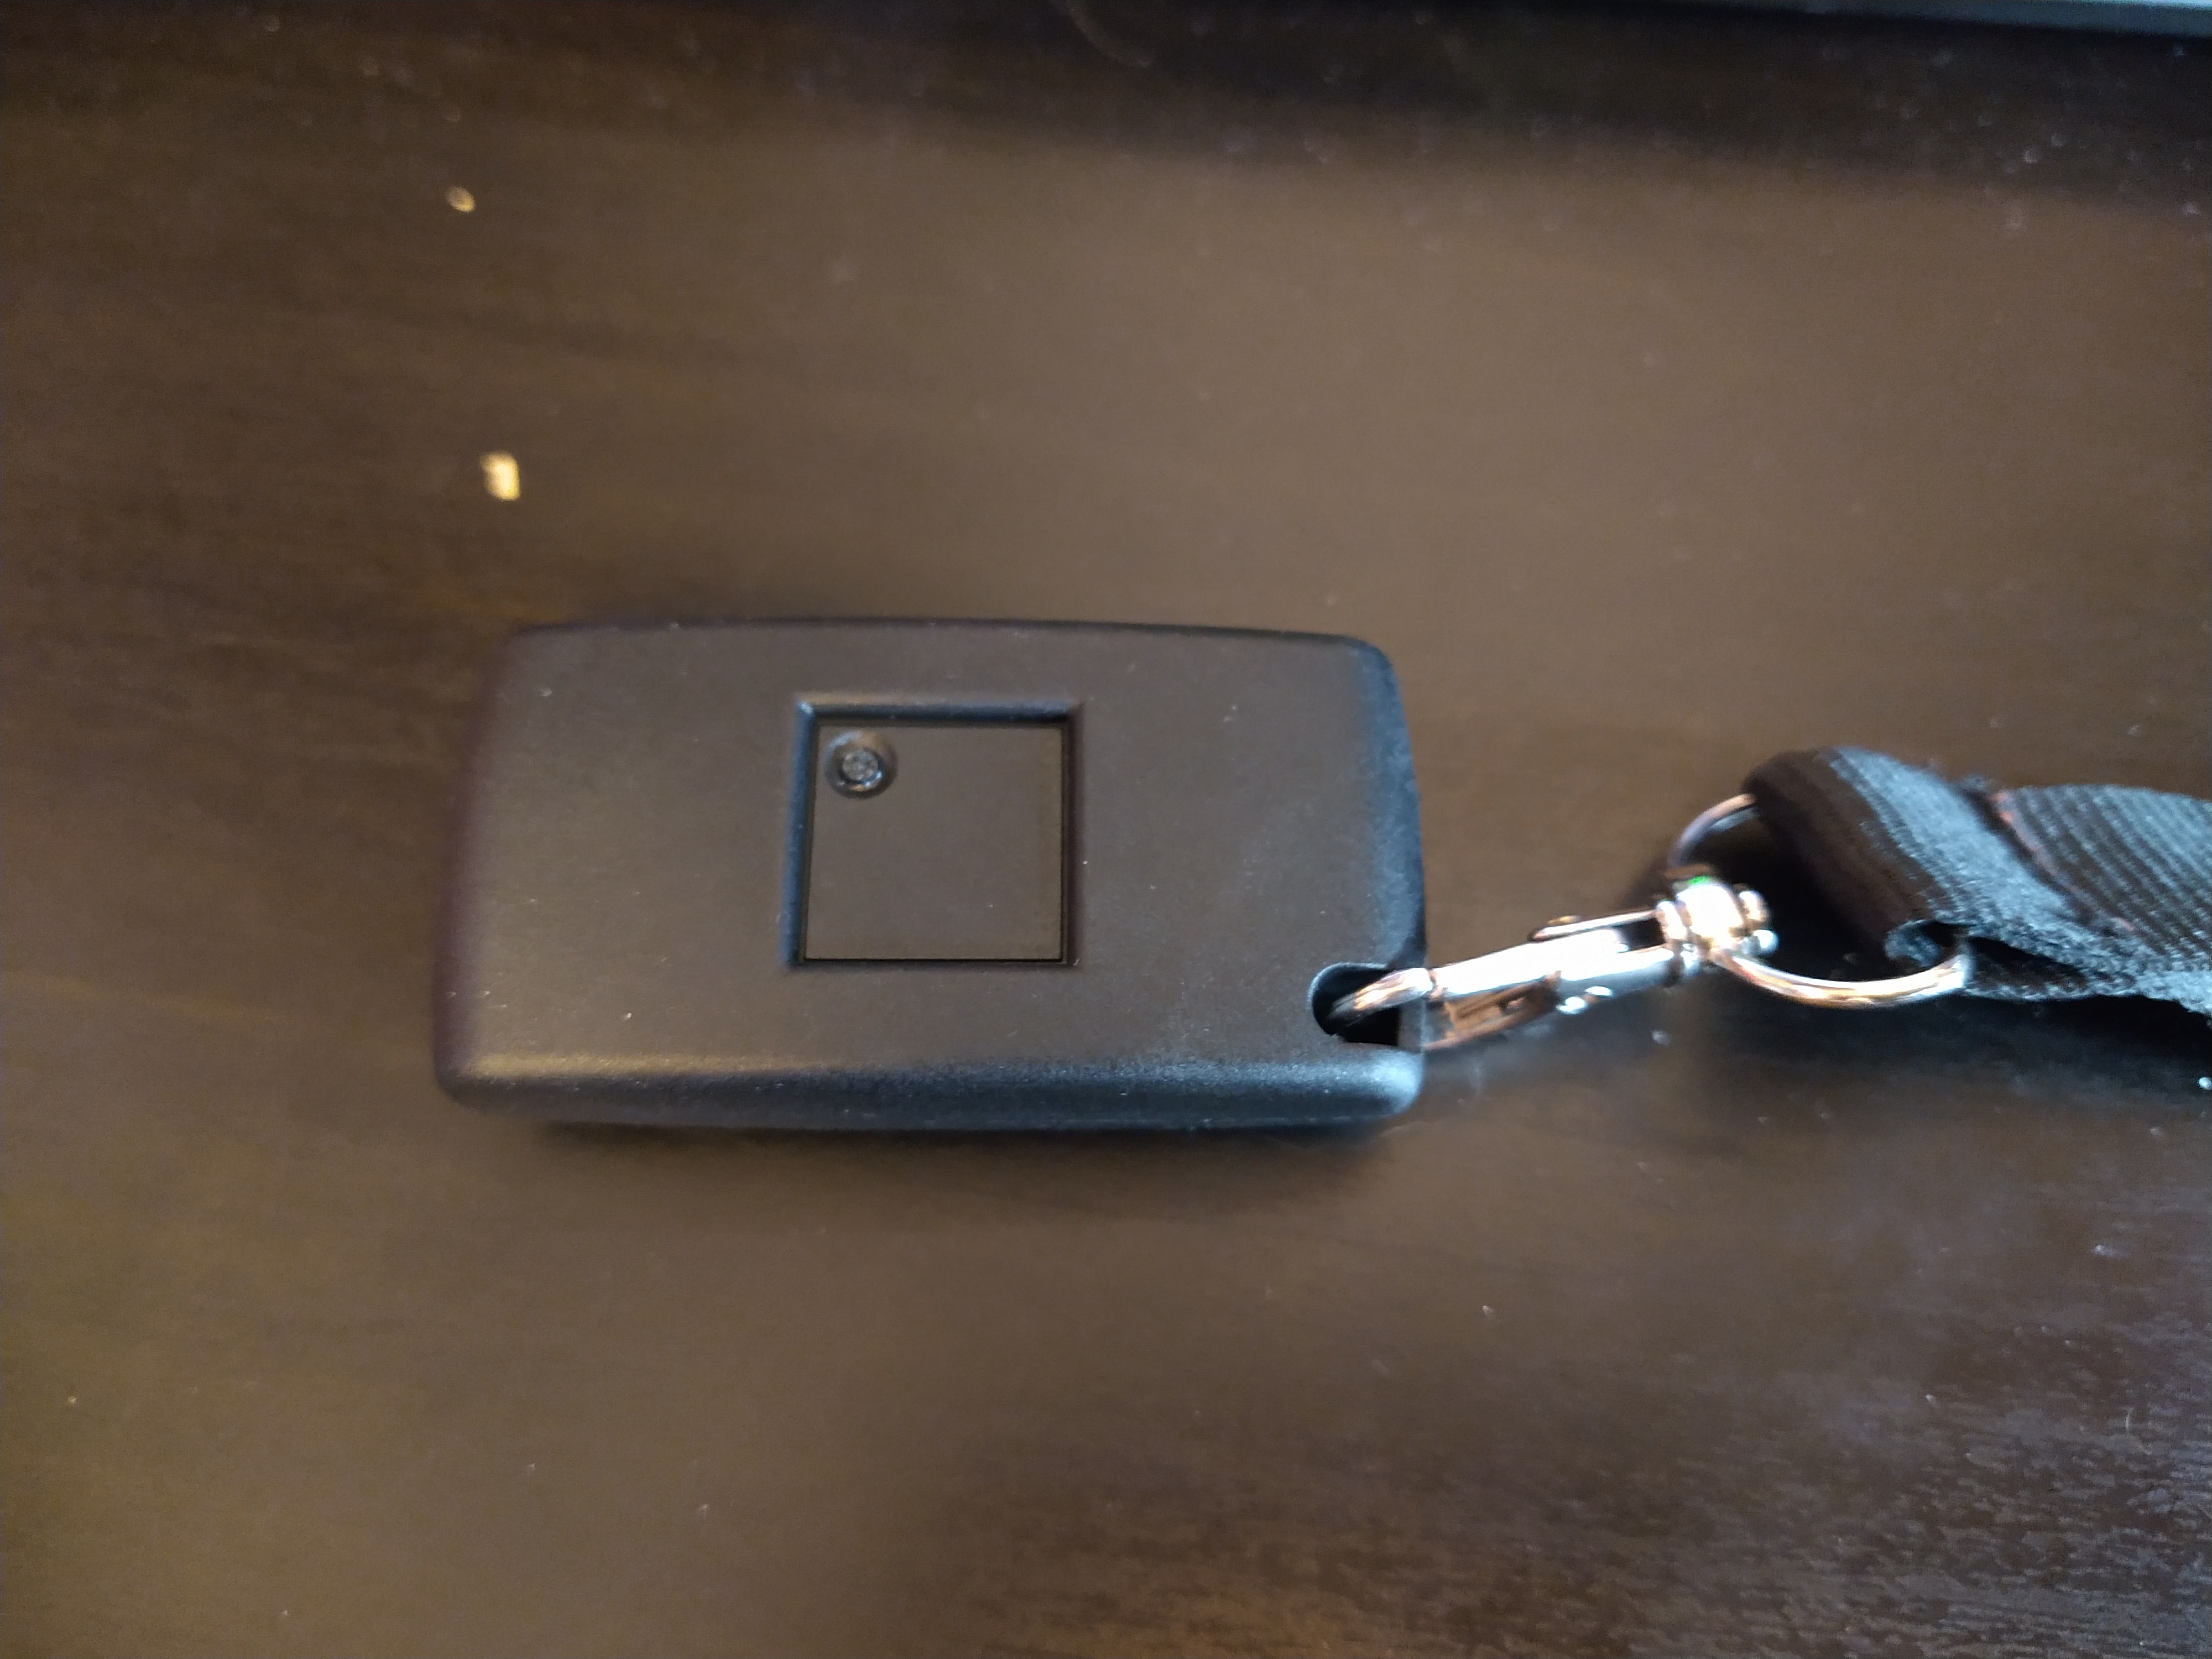
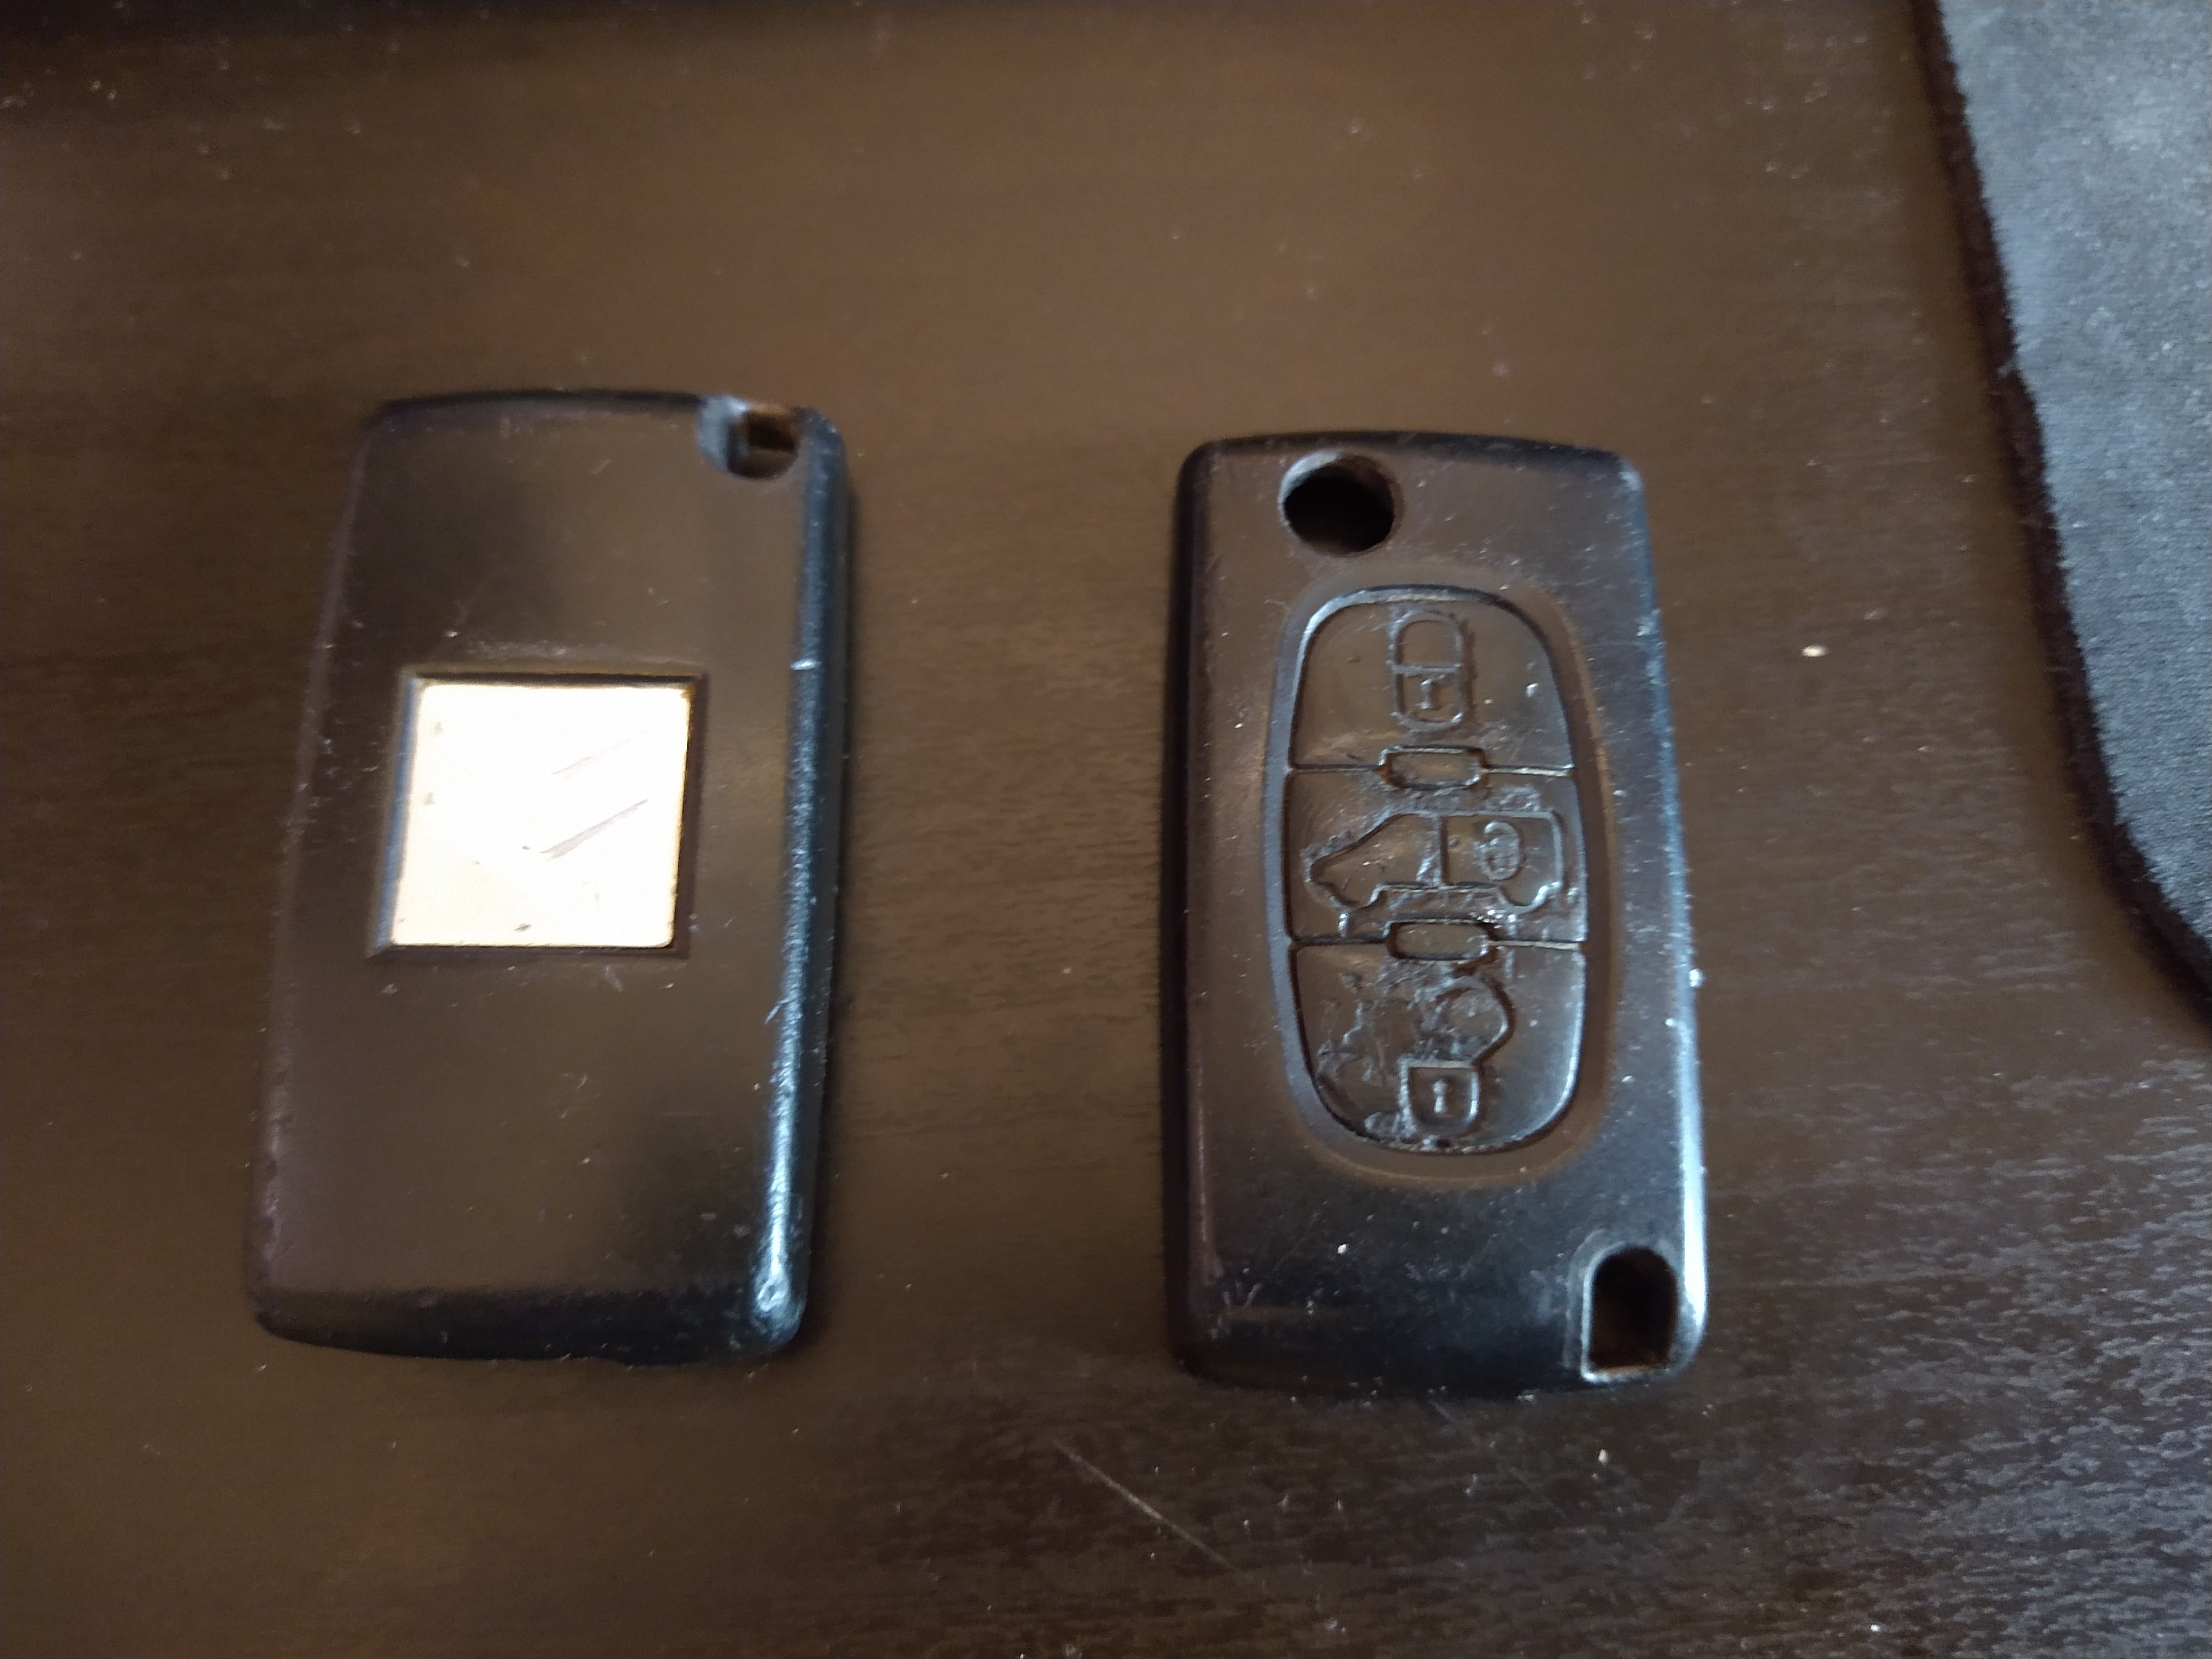
Key fob
I had to replace the battery in my key fob. Interesting antenna design on the PCB.

Looks like there is a separate RFID (passive) device on the board which handles immobiliser. It works regardless of the battery.
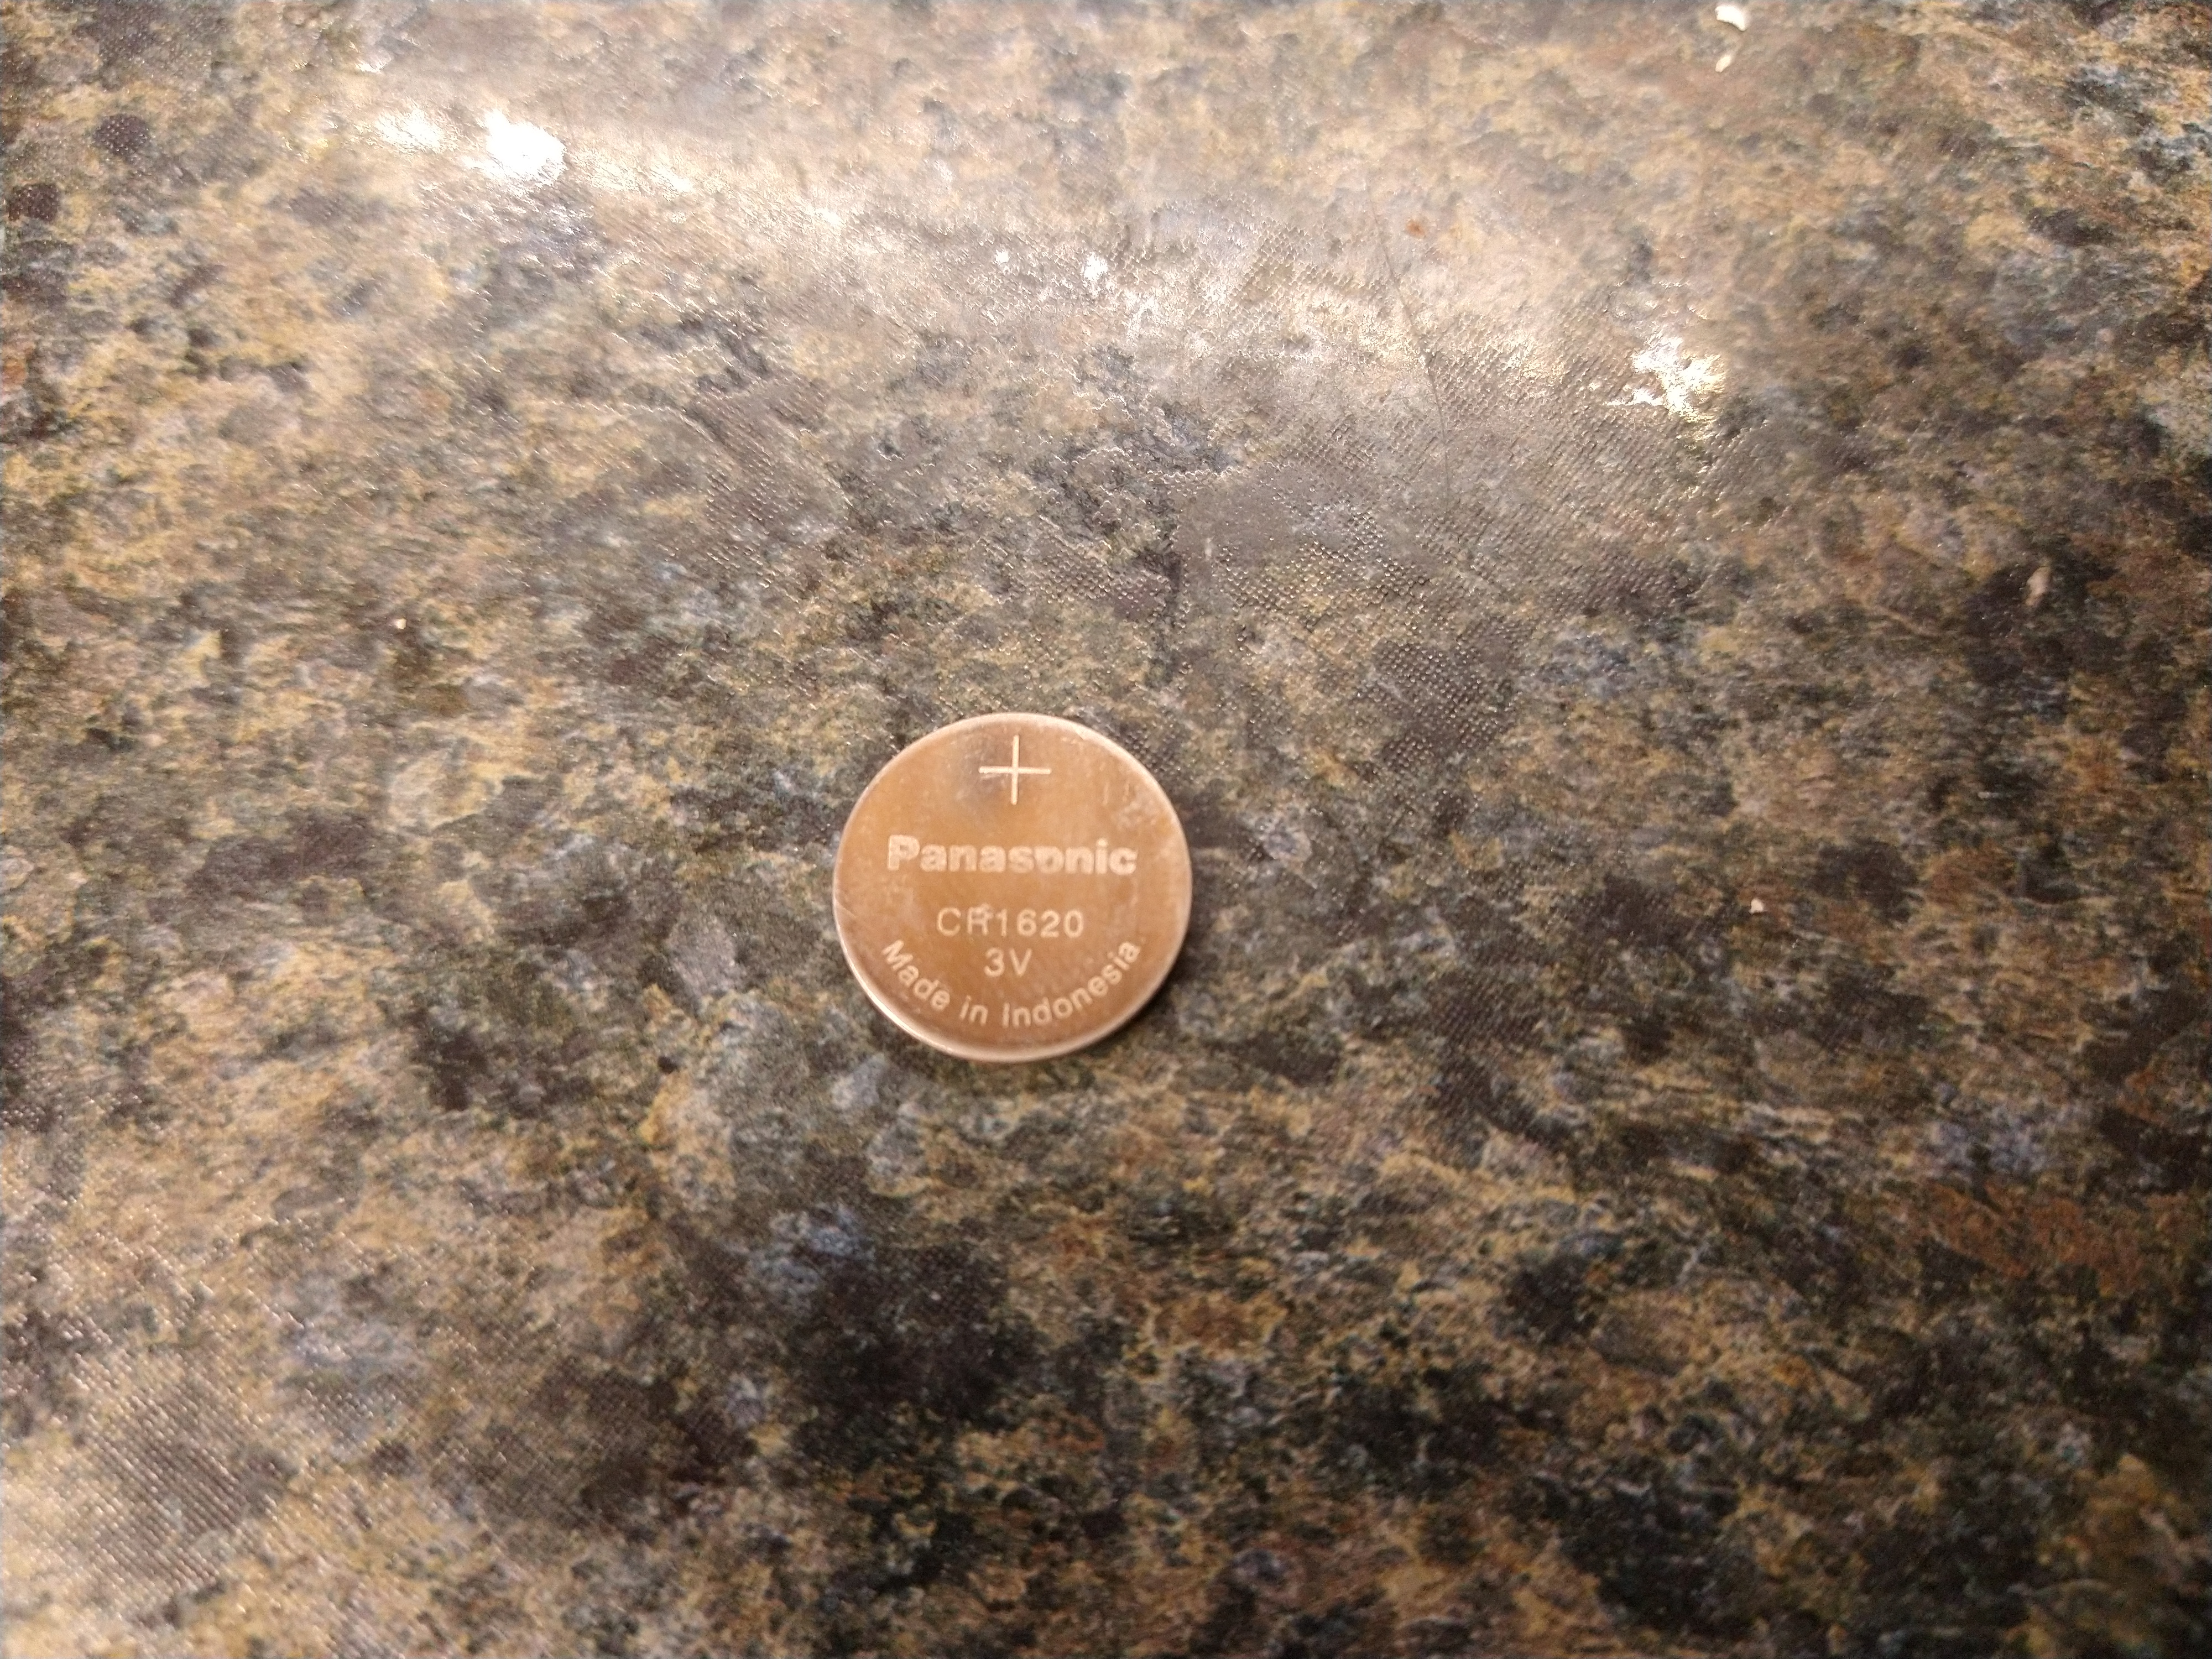
Previously I found wrong information when looking up the replacement battery type online. This is the actual battery I had.
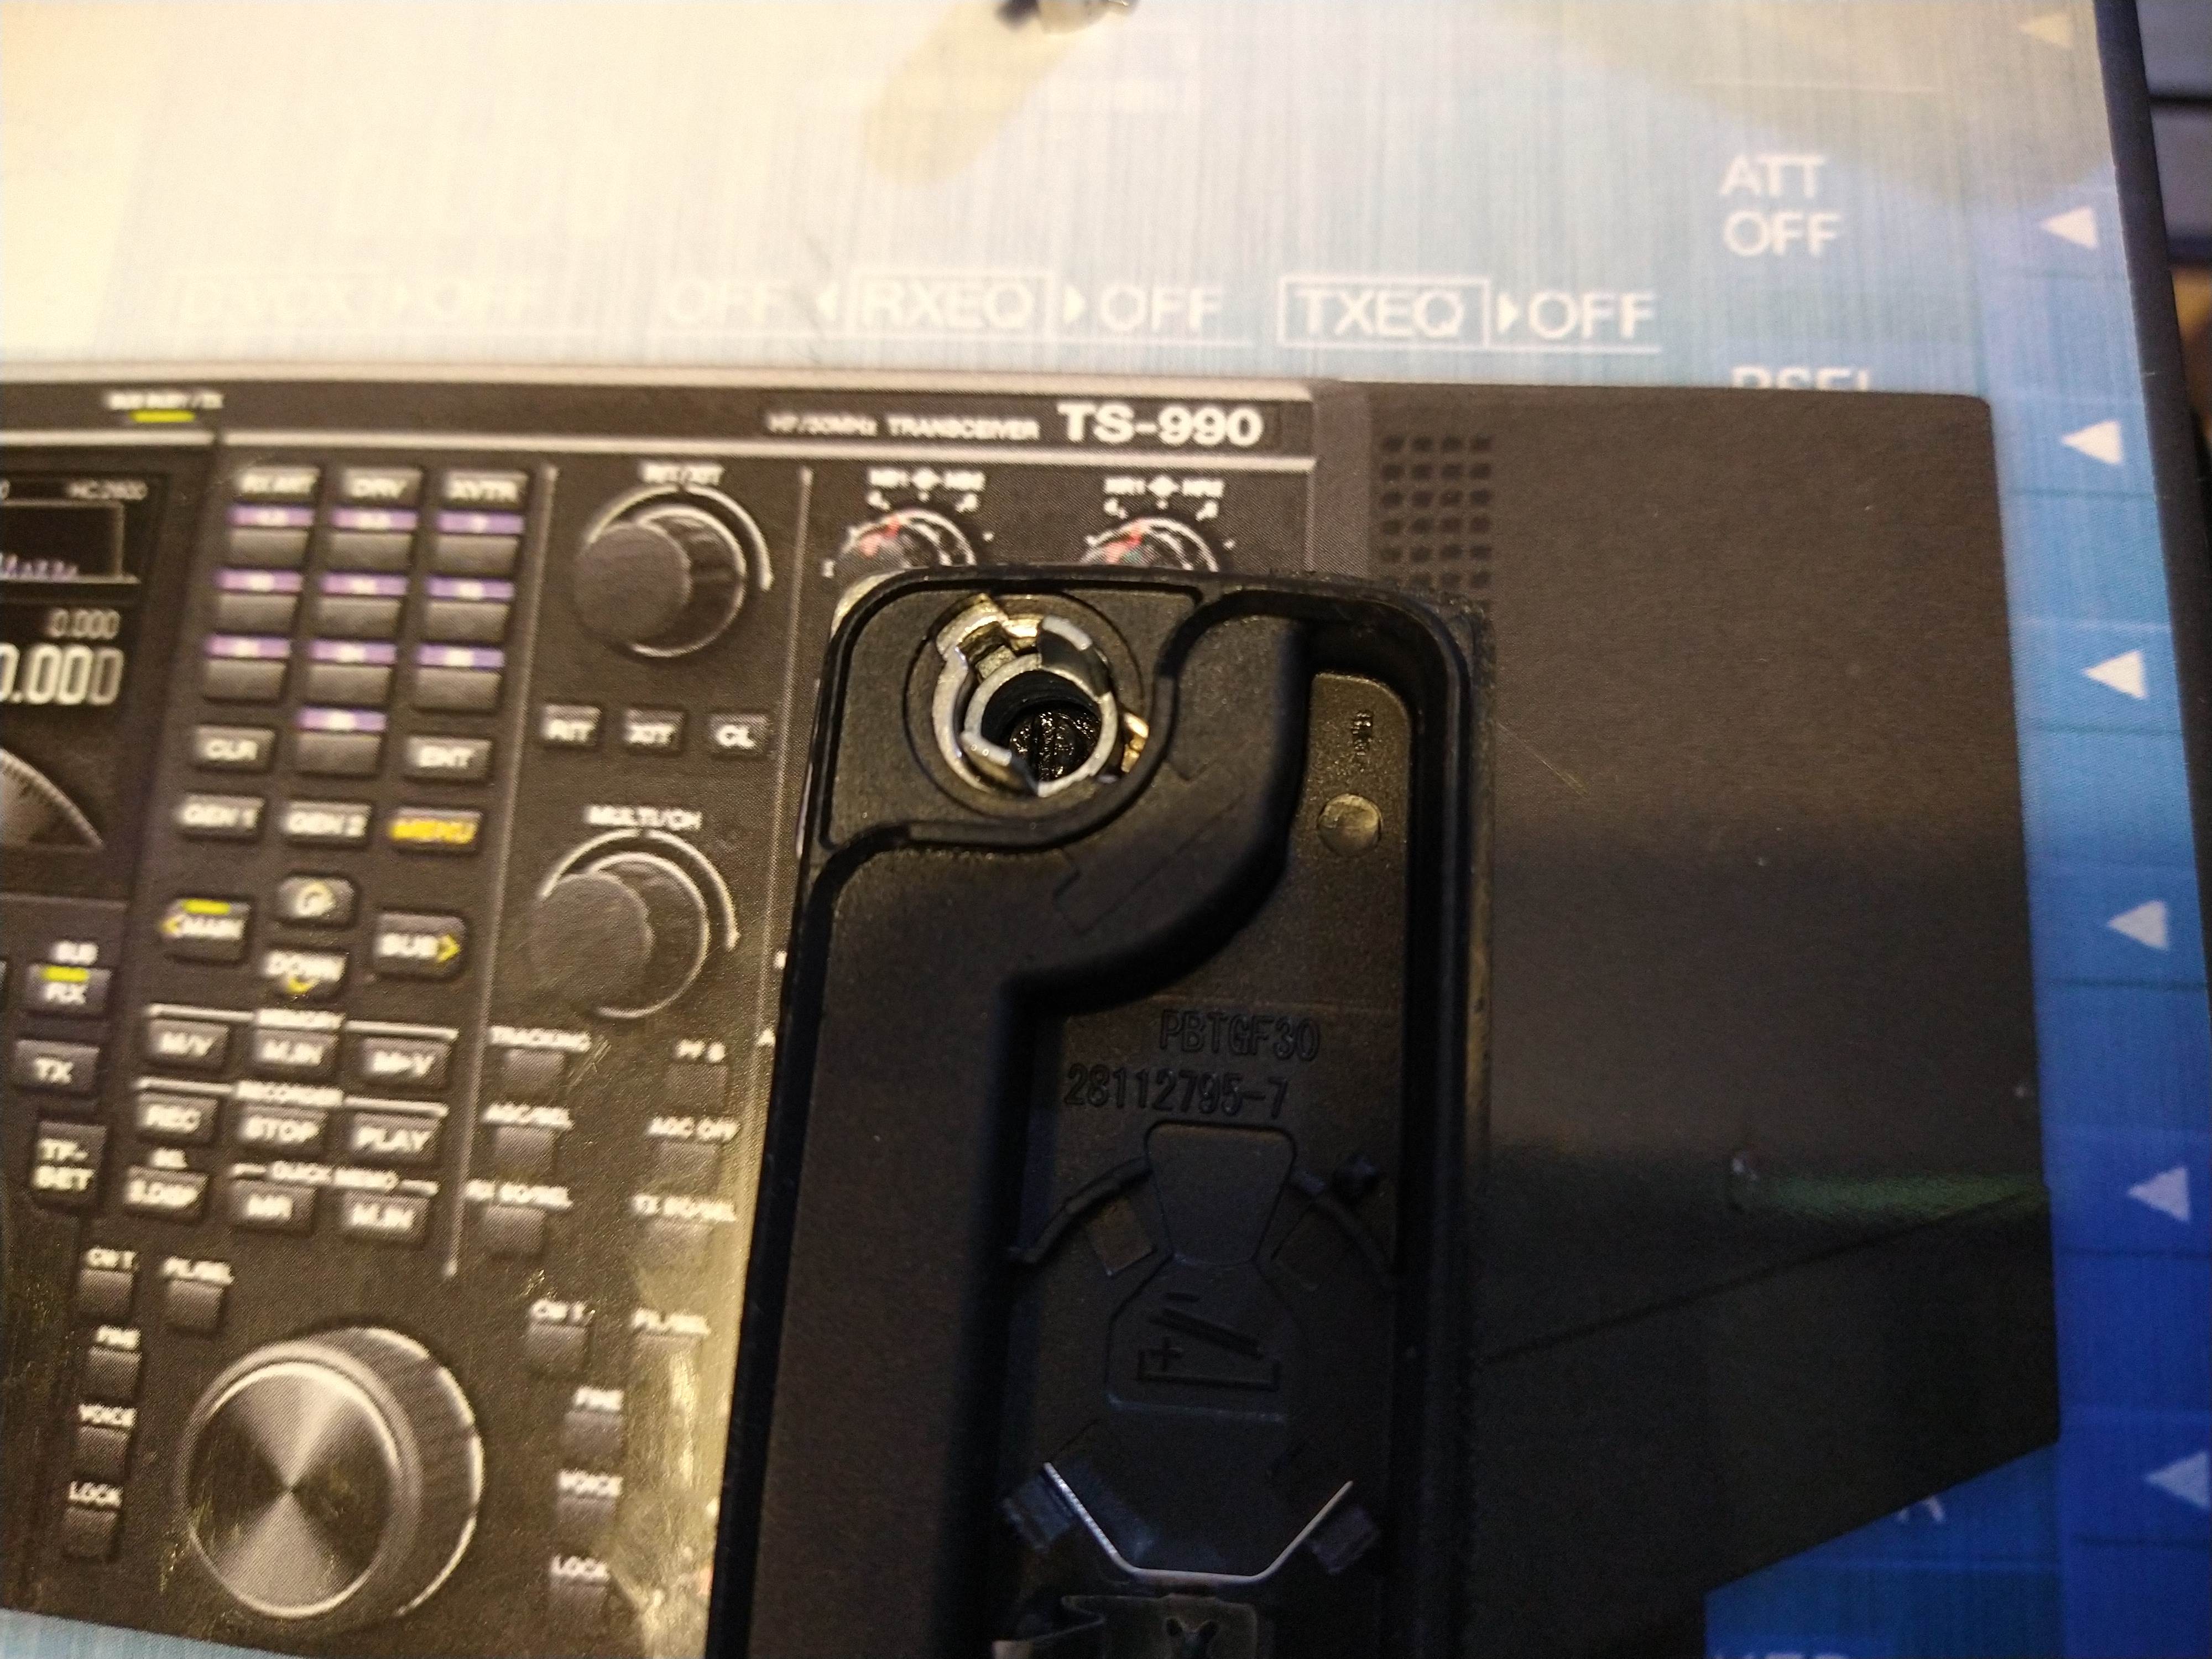
I needed to replace my fey fob outer plastic shell. The spring mechanism to flip open the key is rather tricky to replace. I suspect it wasn’t intended to be replaced since the new shell came with a new key blank. I wanted to swap in my existing key. Here I have laid out the exact orientation of how the parts nest.
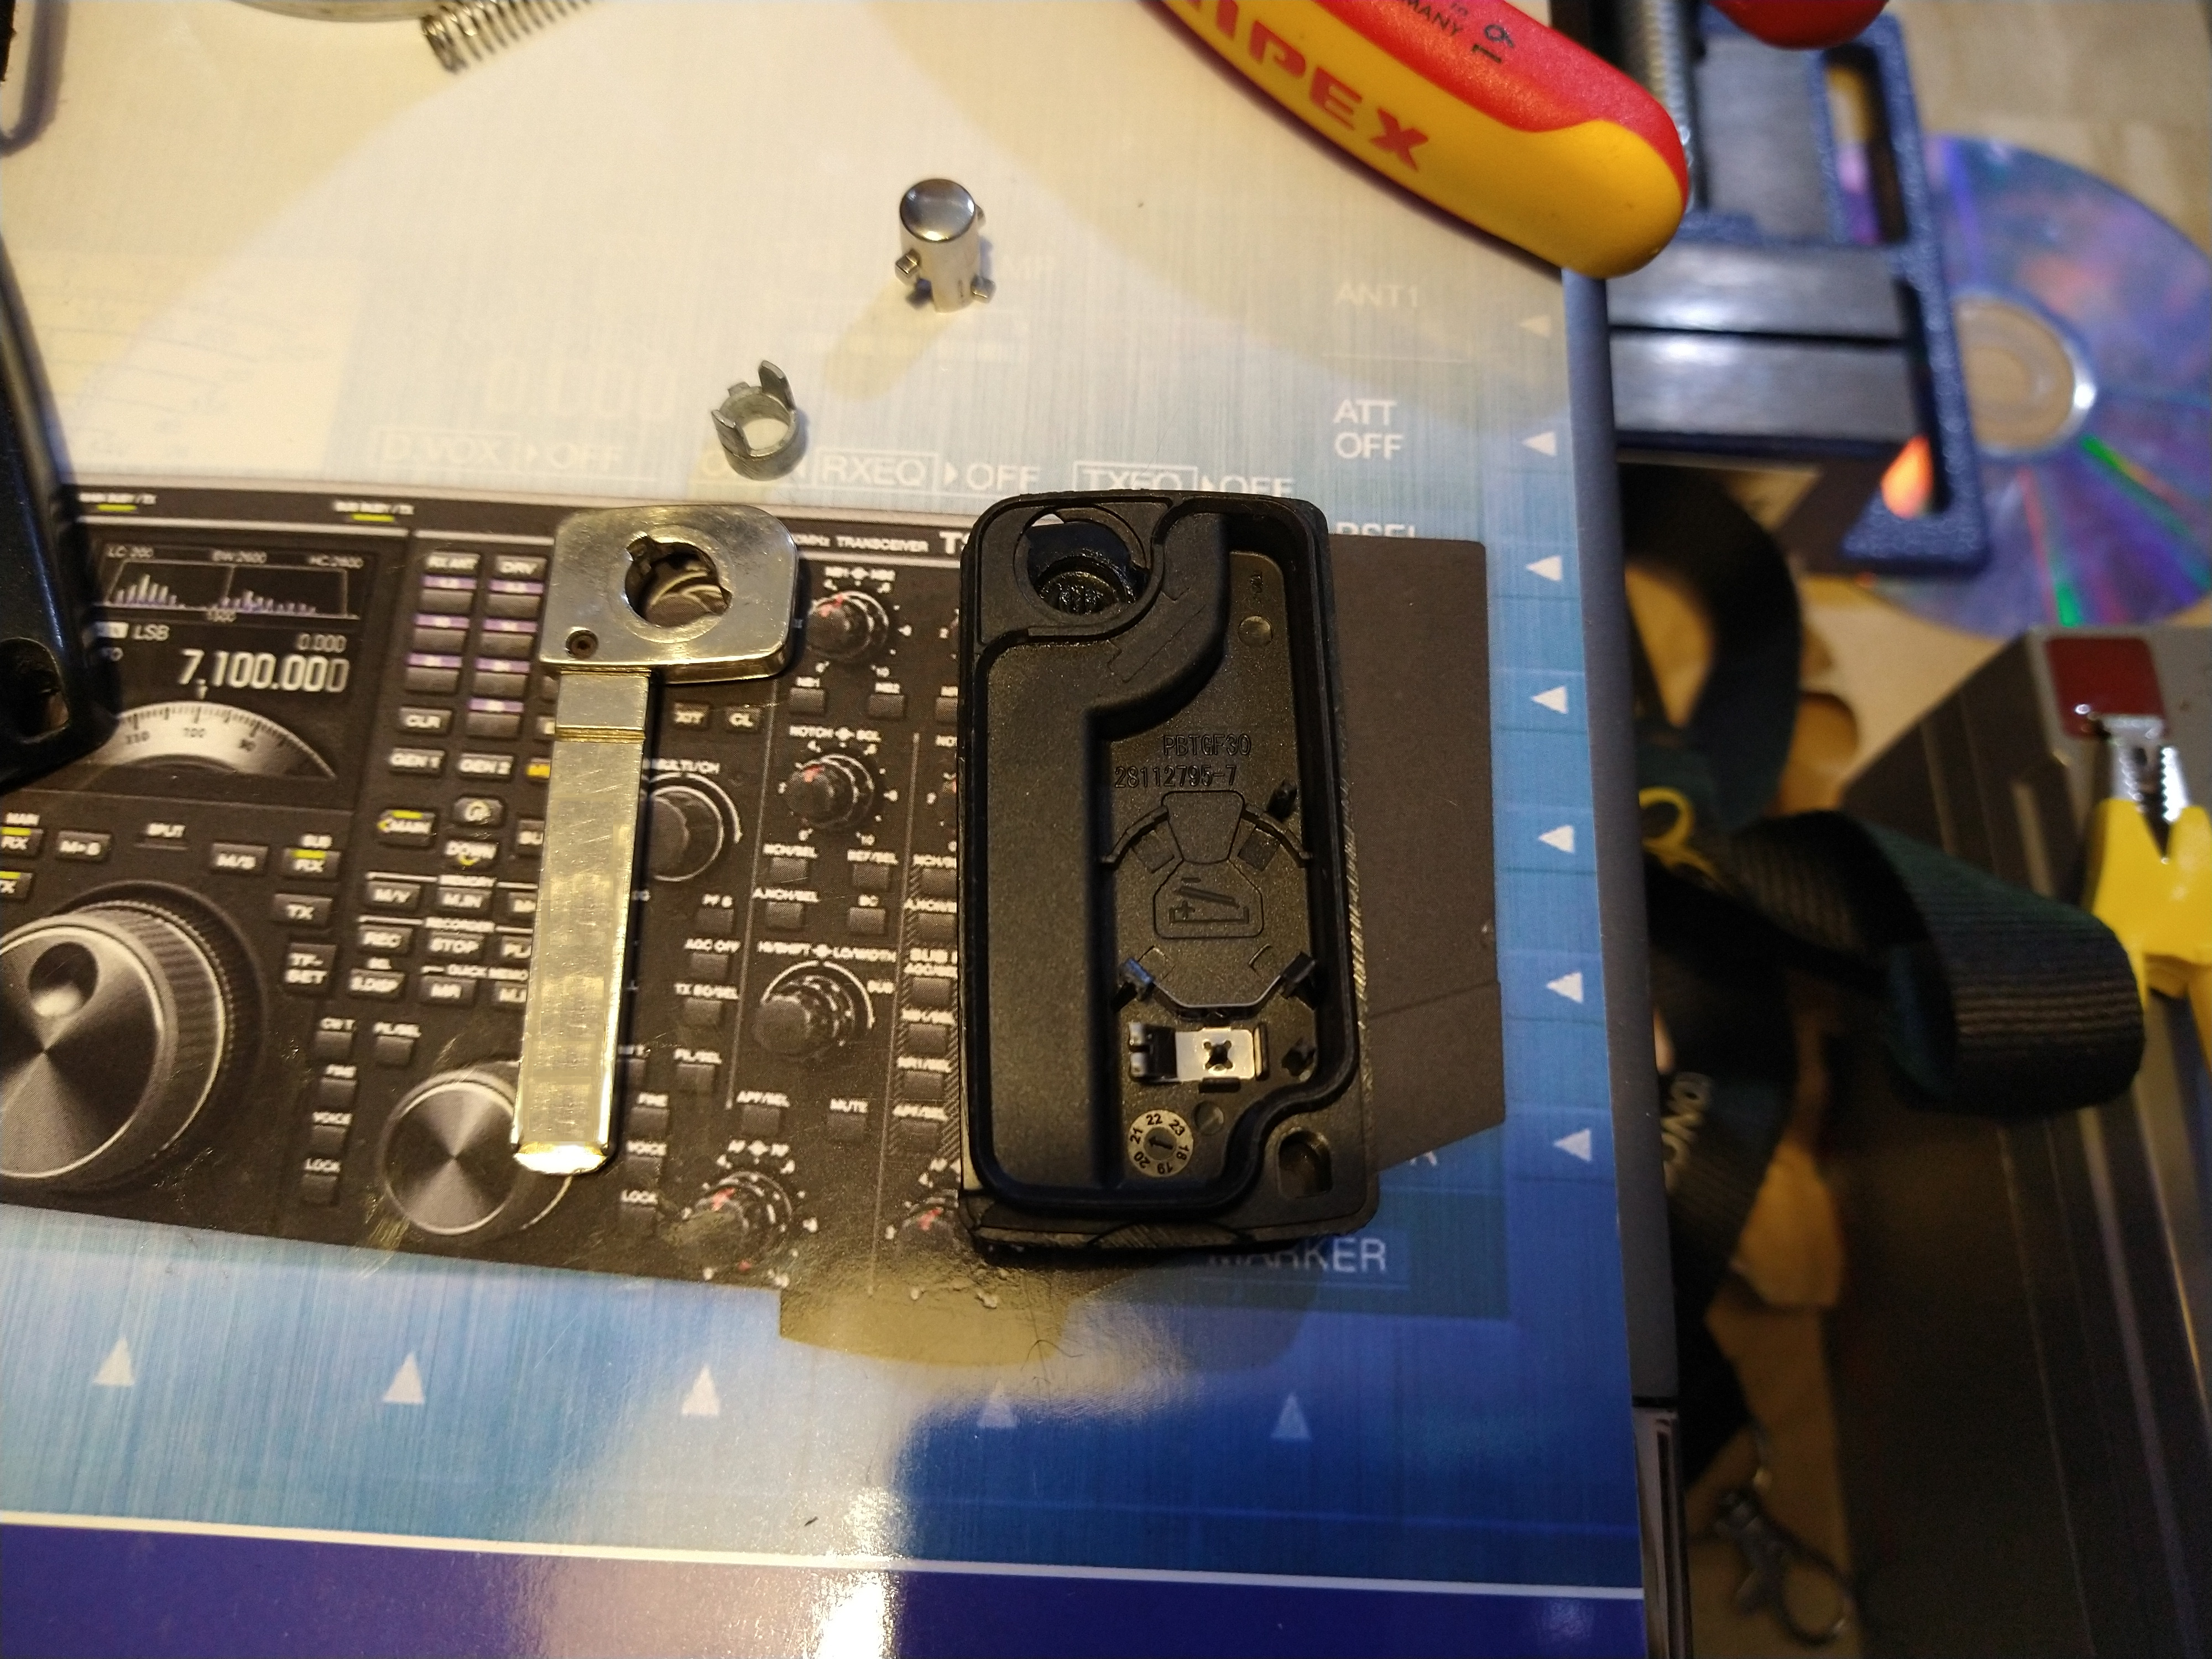
Notice the orientation of each part. They must nest a particular way. It feels like it could nest 2 ways but ultimately it only works in the correct orientation.
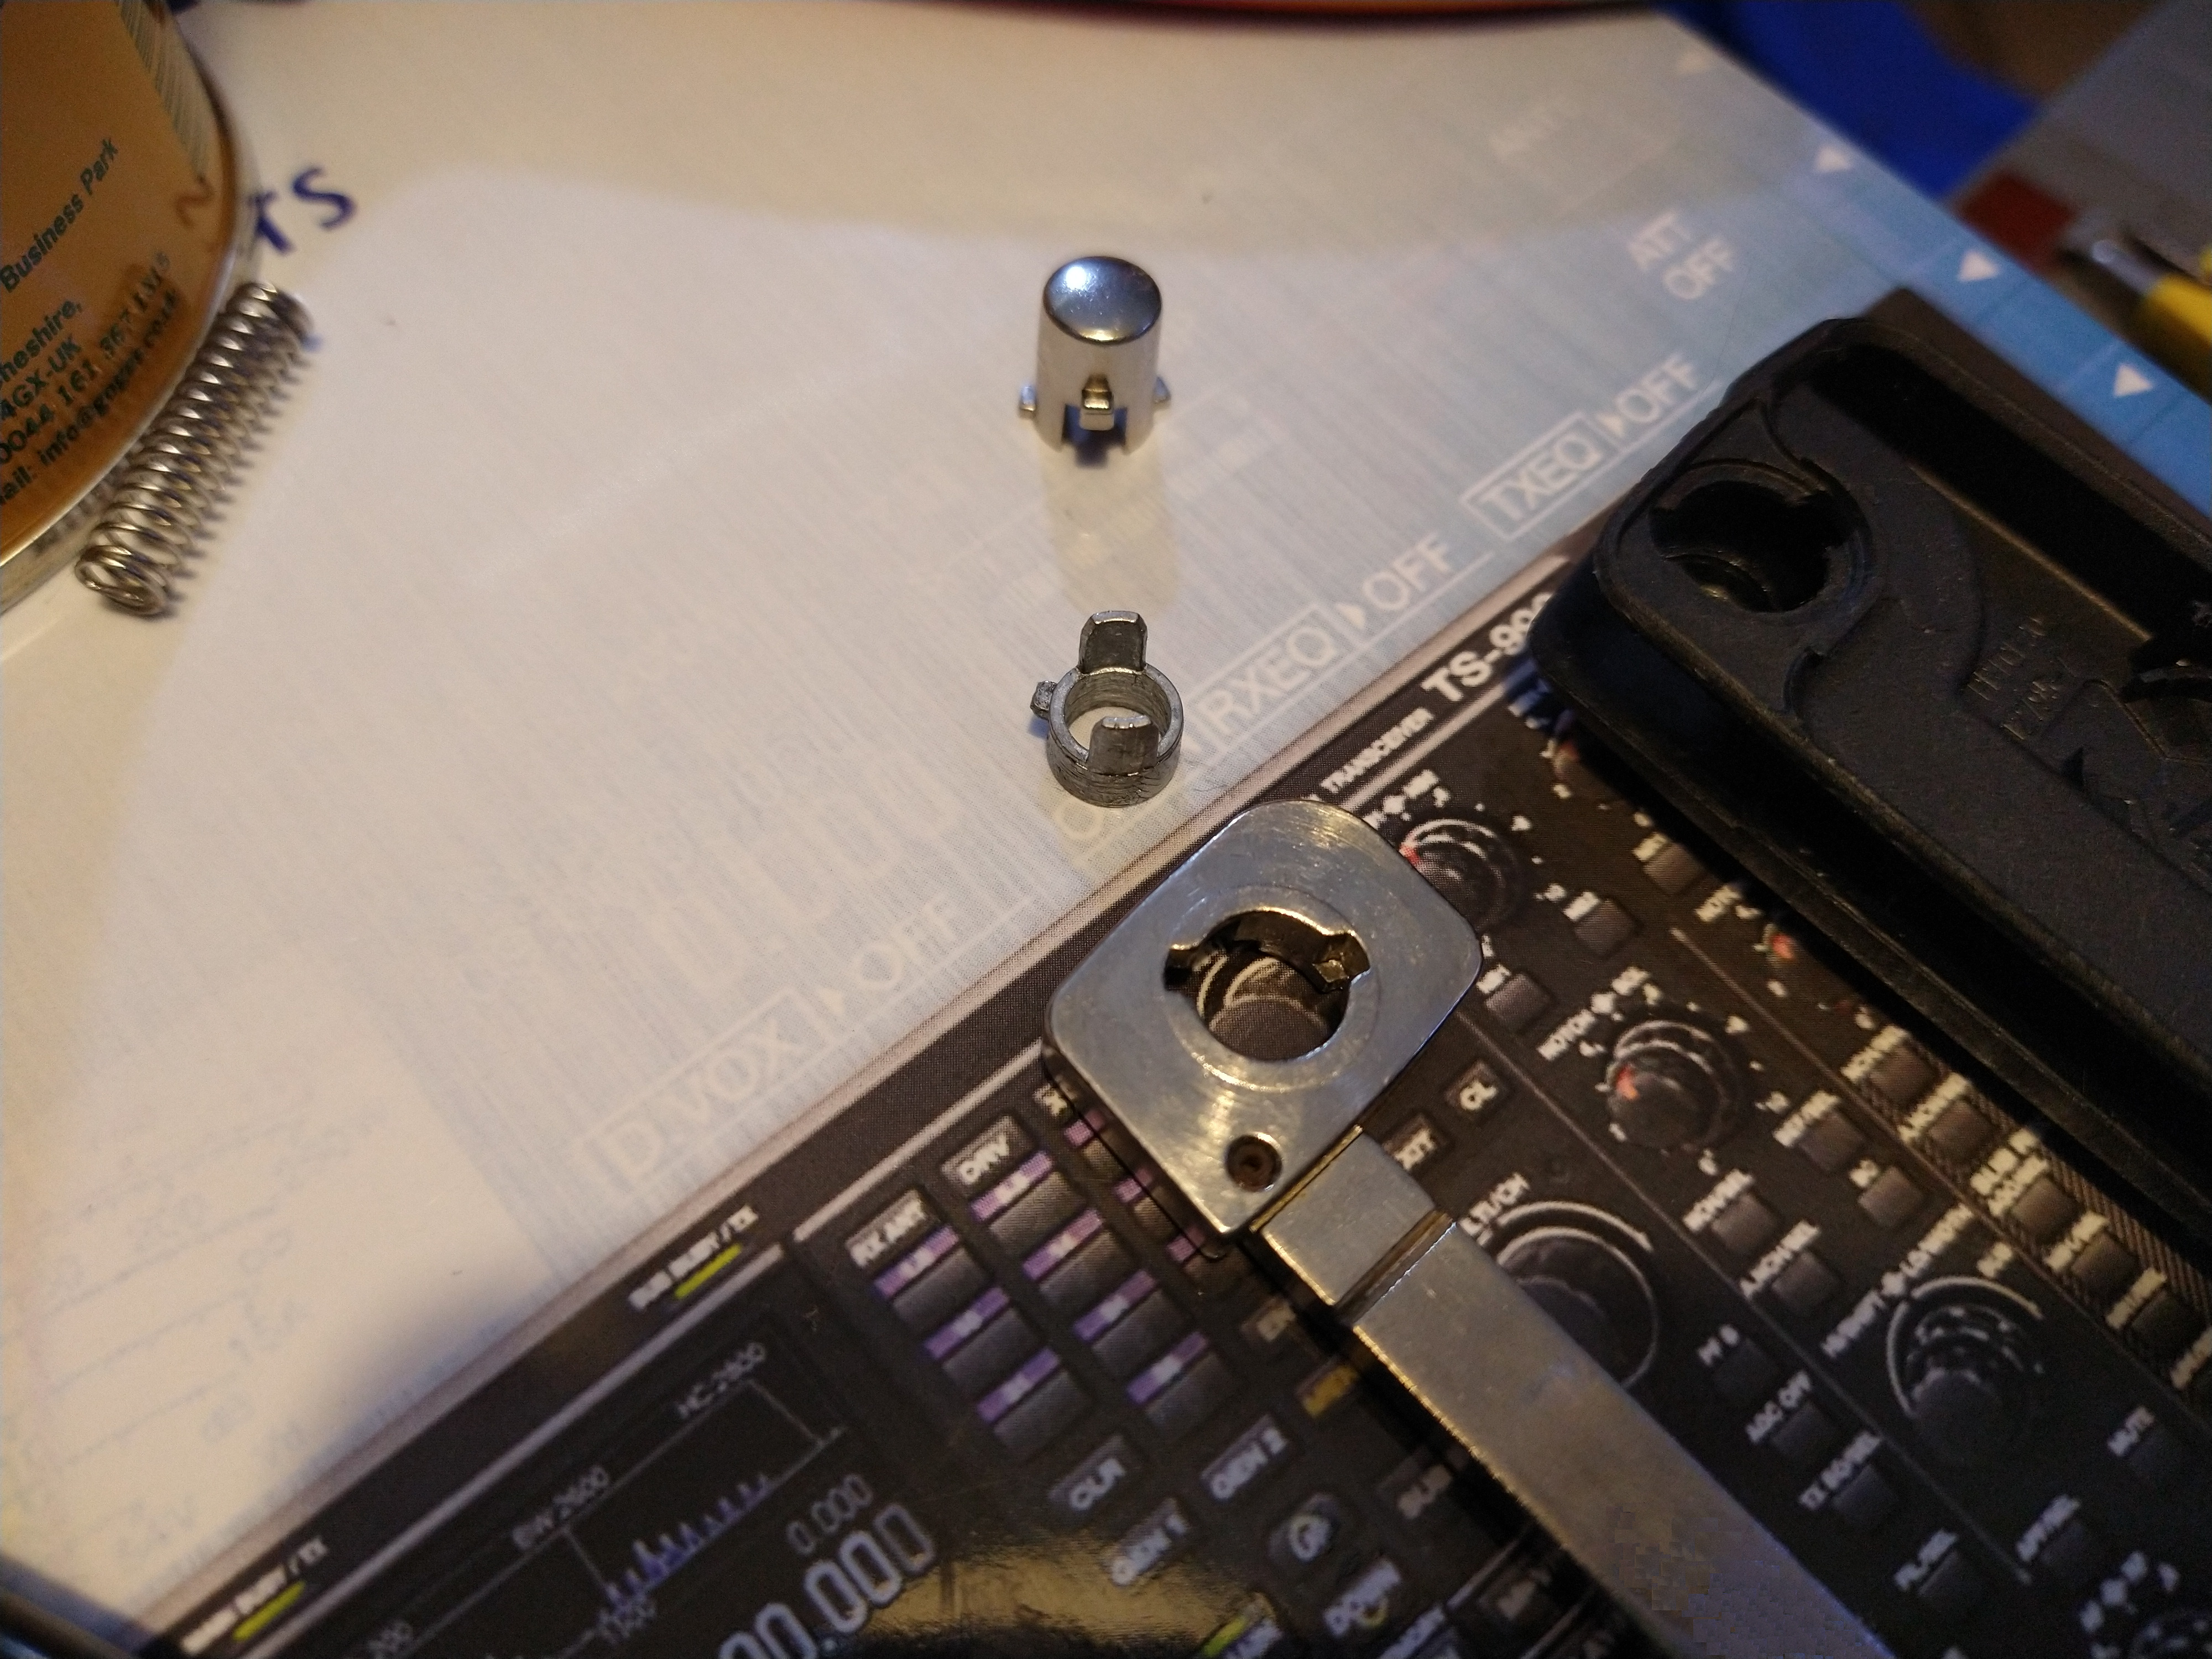
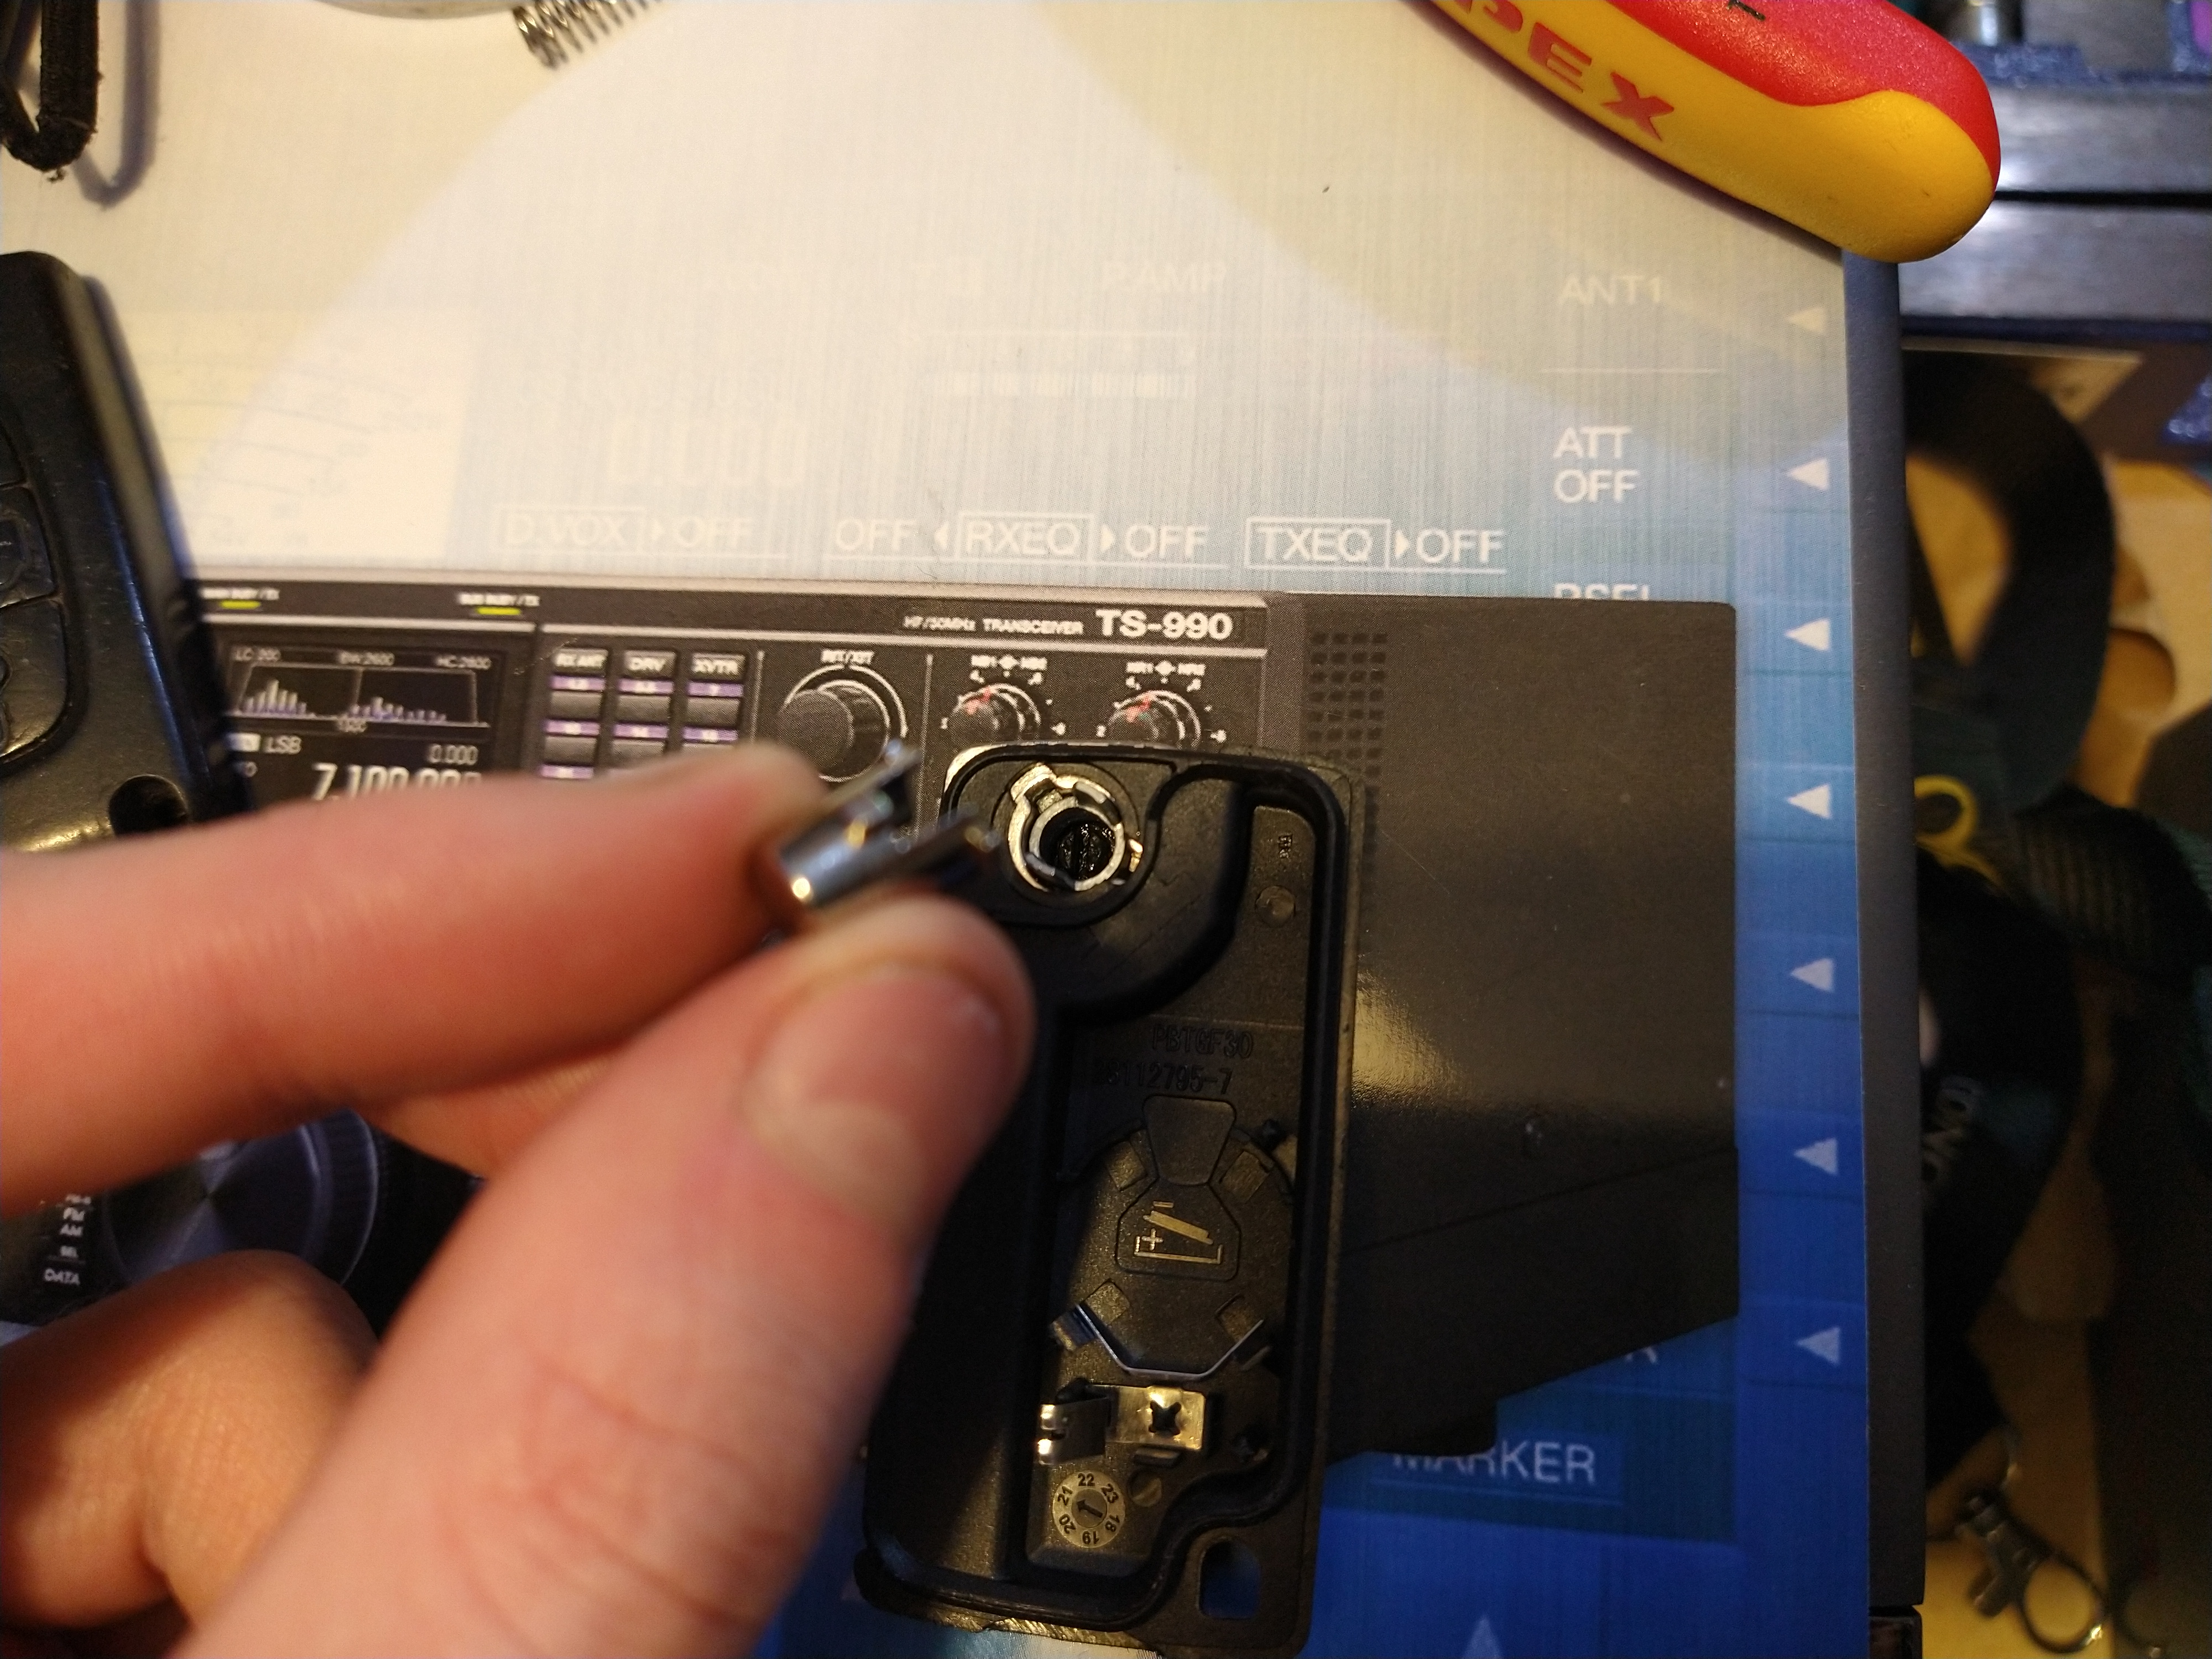
Inserting the key.

Inserting the coupler part.
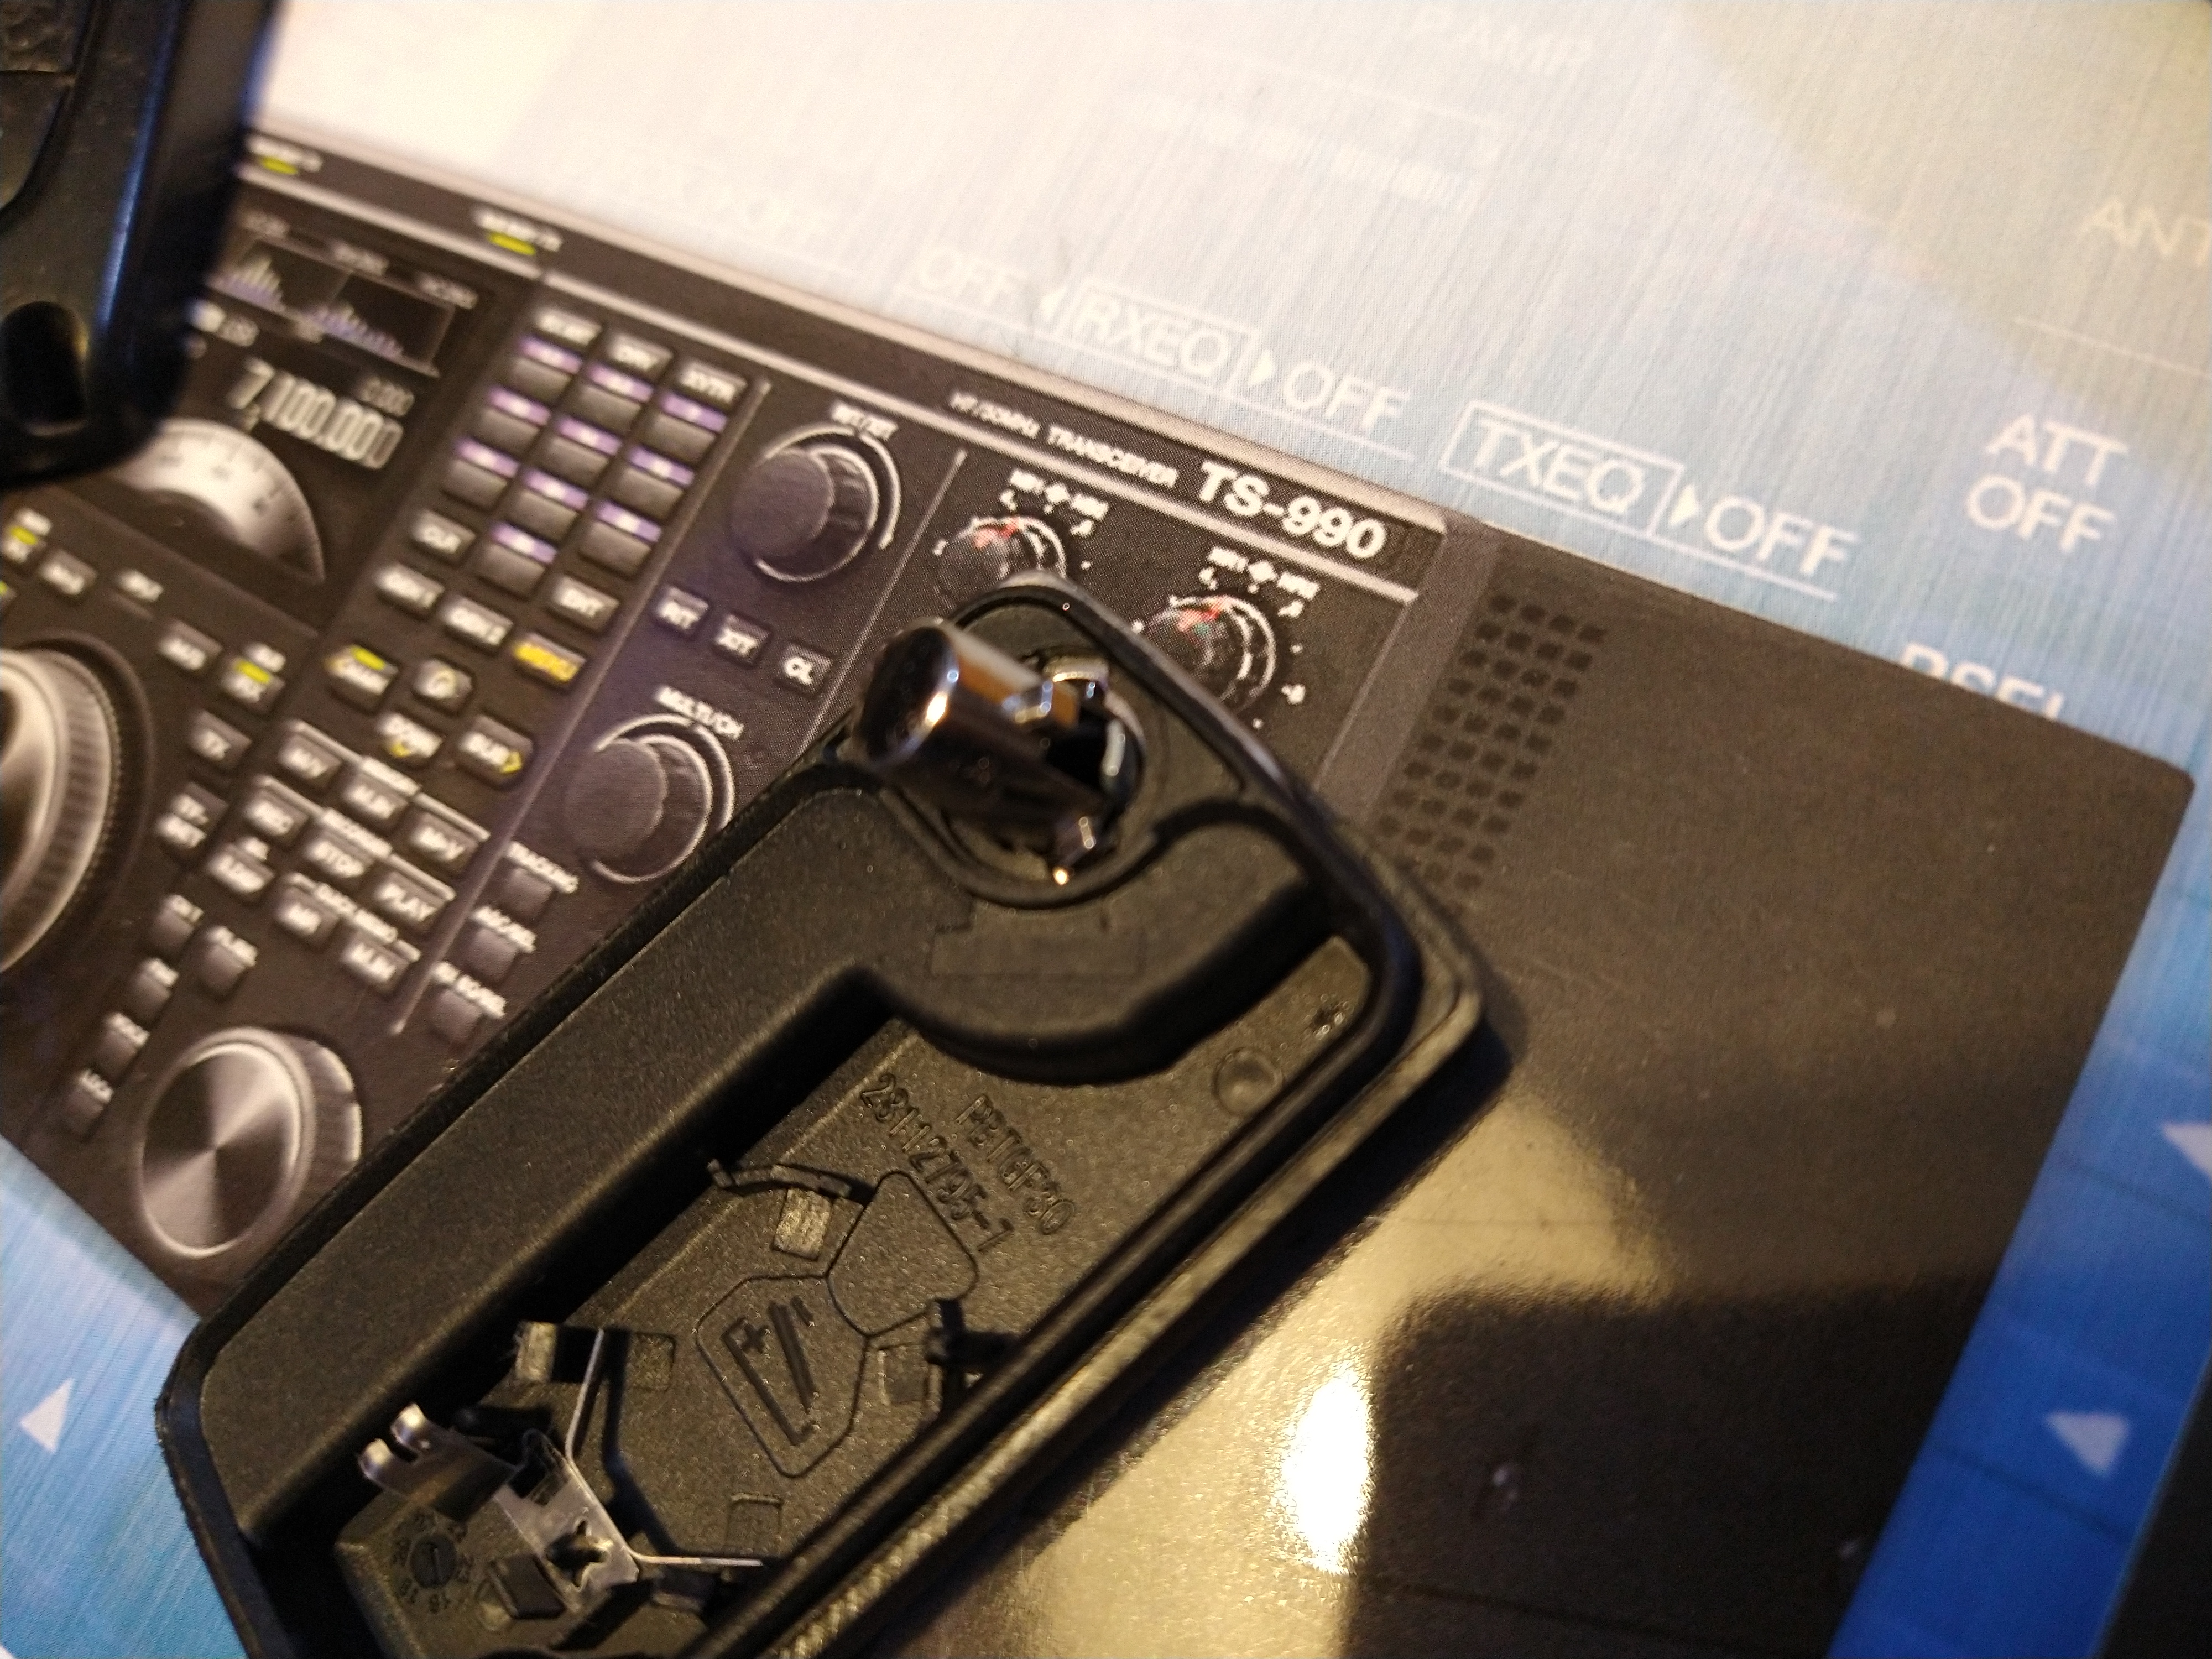
Here I am showing how the button fits onto that coupler, for reference purposes it is without the spring.
Closer look at the orientations. What you would need to do is put the spring in then pretension it since there is a grove in the case and button that locks the spring in place at each end. You need to ensure the locking of the spring is so that it’s around 45 degrees forward from the position you need to insert the button. This means you rotate the button 45 degrees back roughly to tension that spring so it’s trying to rotate forward when it’s pushed down into position. Thus locking the assembly. When the button is later pressed the coupler moves allowing the button to rotate forward bringing the key with it until it’s at its un-tensioned position. You should only test that with the top cover on or while holding the button otherwise it could spring out into your face.
New finished shell top.

New shell bottom.
Previous old shell with nasty buttons.
Let me know what you think of this article on twitter @M3PGS or leave a comment below!